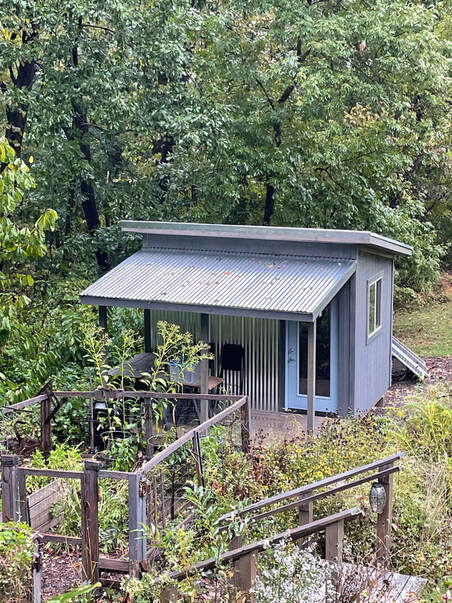
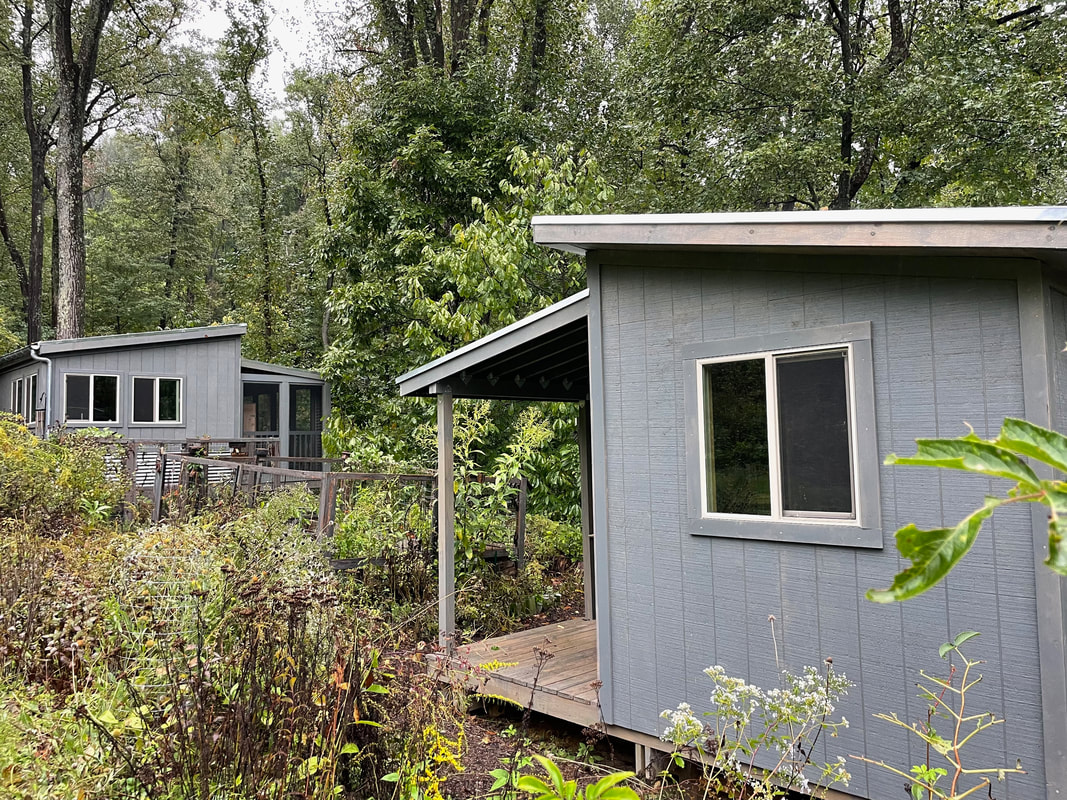
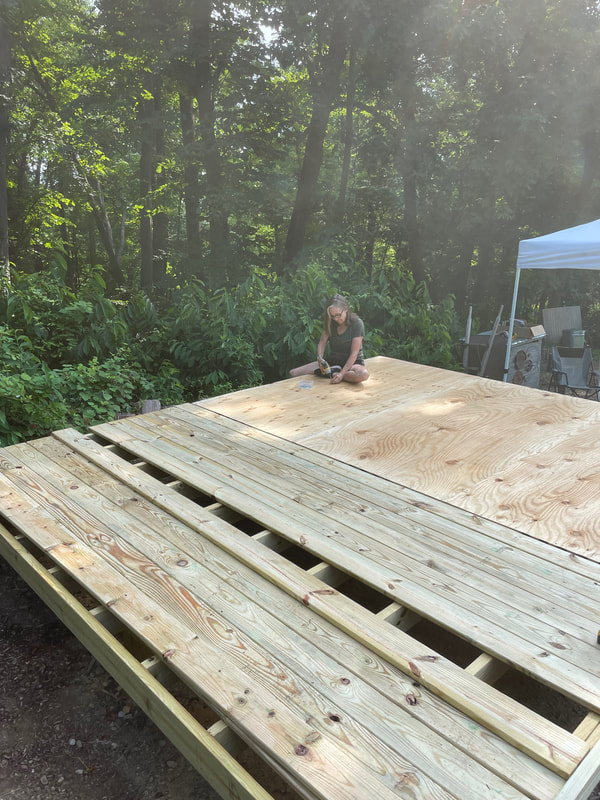
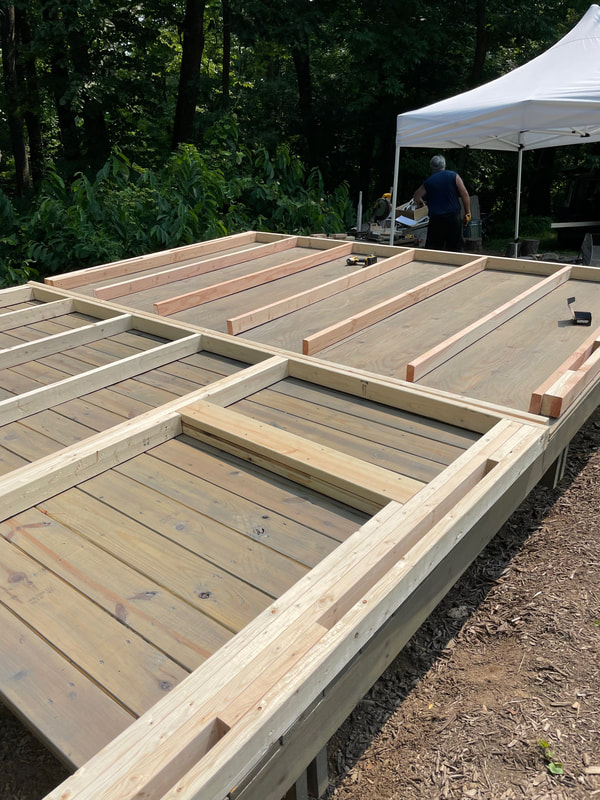
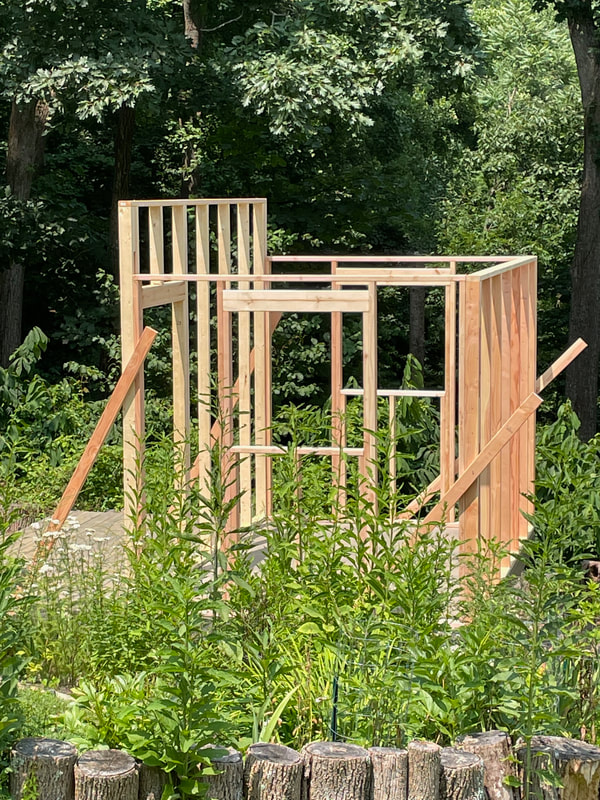
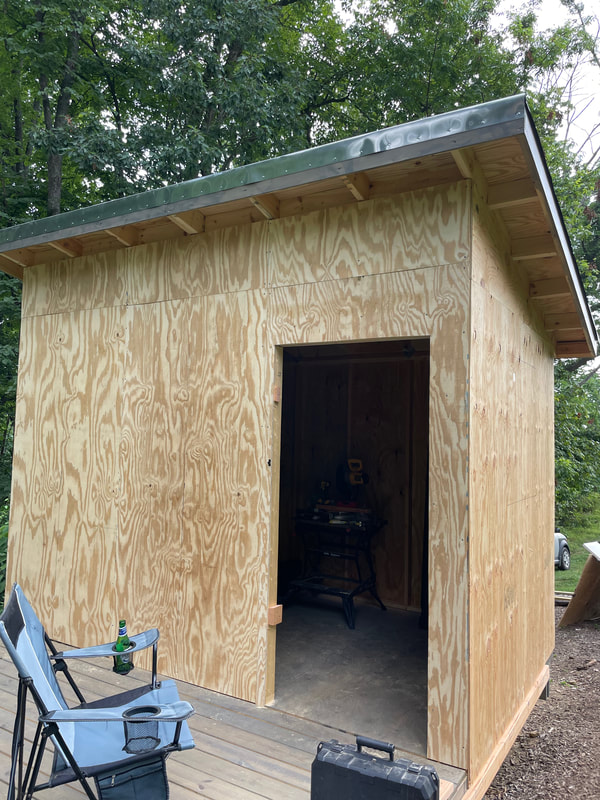
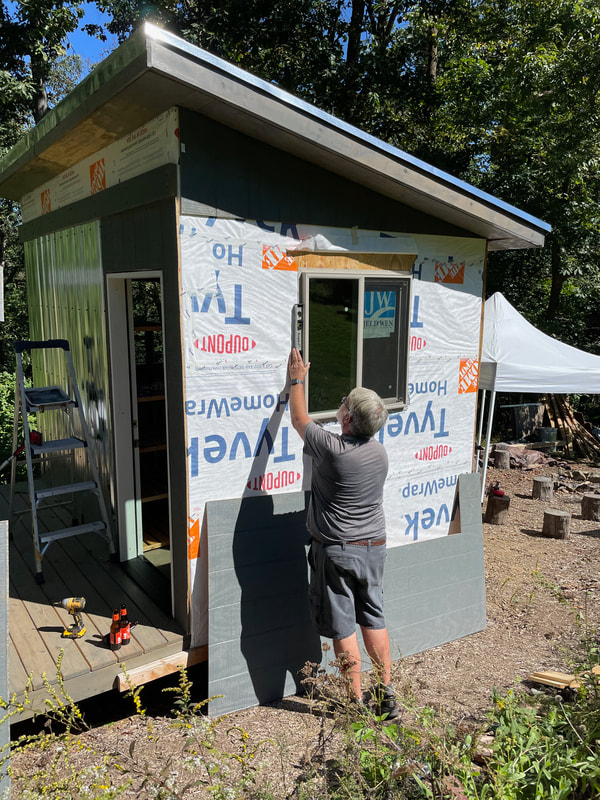
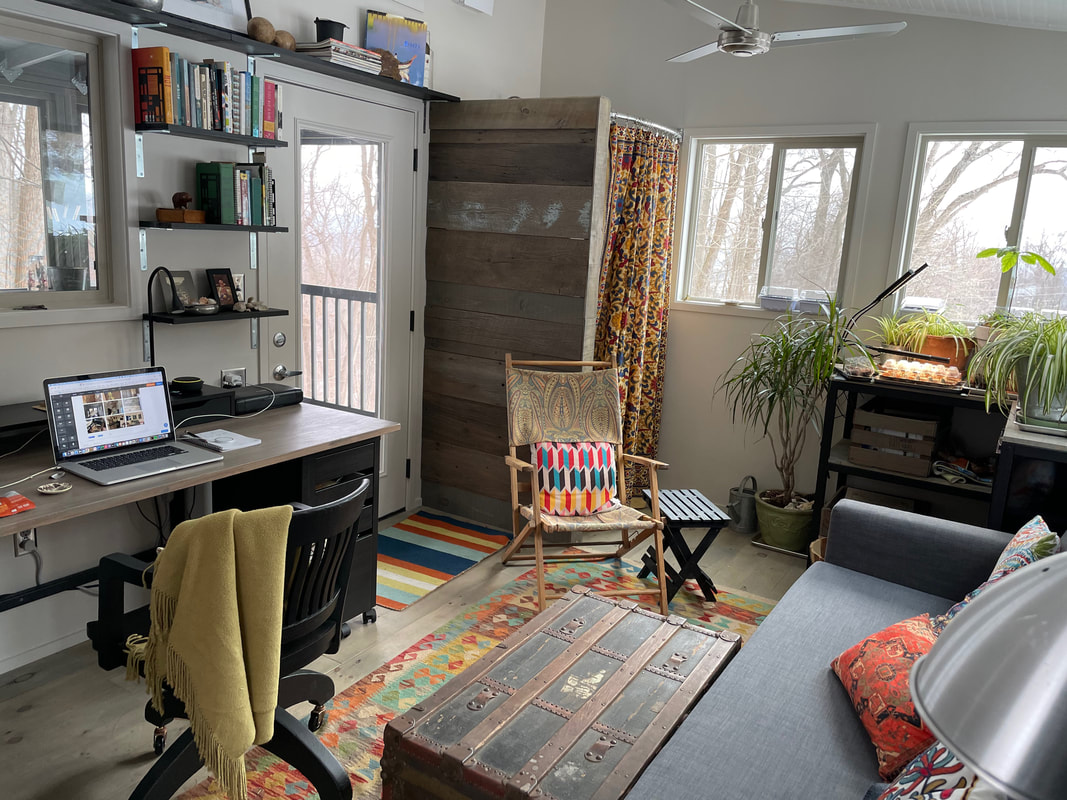
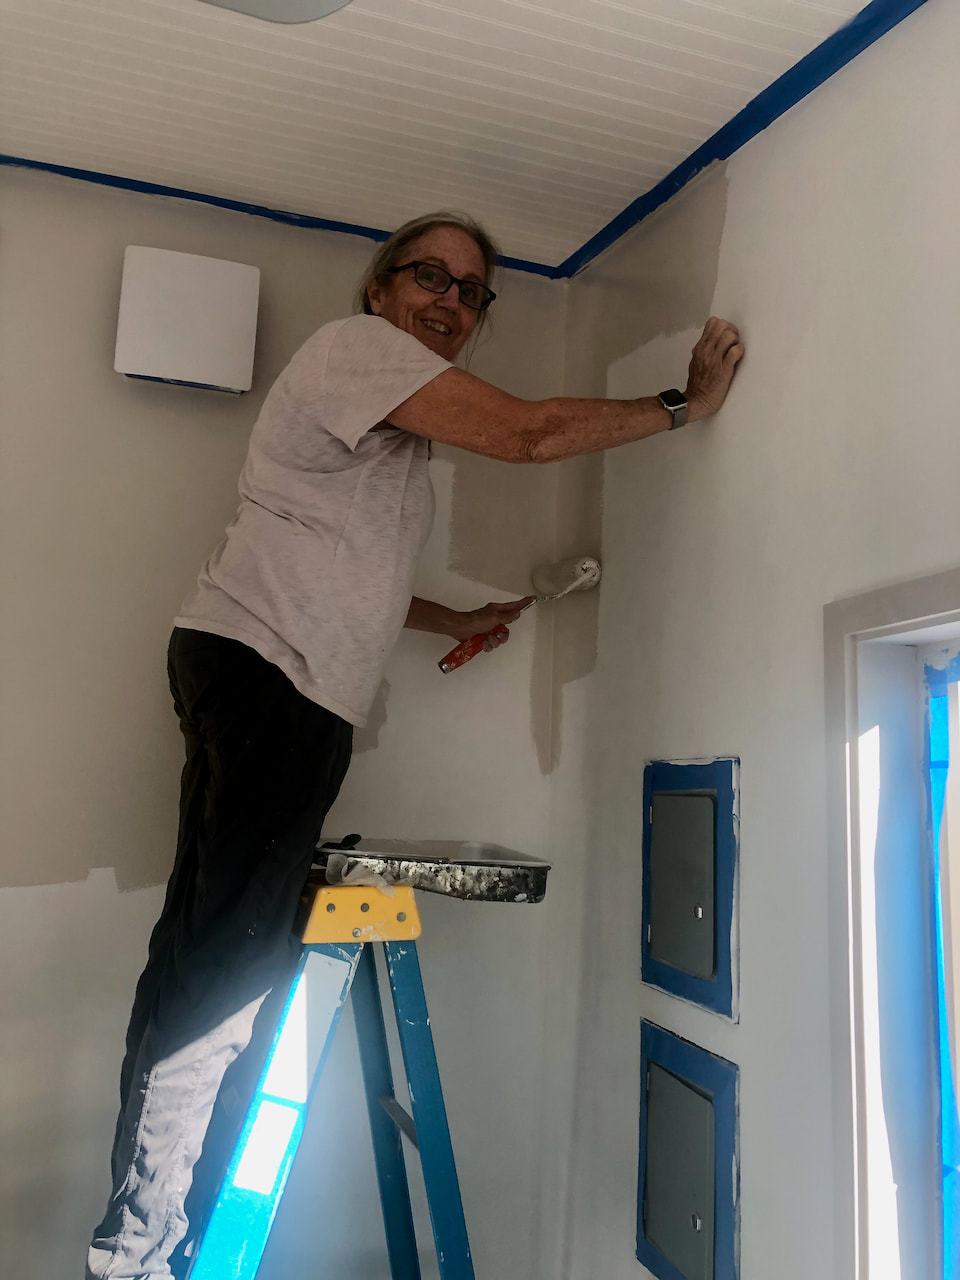
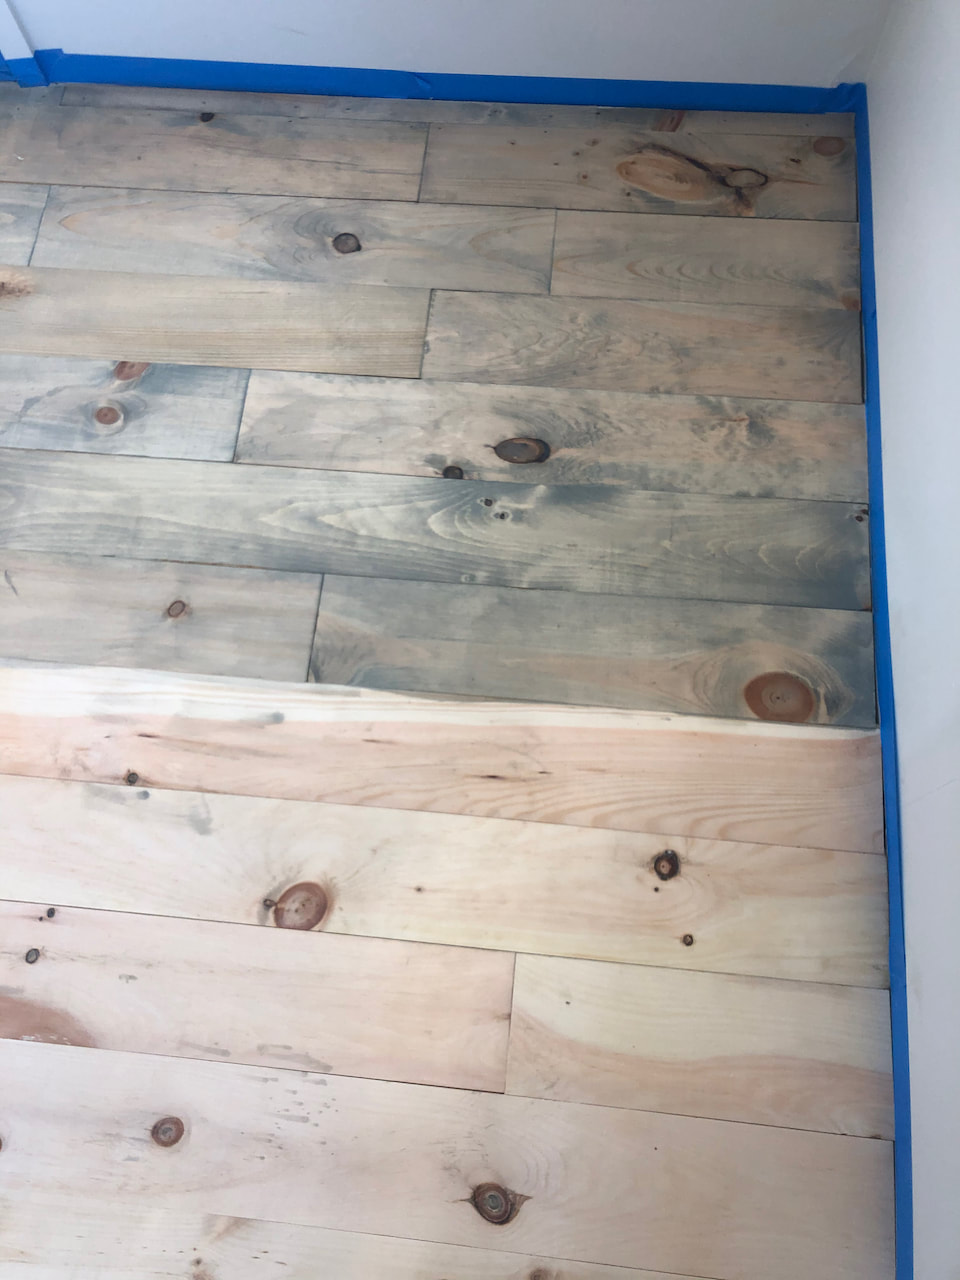
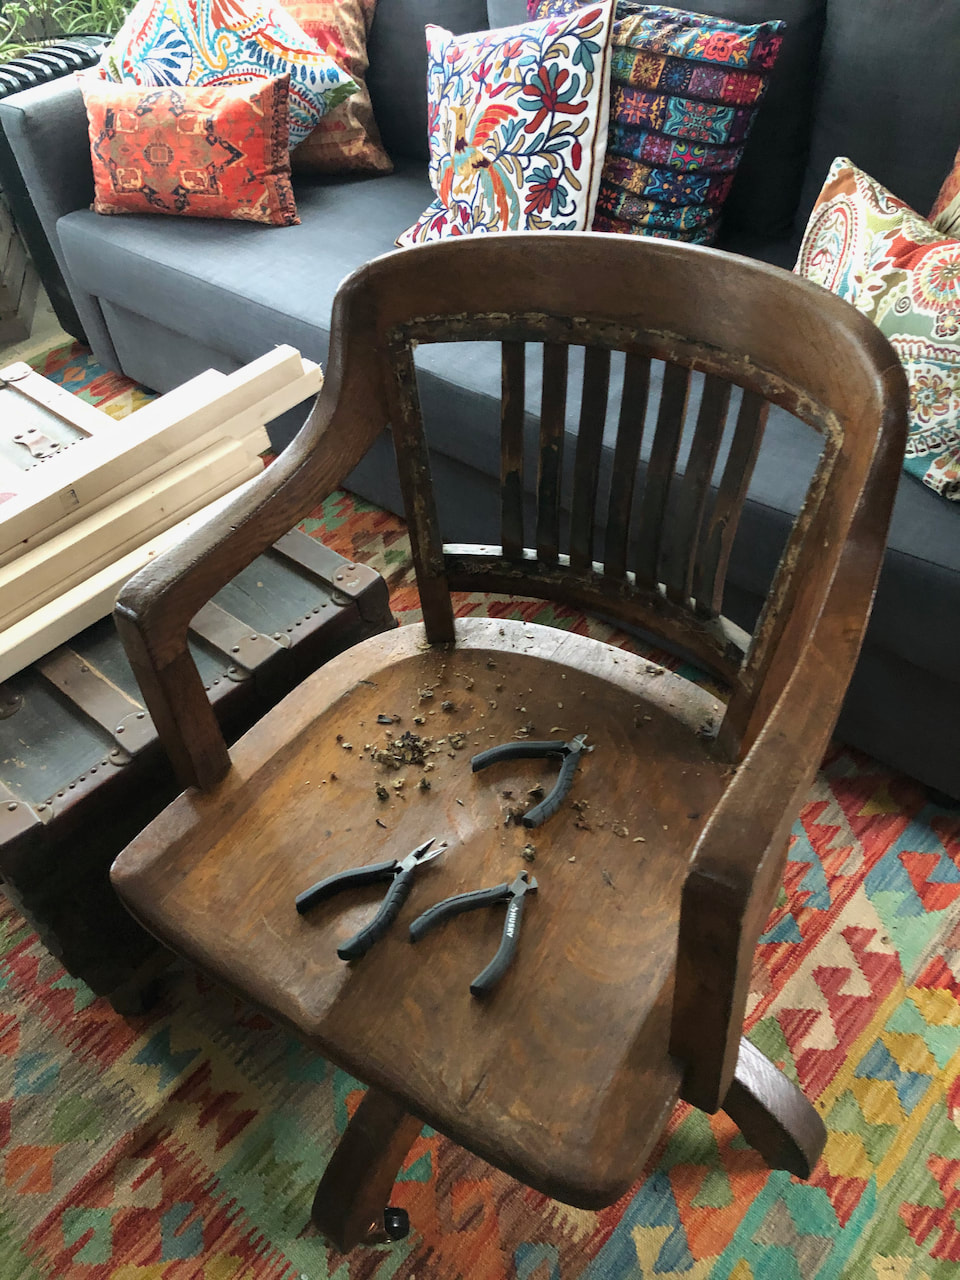
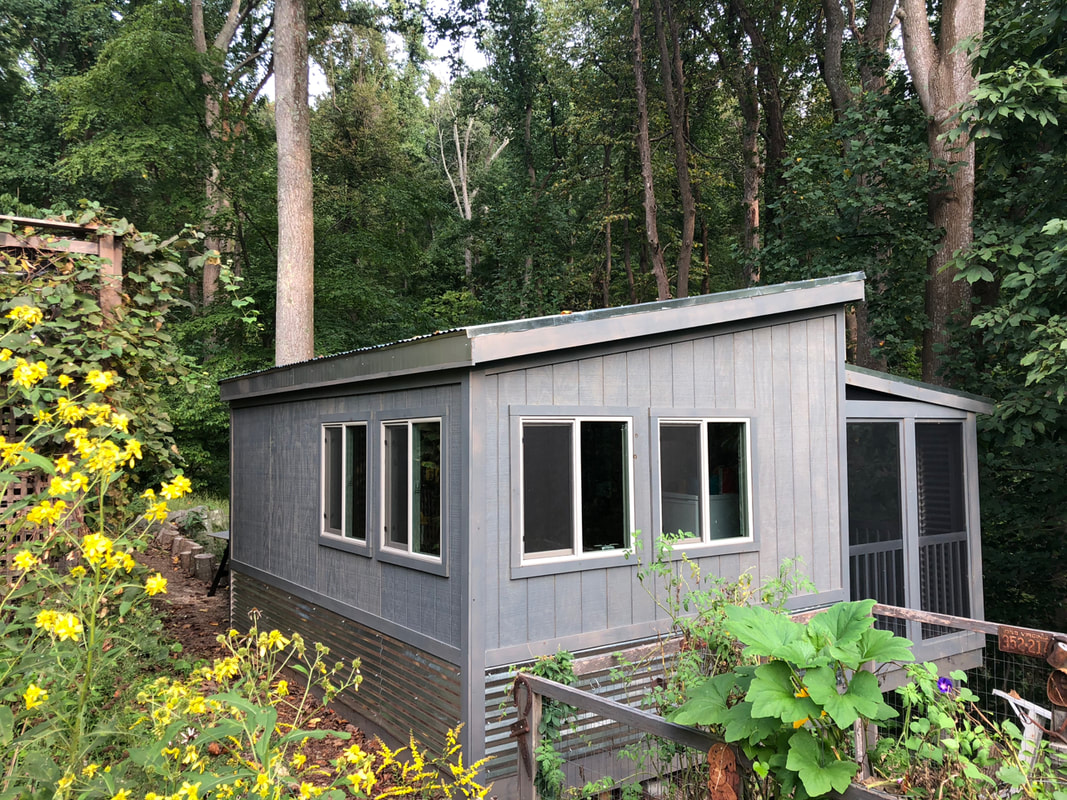
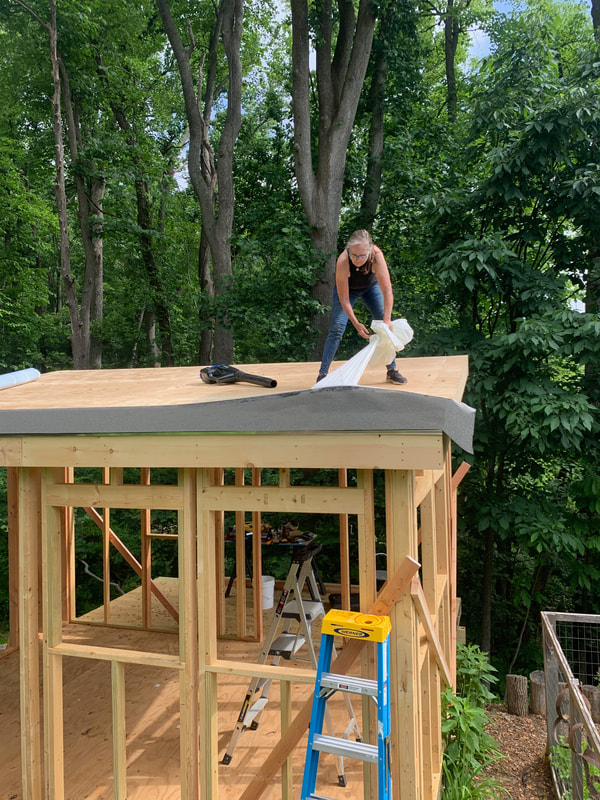
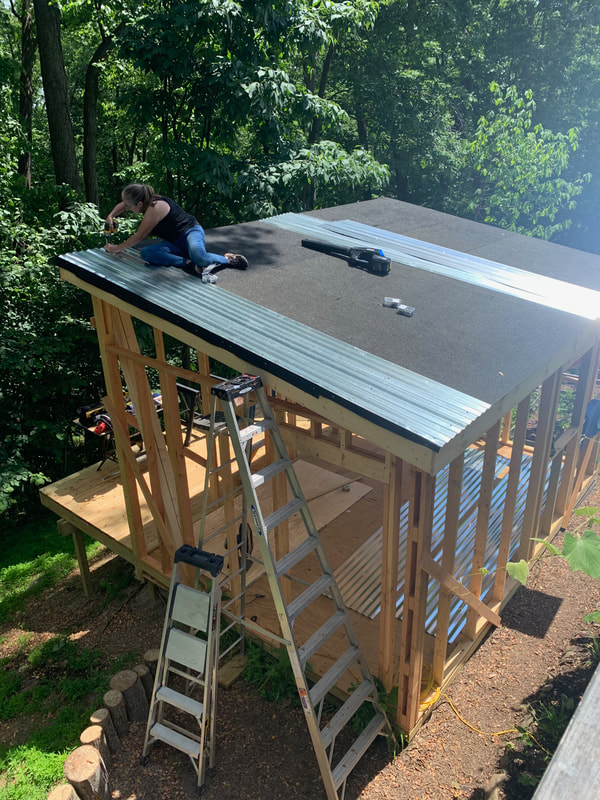
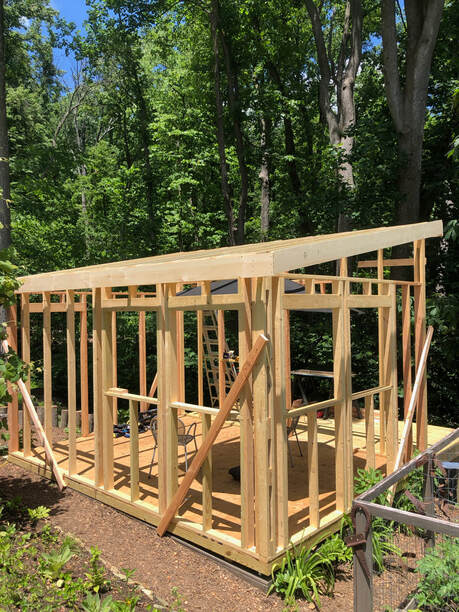
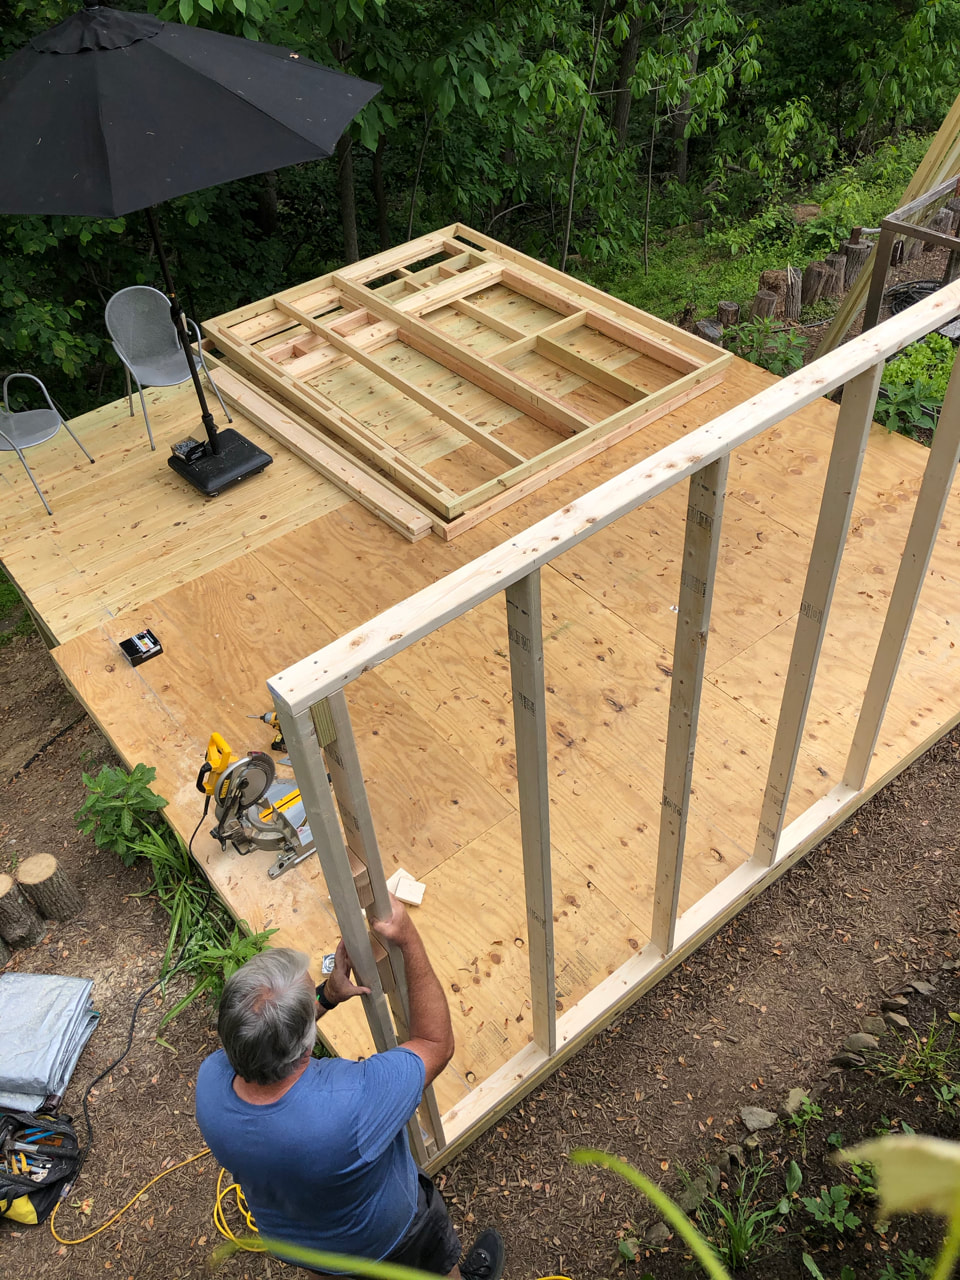
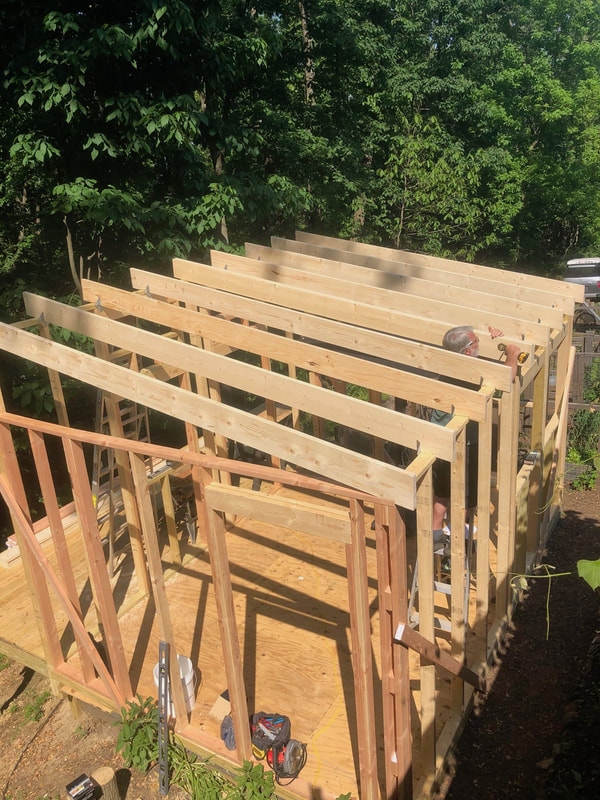
We had the shell of the shed up a year ago. It's still a work in progress...but it's also a space we use every day as we finish it off. We no longer have to hike up to get a saw or hammer. We've done away (given away) the bulky plastic bins that we needed when tools were stored outdoors, and now all our tools and supplies are out of the elements and tucked away in wood boxes on handy wood shelves. (Aesthetics matter—even in a shed!)
Progress on the shed project in the last year:
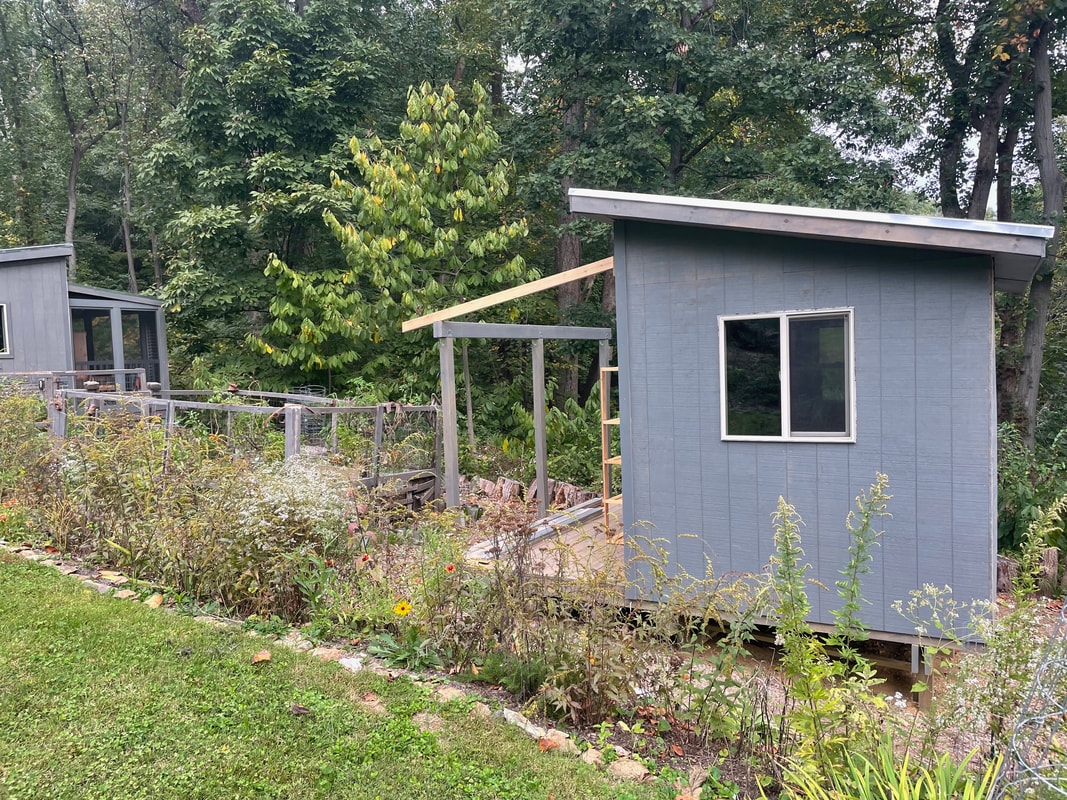
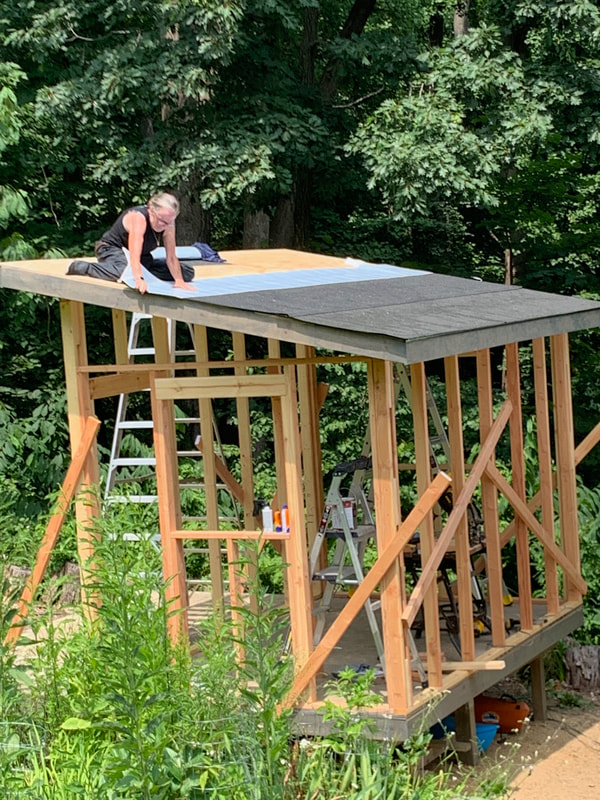
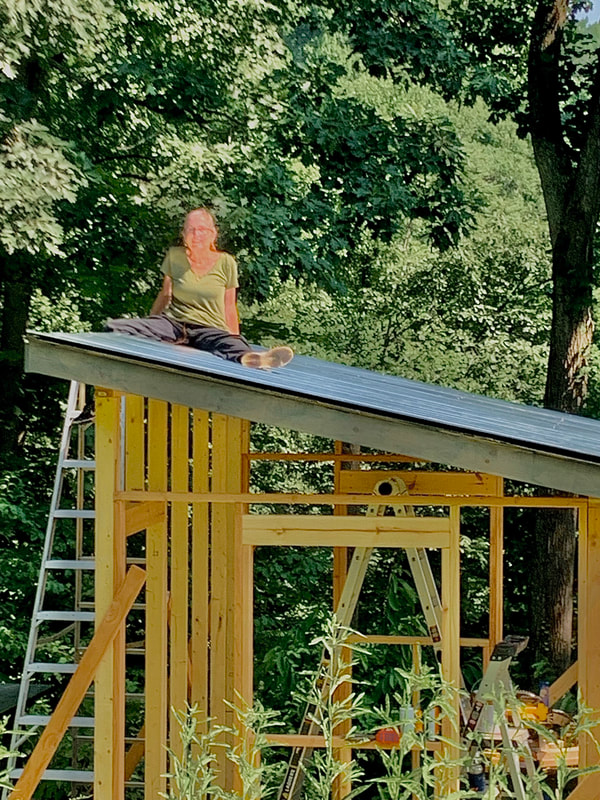
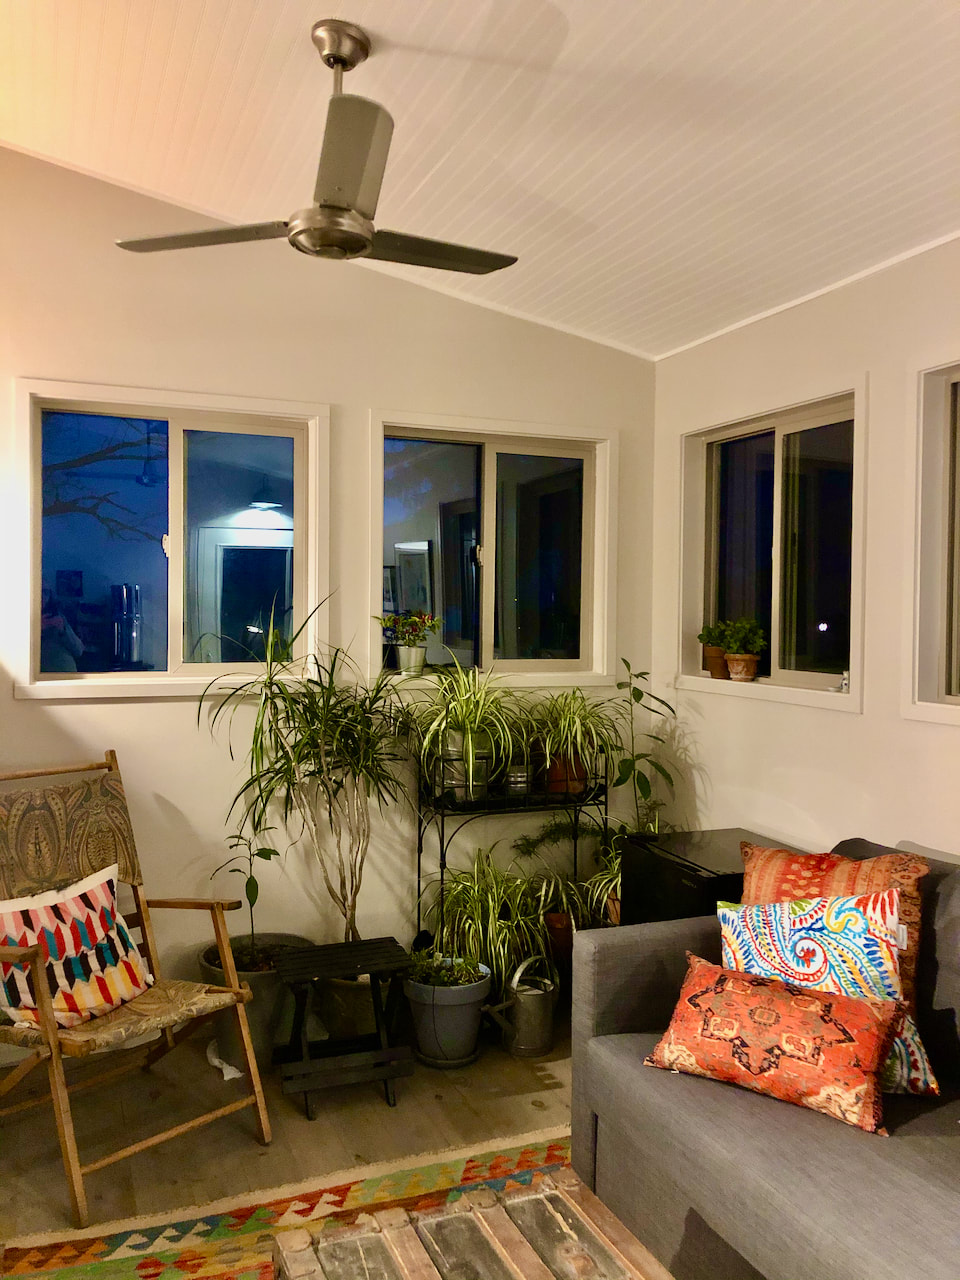
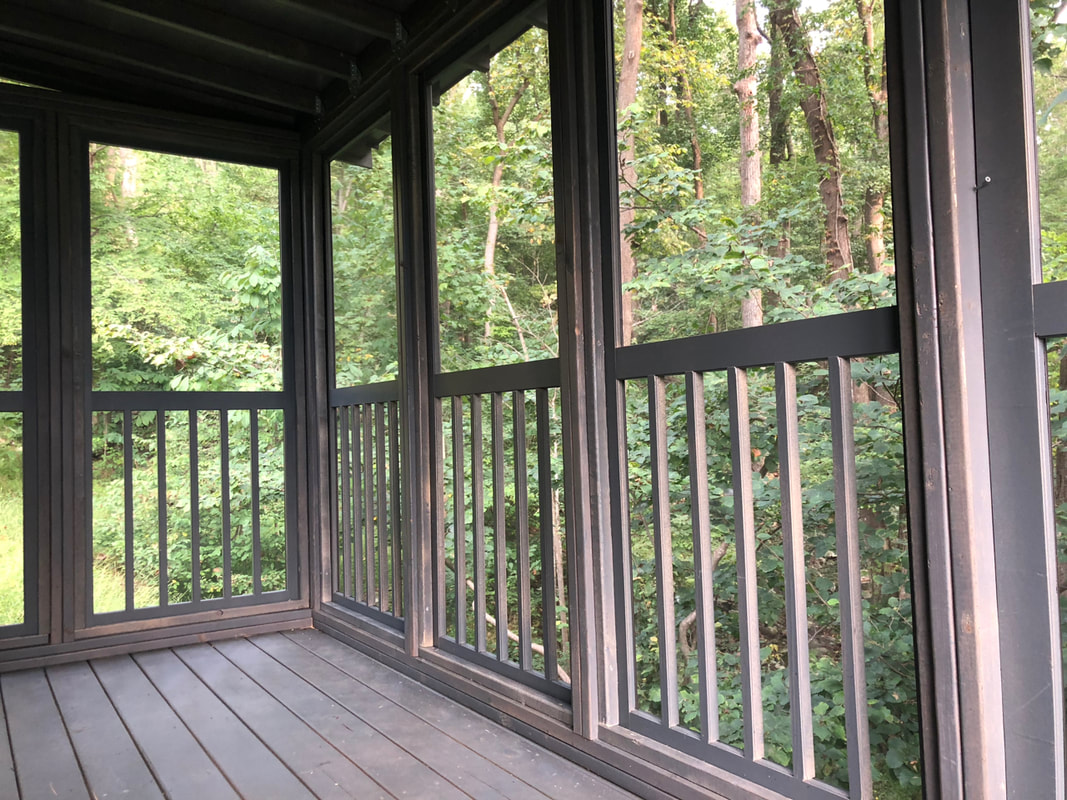
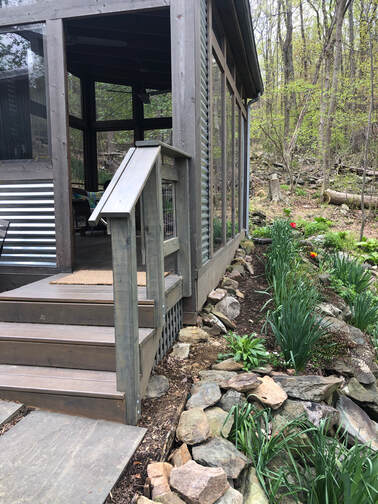
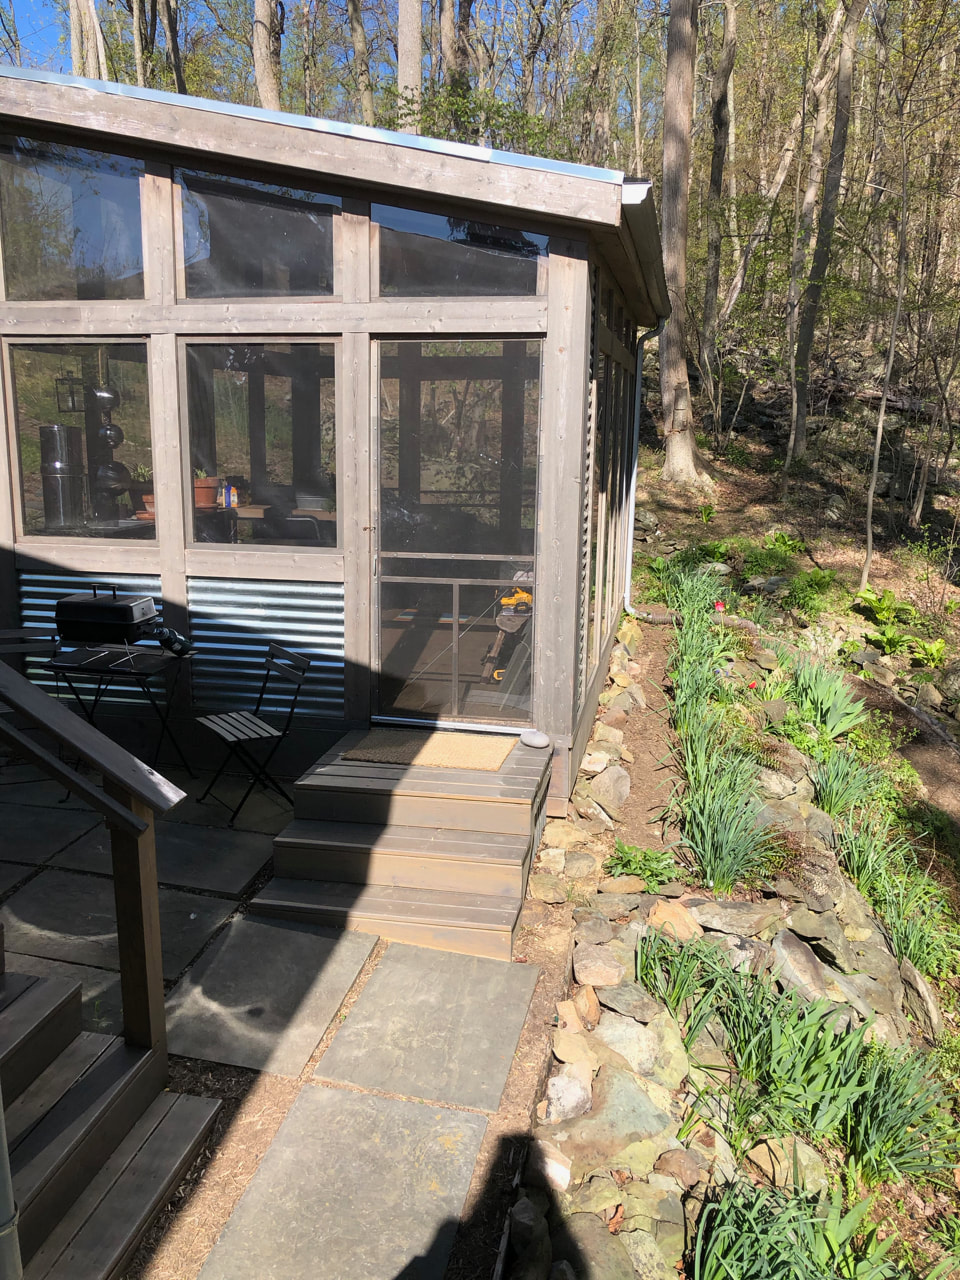
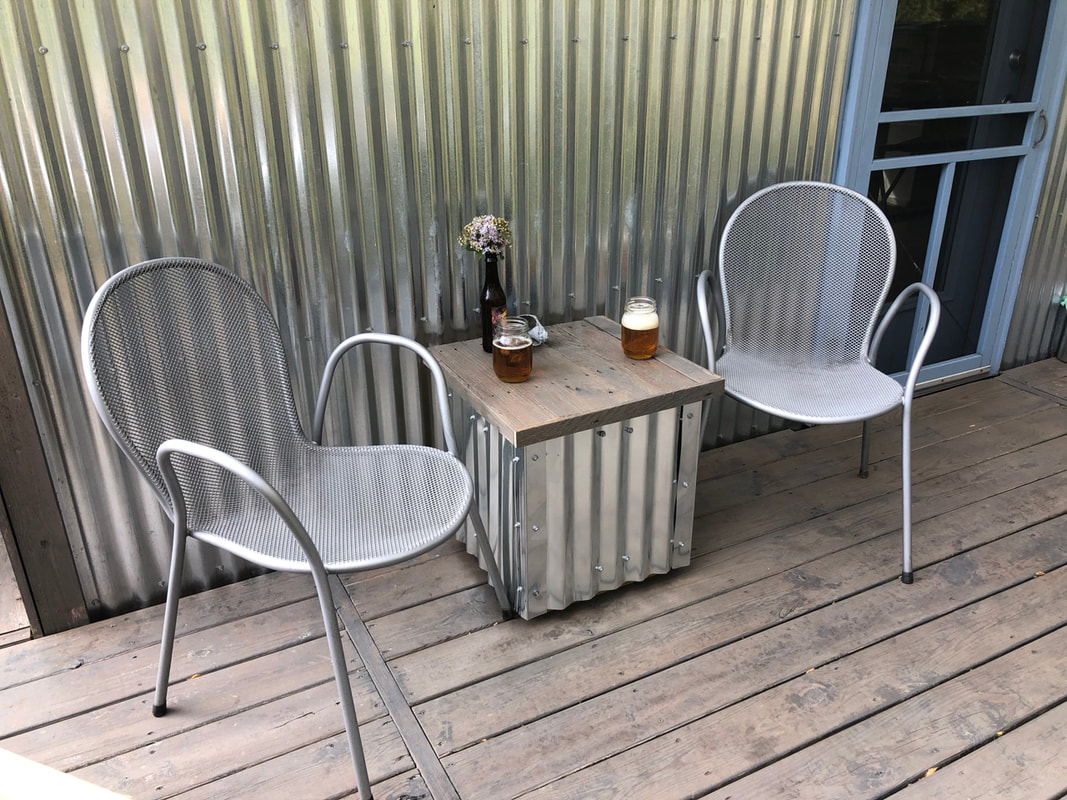
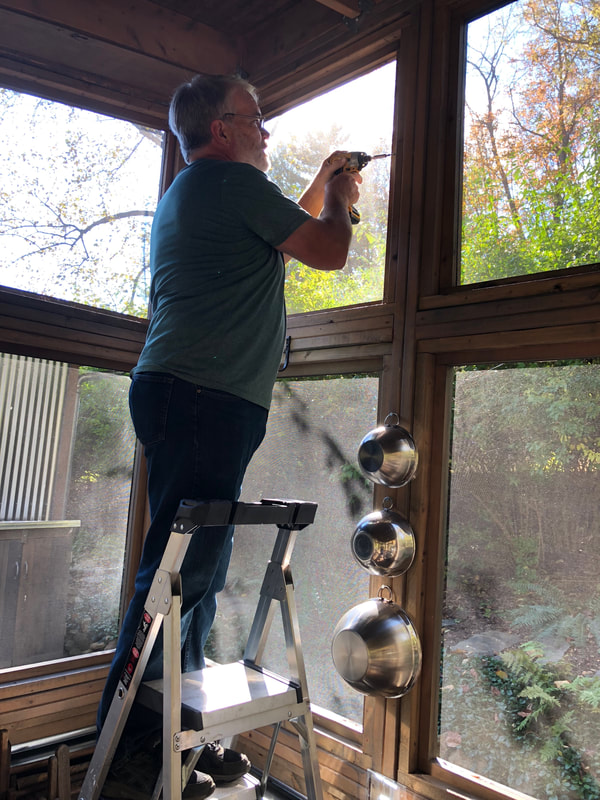
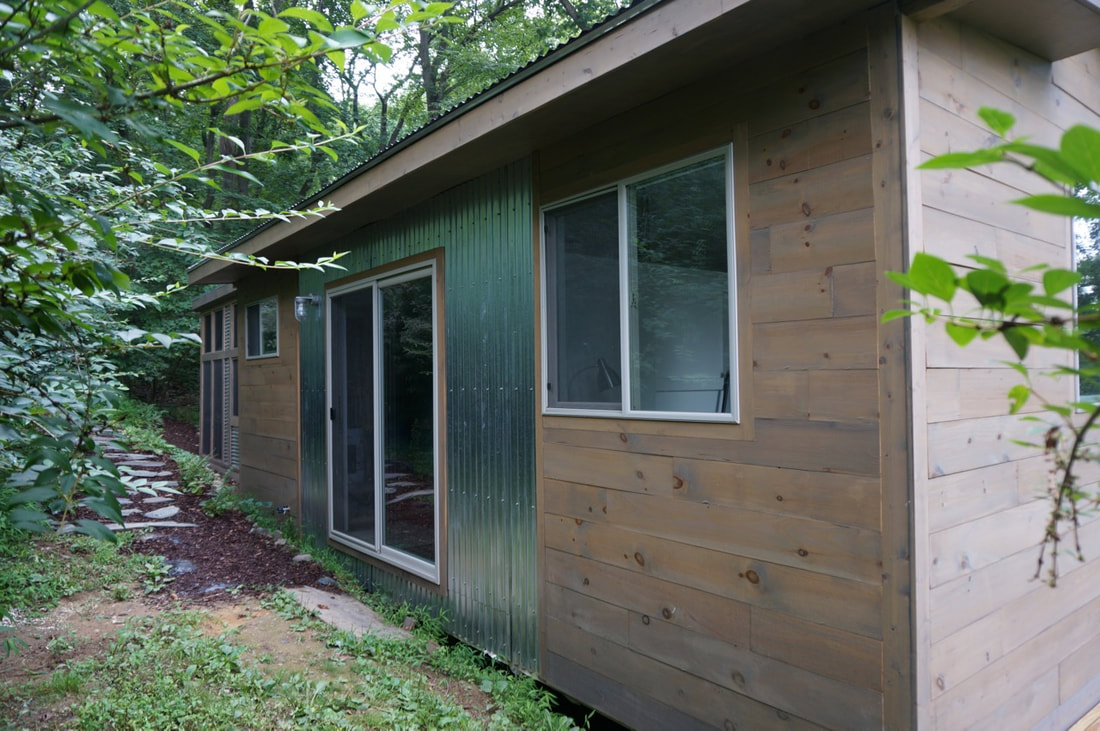
Finishing the porch roof. We love sitting on porch now, often sipping a drink between projects. Plus, we can spread out a tarp and paint or stain even on a rainy day.
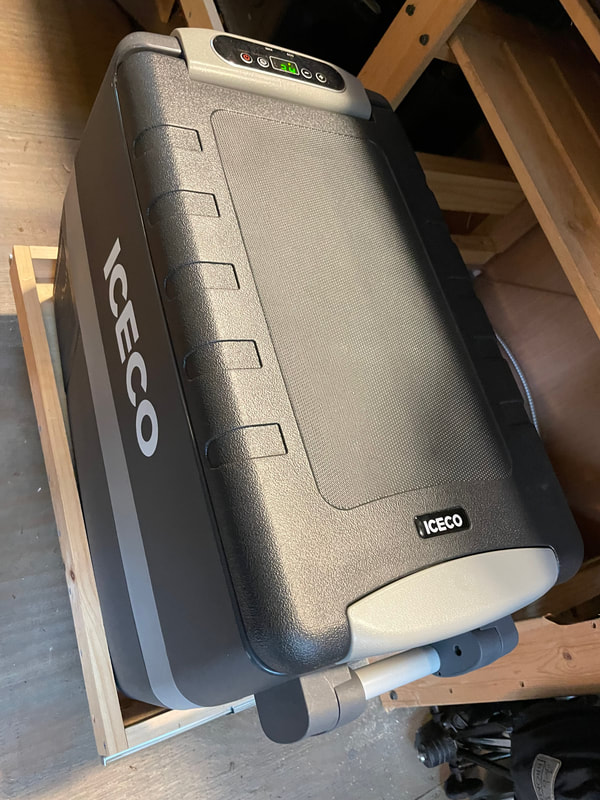
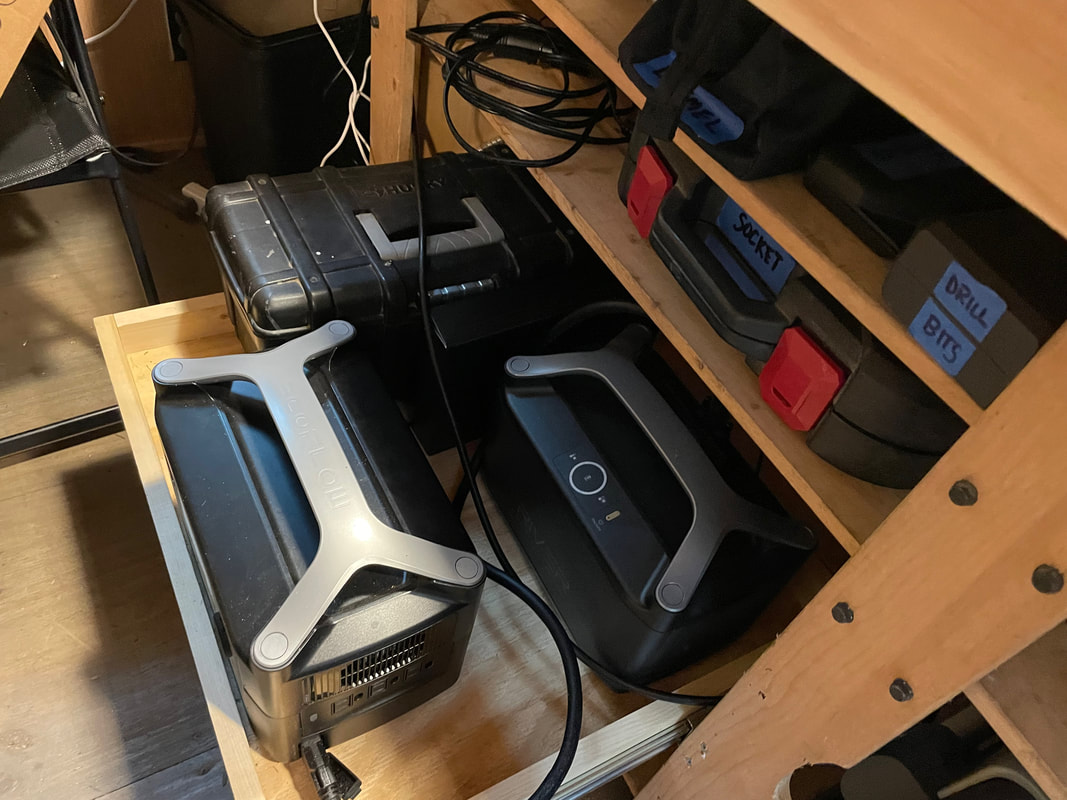
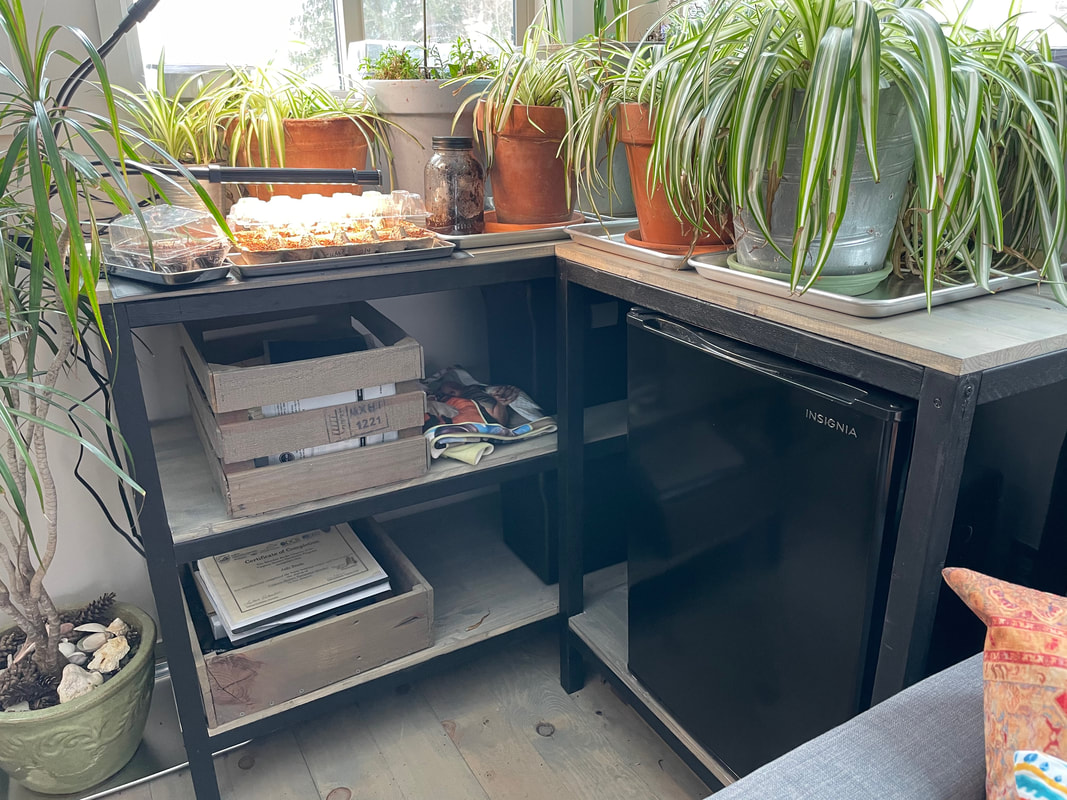
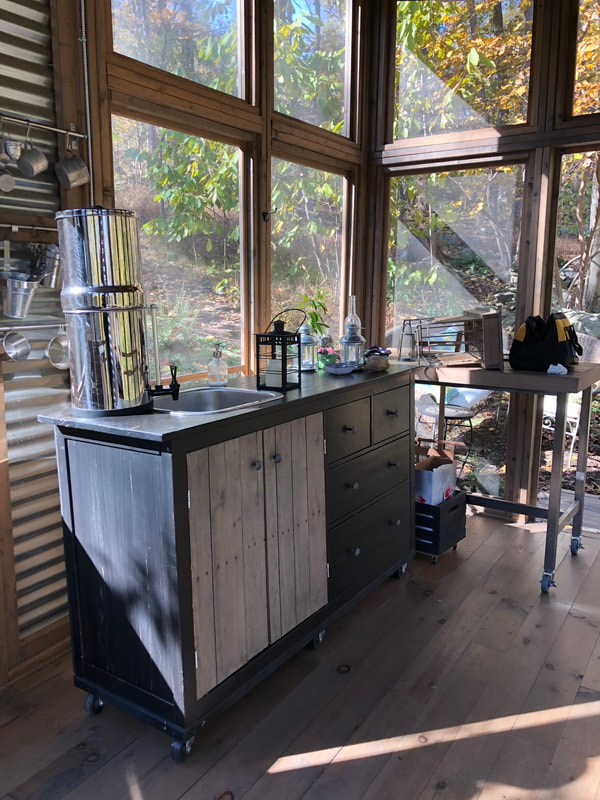
New solar generator and eco fridge. Our EcoFlow generator and solar panels can charge everything in the shed—as well as come with us on camping trips. It's a great setup with our 12-volt IceCo fridge (also great on camping trips.)
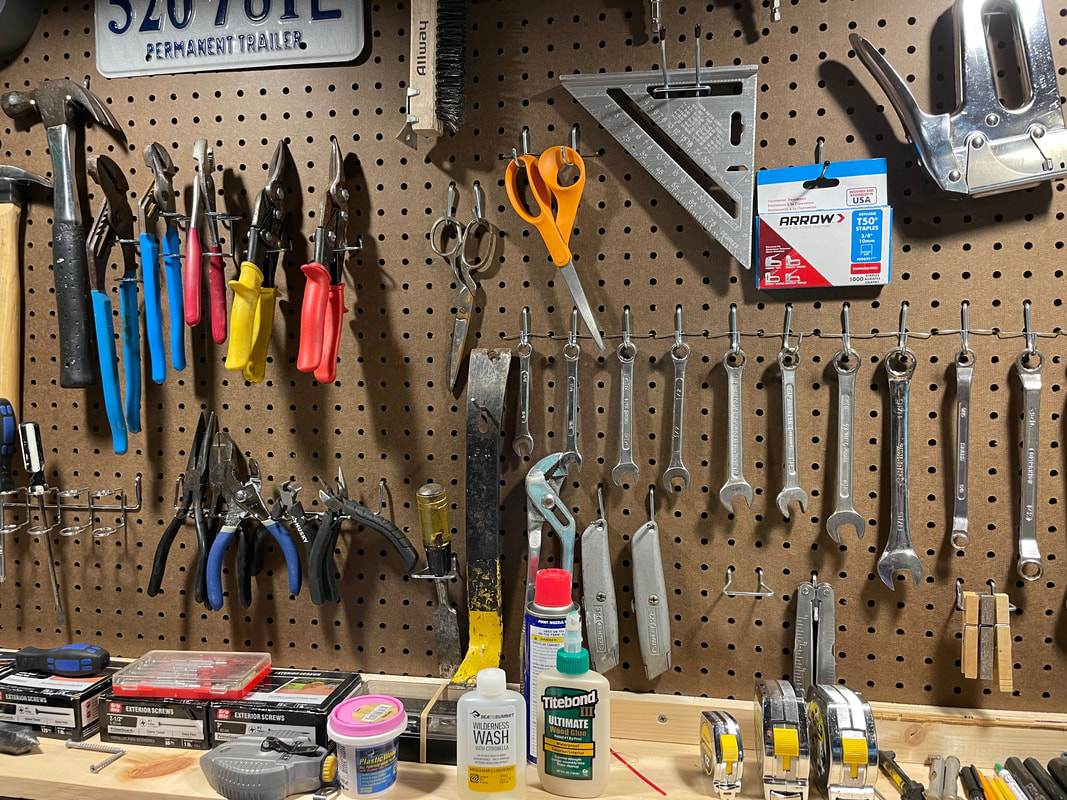
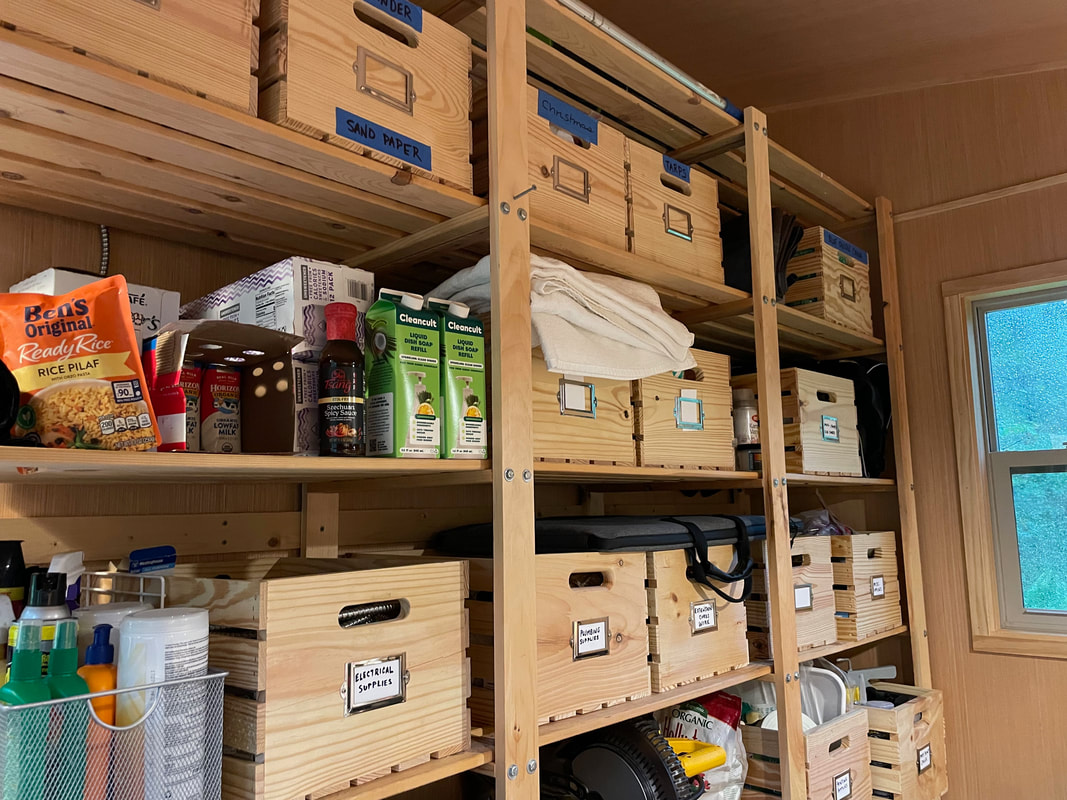
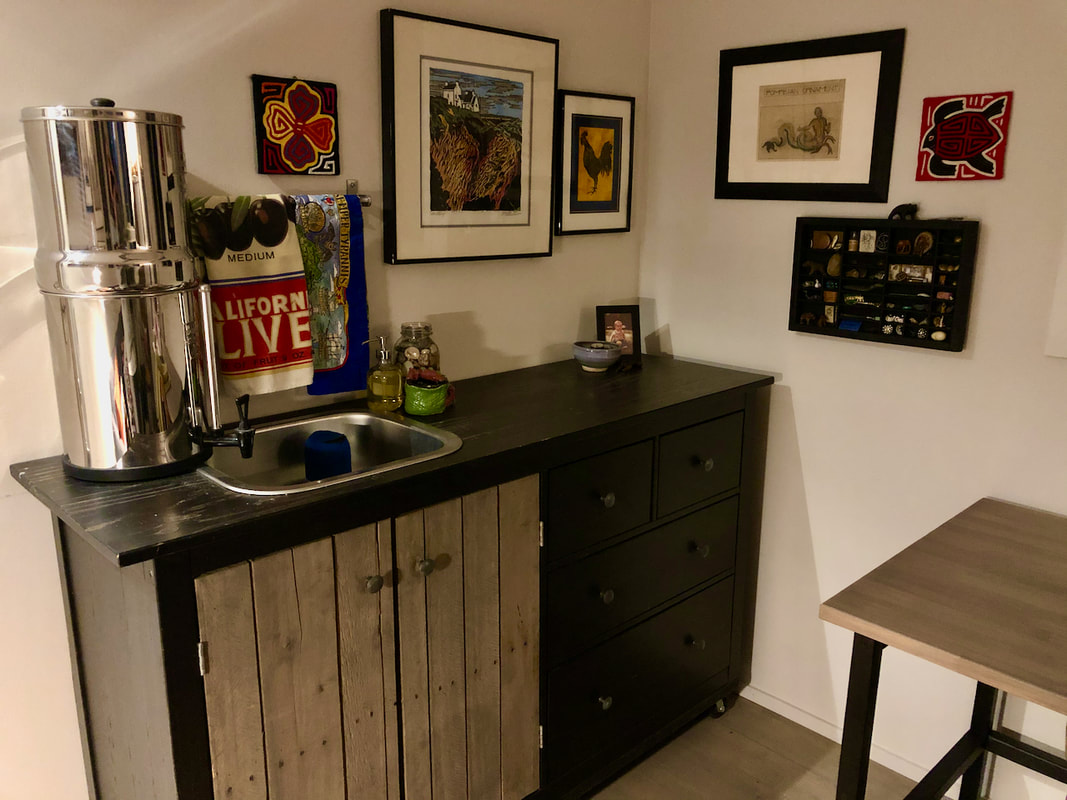
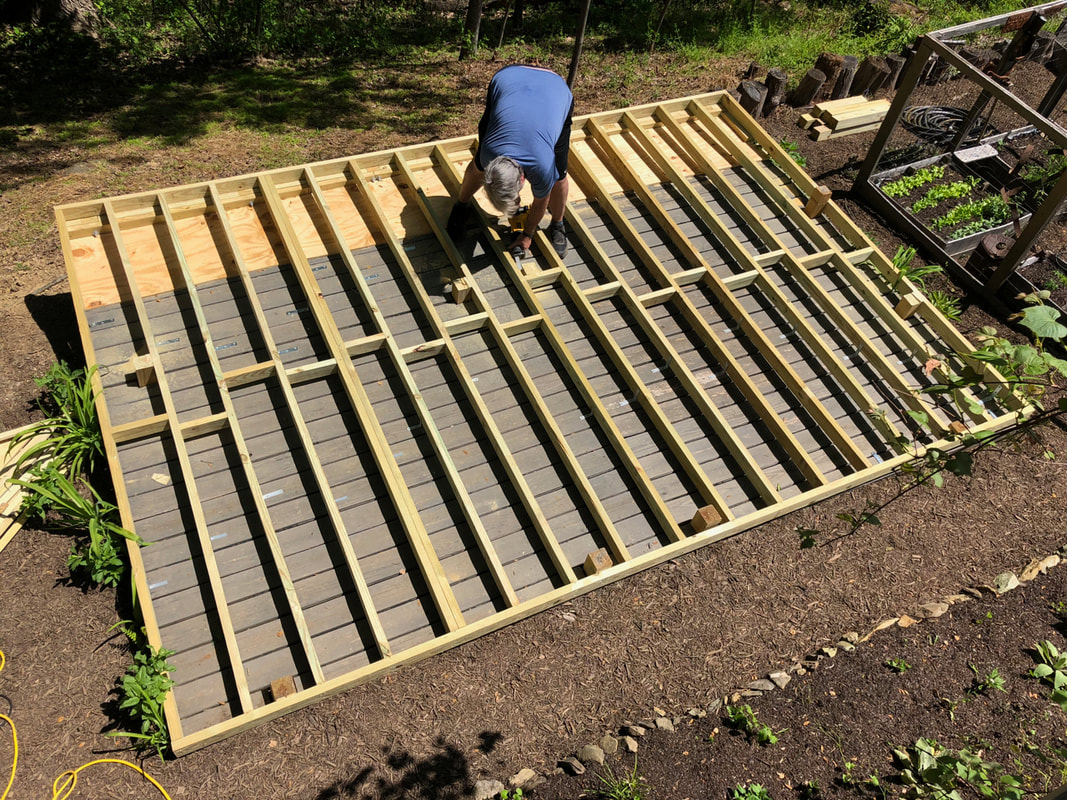
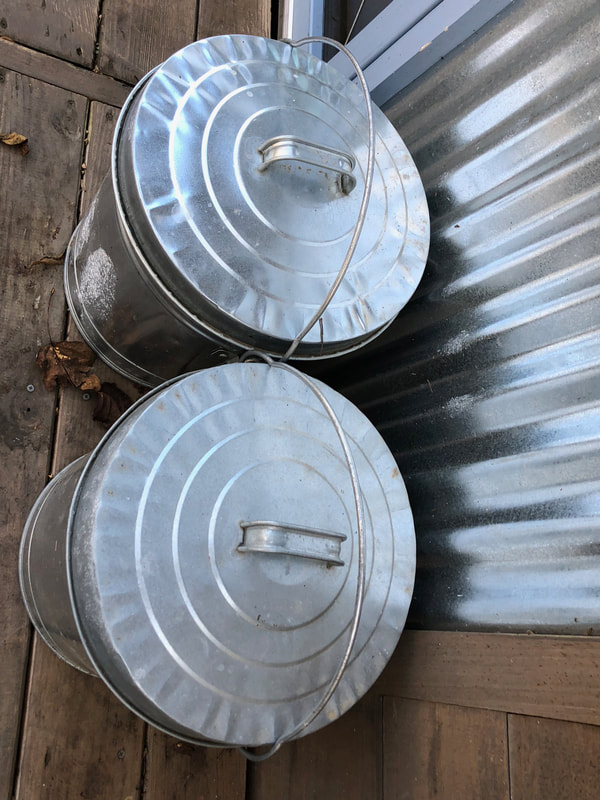
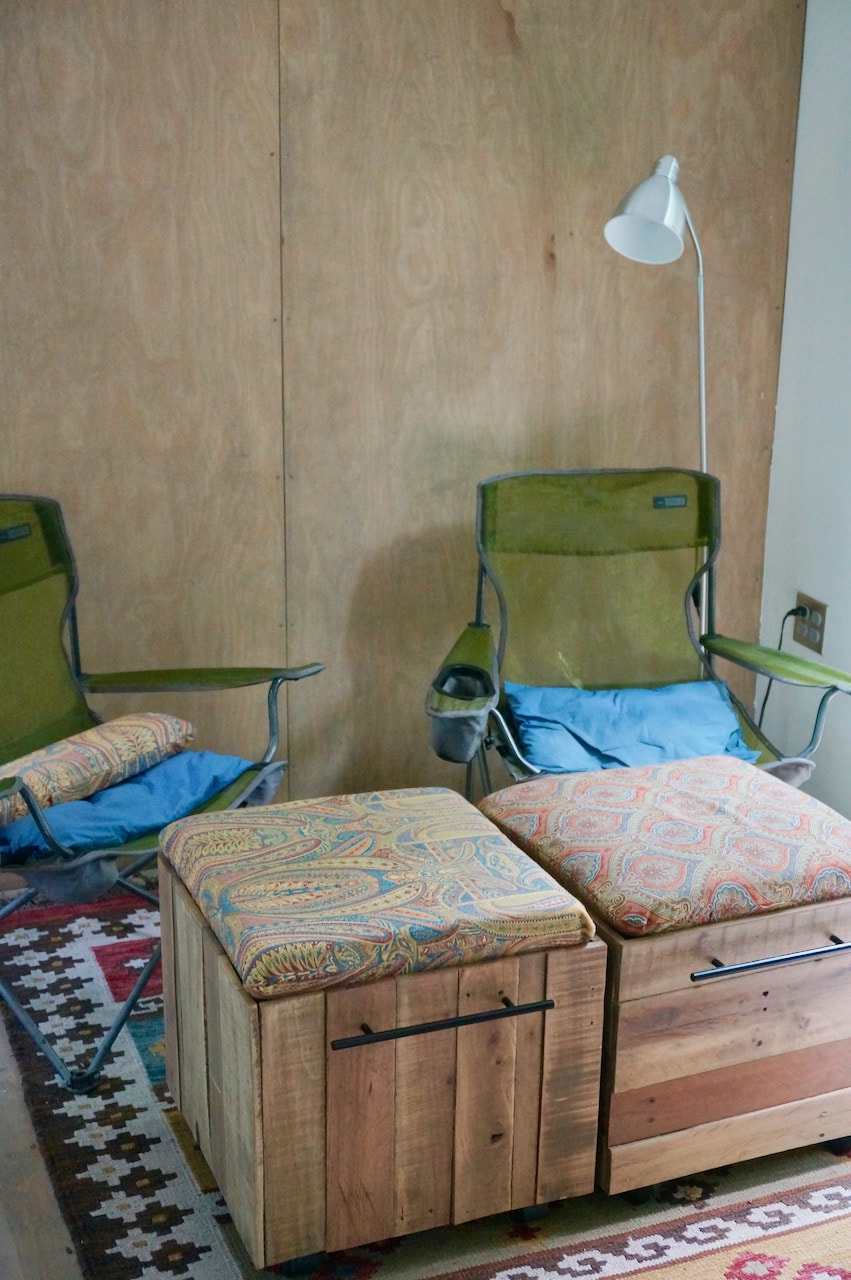
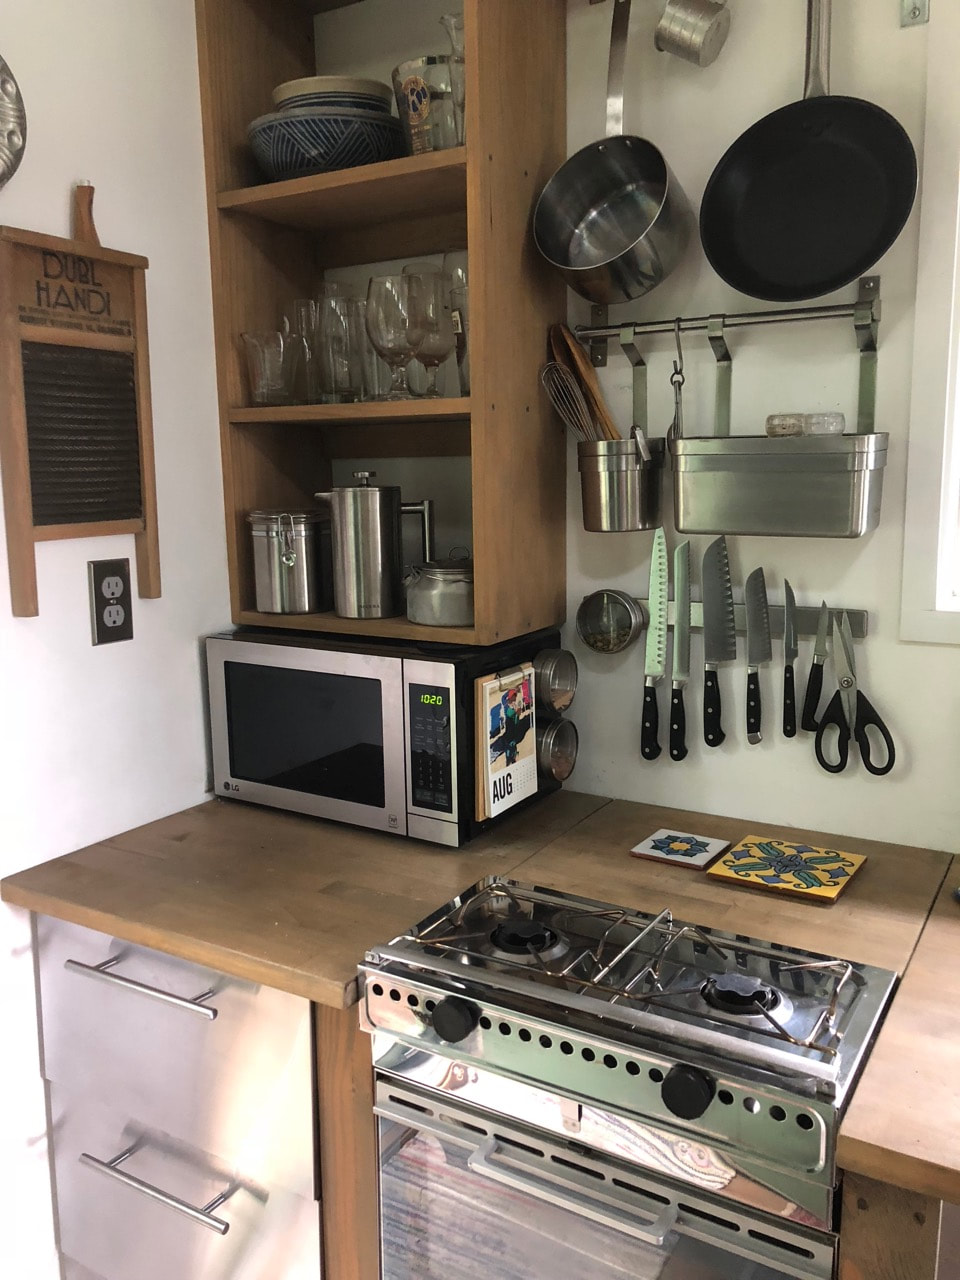
A wall of shelves and another pegboard wall of tools. We're pretty darn organized these days when it comes to tools and equipment. One box with painting supplies, another with tarps, one for plumbing pieces—and all the rest.
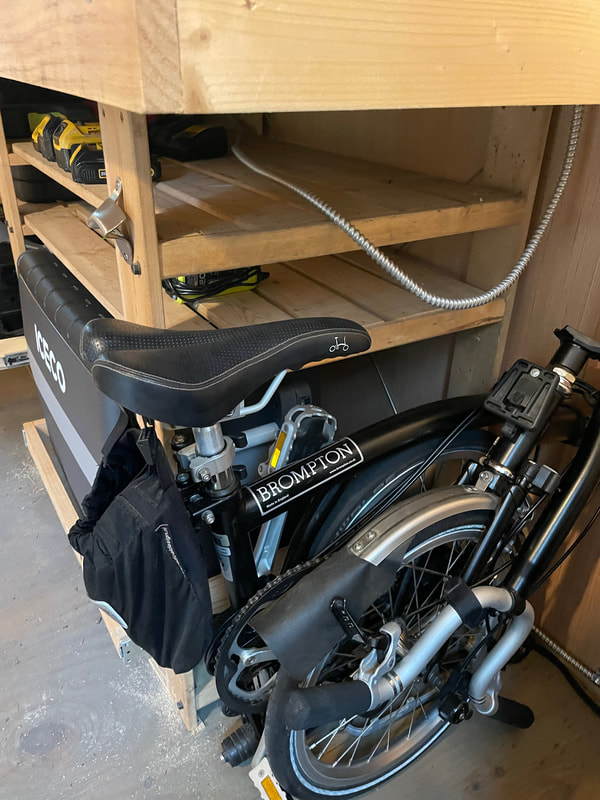
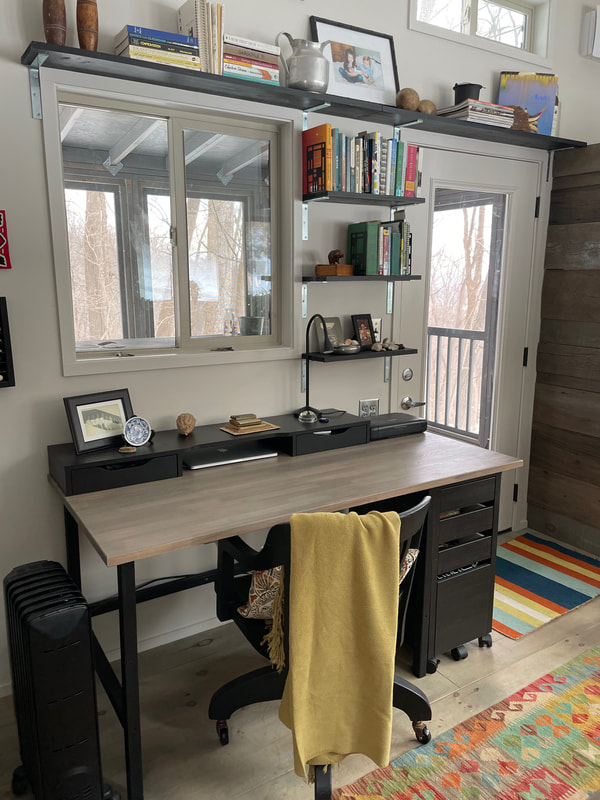
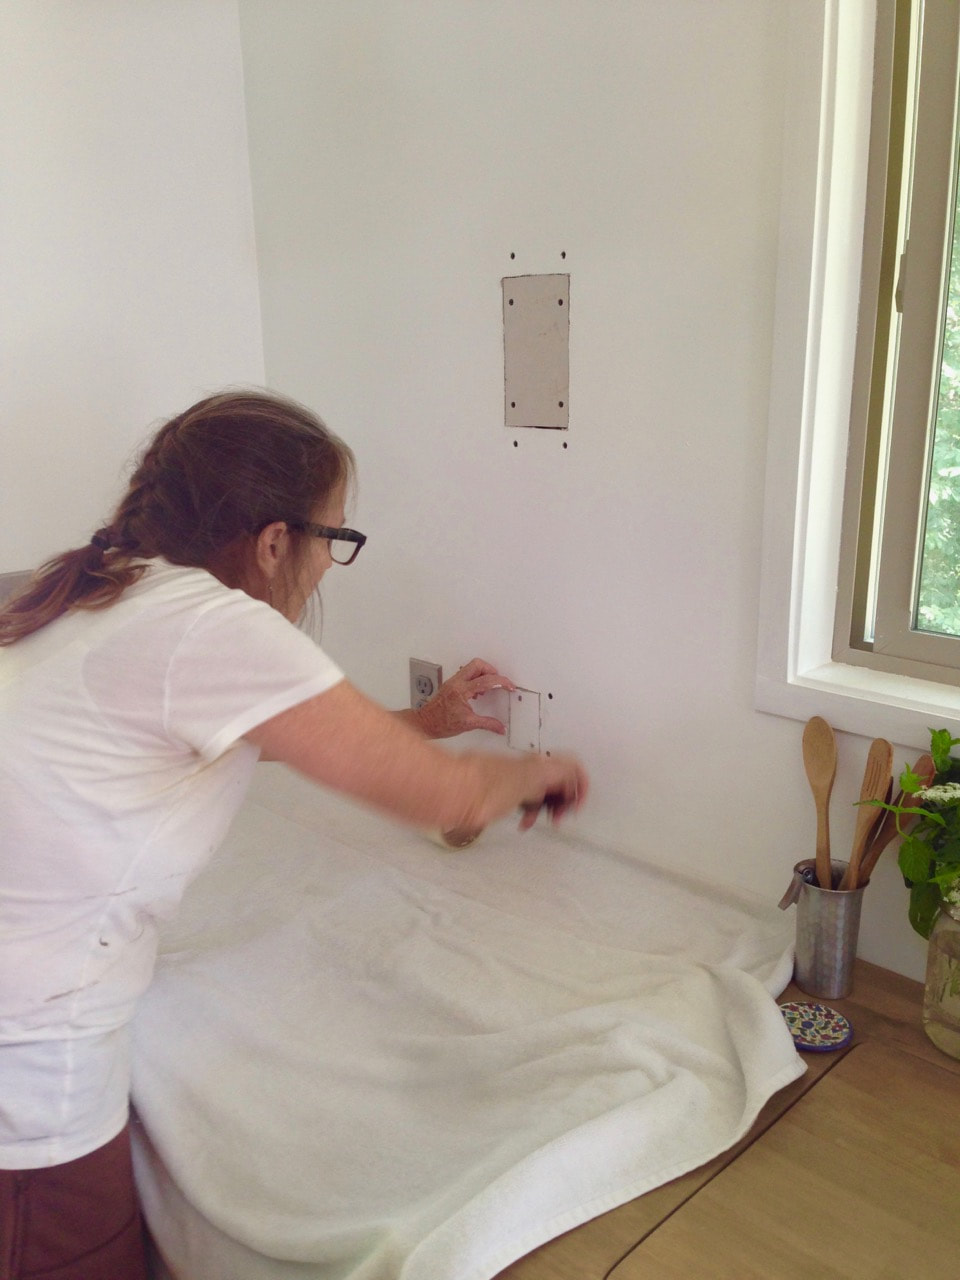
Our workbench. Finally, a place to work on projects inside—an eight-foot-long surface with shelve beneath for saws and chargers, generators and more. Right now, it's covered with a mess of projects, appropriately enough, as we finish wiring, etc.
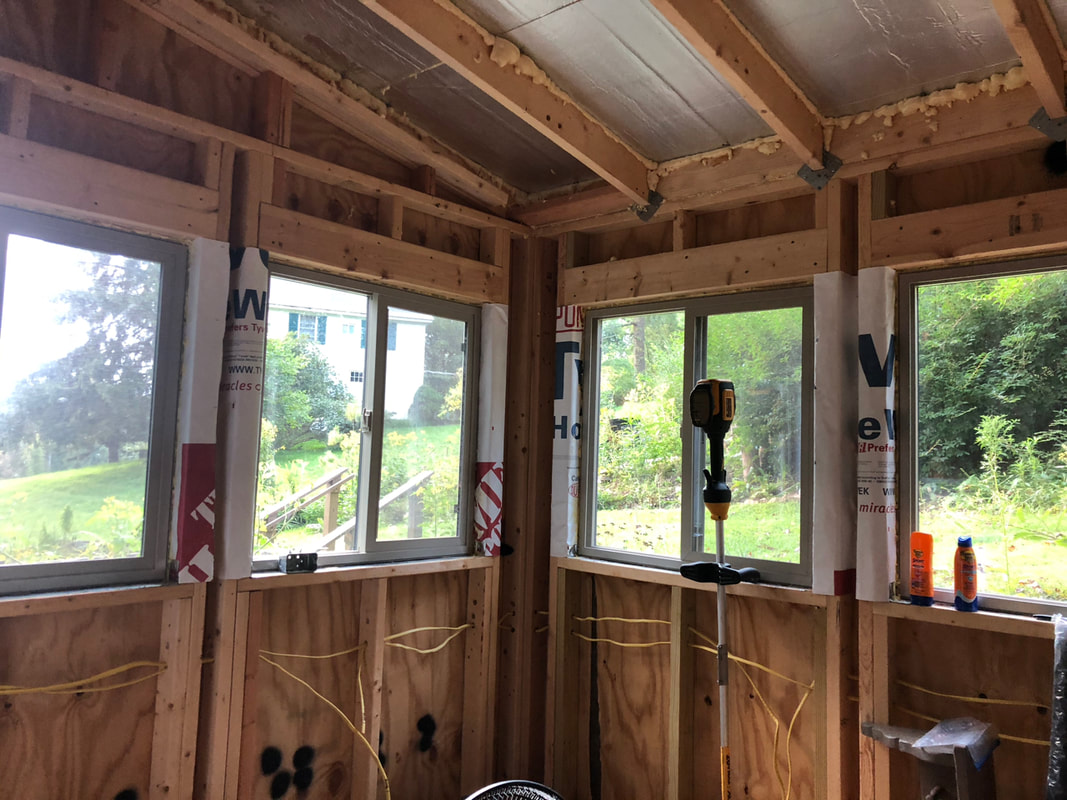
Heat. We installed an Envi wall-mounted convection heater. It's the same unit we have in both the main house and the Clubhouse—perfect for small spaces like ours.
Freezer. The shed has given us room to have a full-size freezer, which means we can have more food on hand—not to mention ice!
Still in the works:
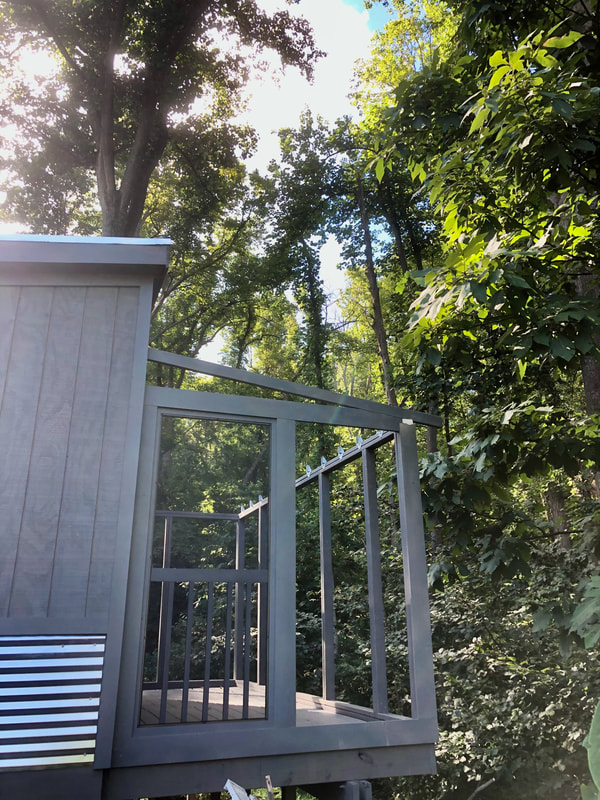
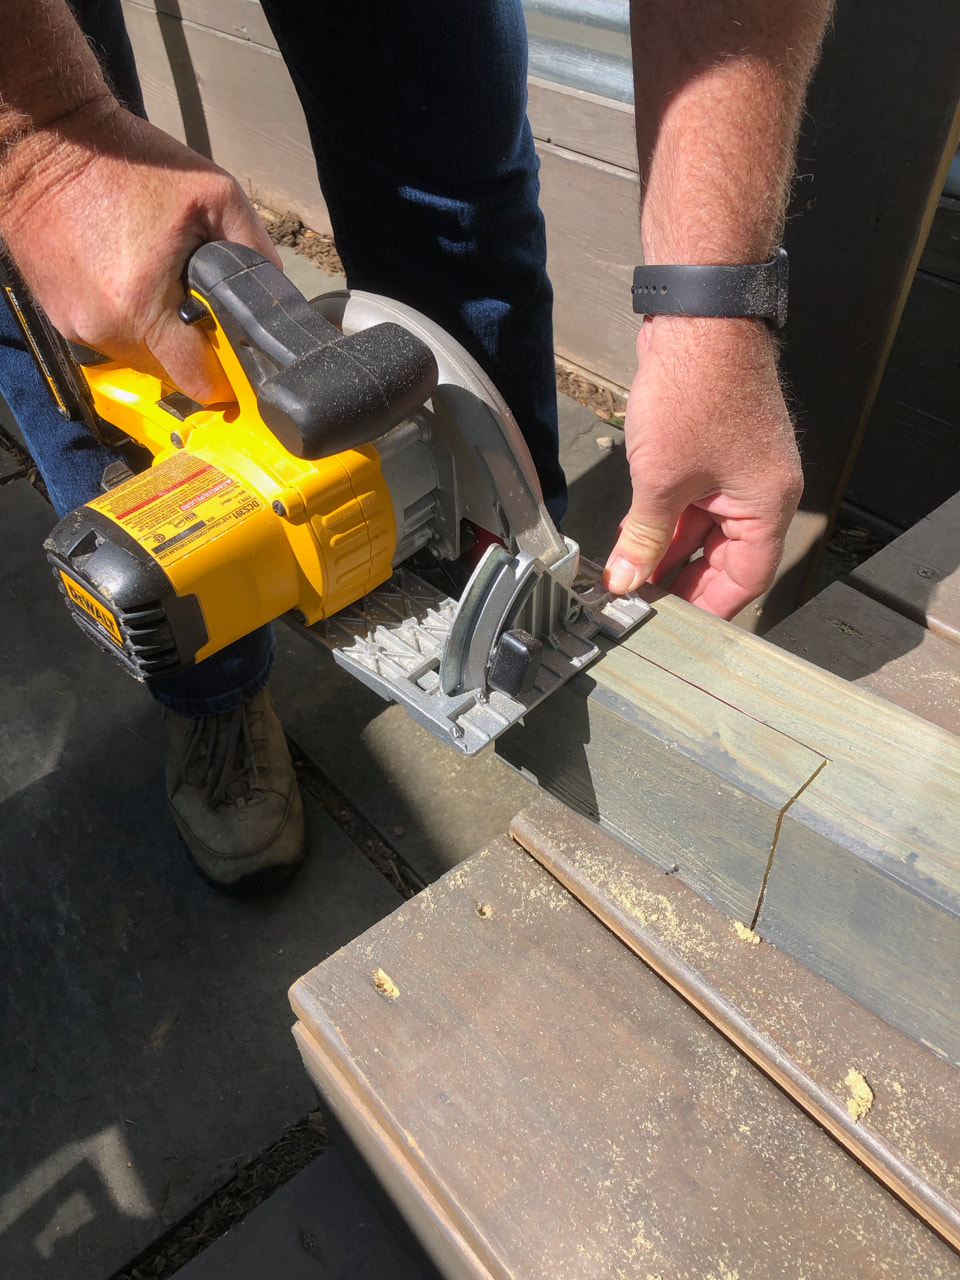
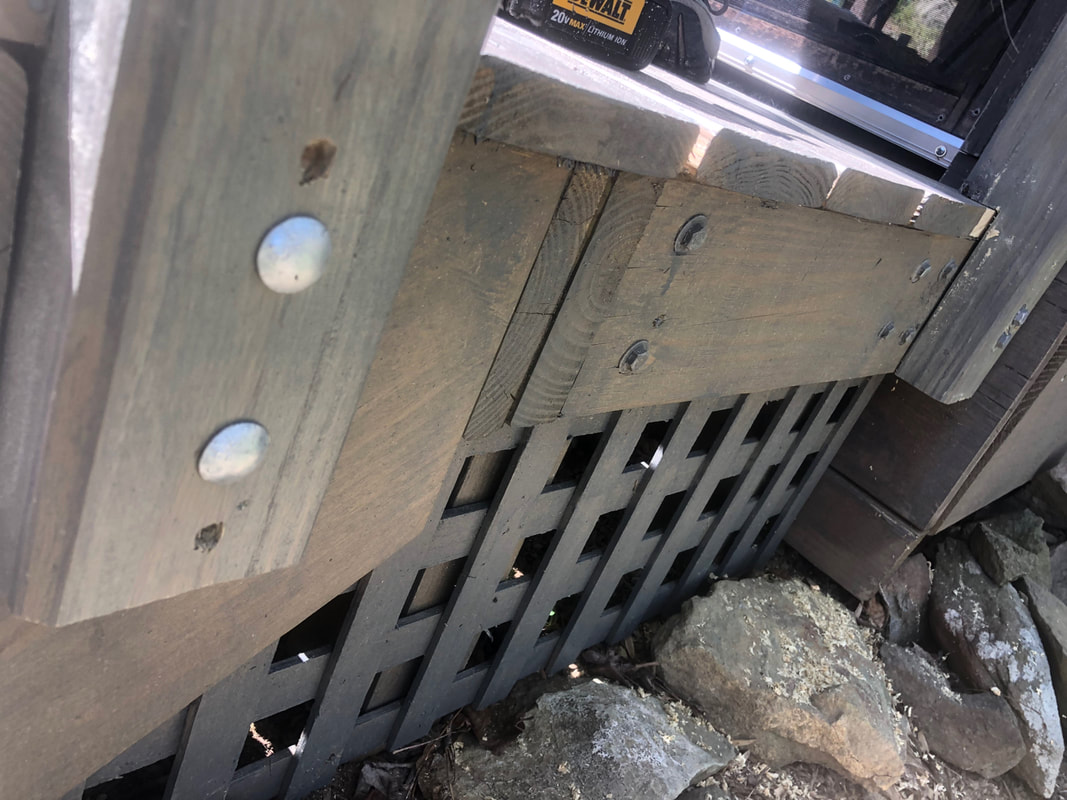
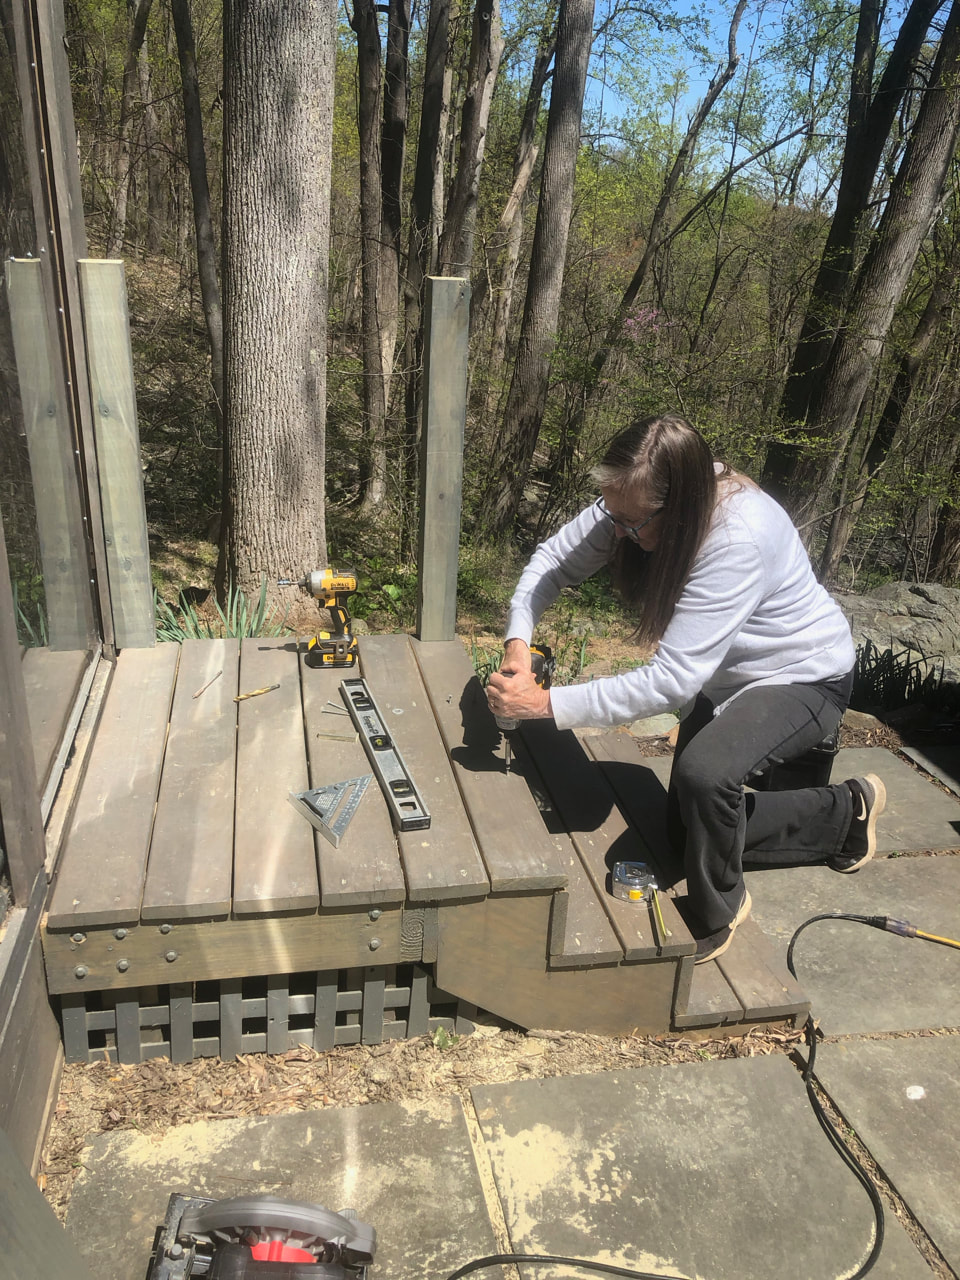
A step up to the porch. Adding a nice, wide step to the front of the porch will make access much more comfortable.
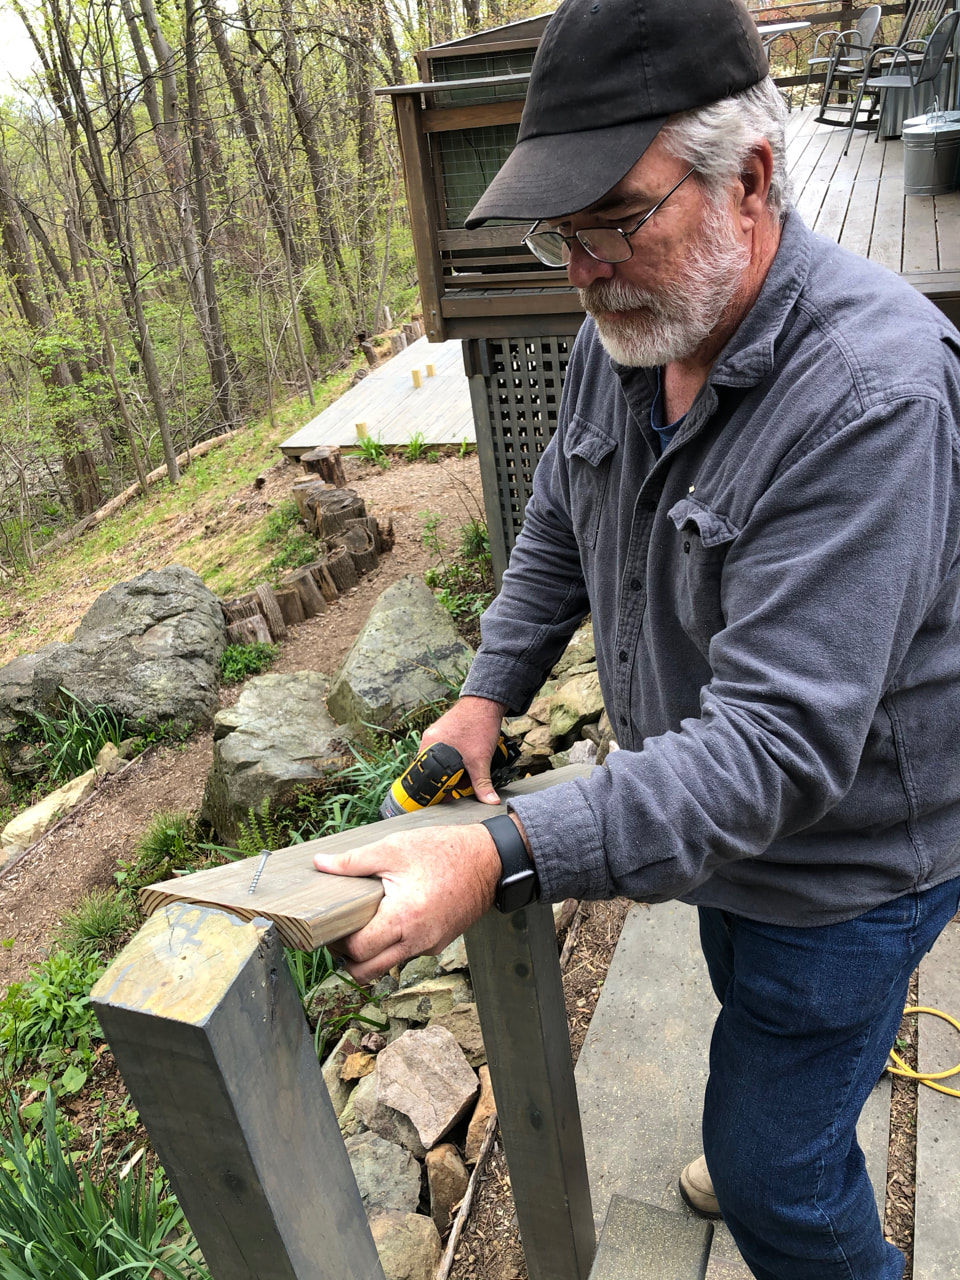
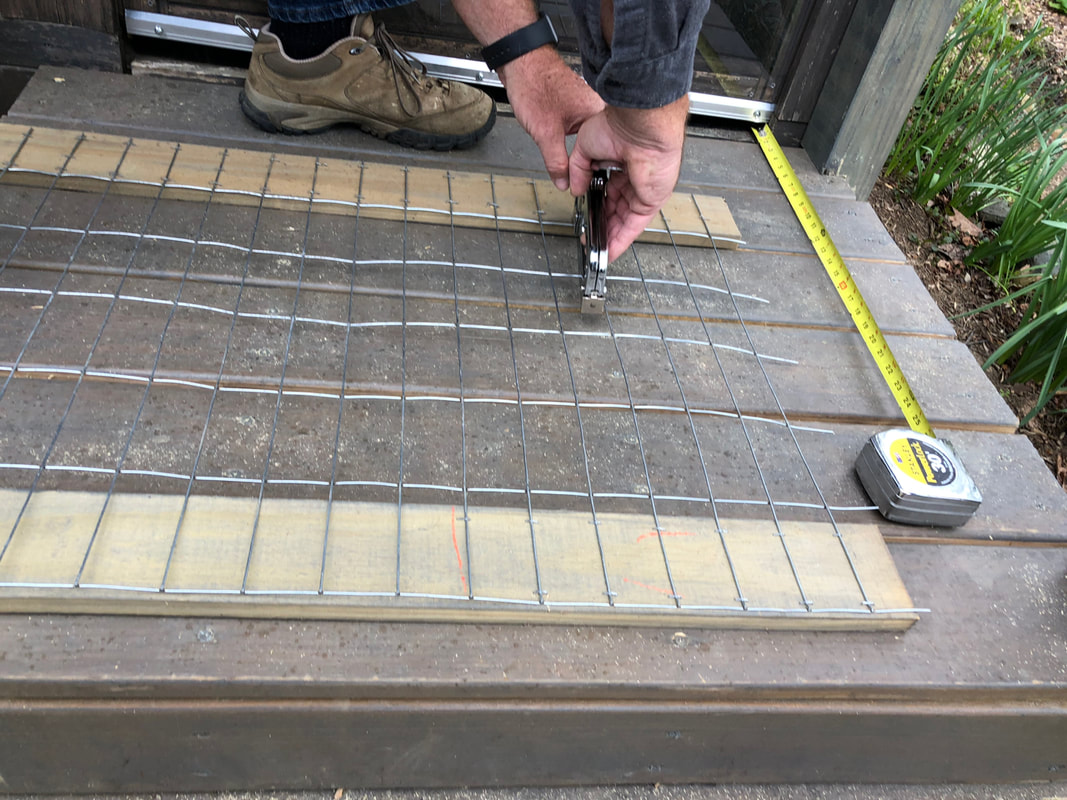
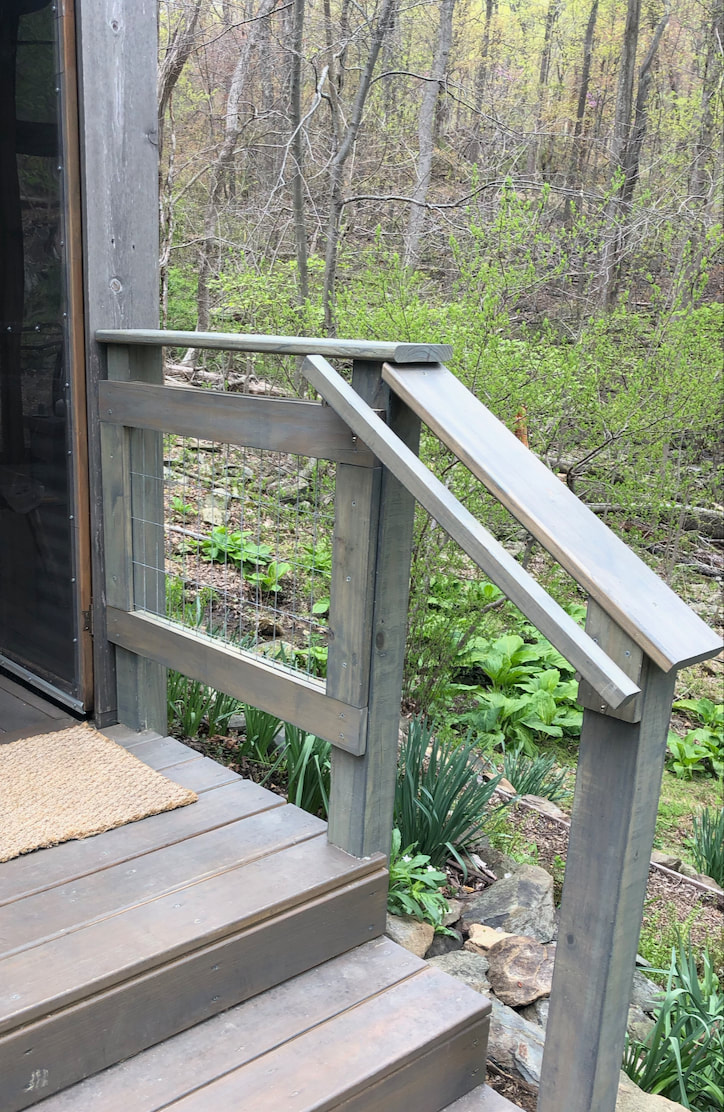
Porch railing and flip up table. The side of the porch by the woods is high off the ground. The plan is to add a railing that doubles as a flip-up table we can work or eat at.
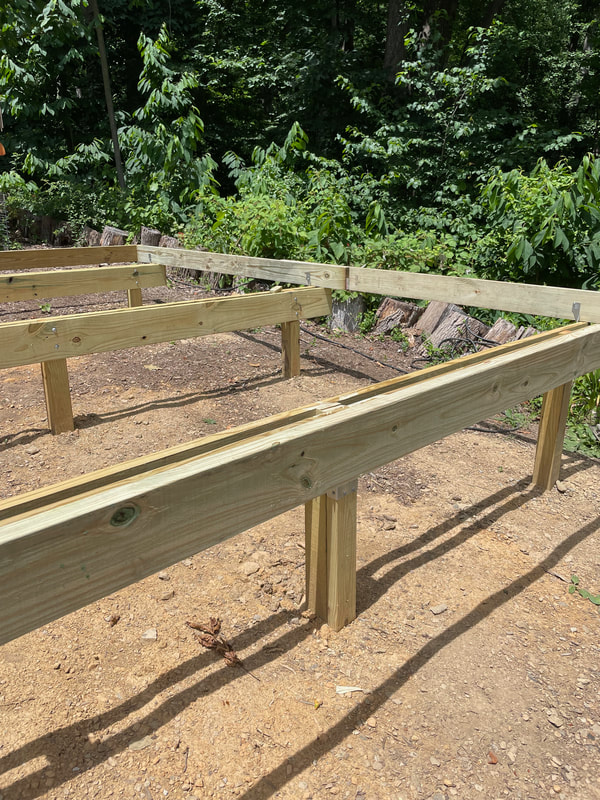
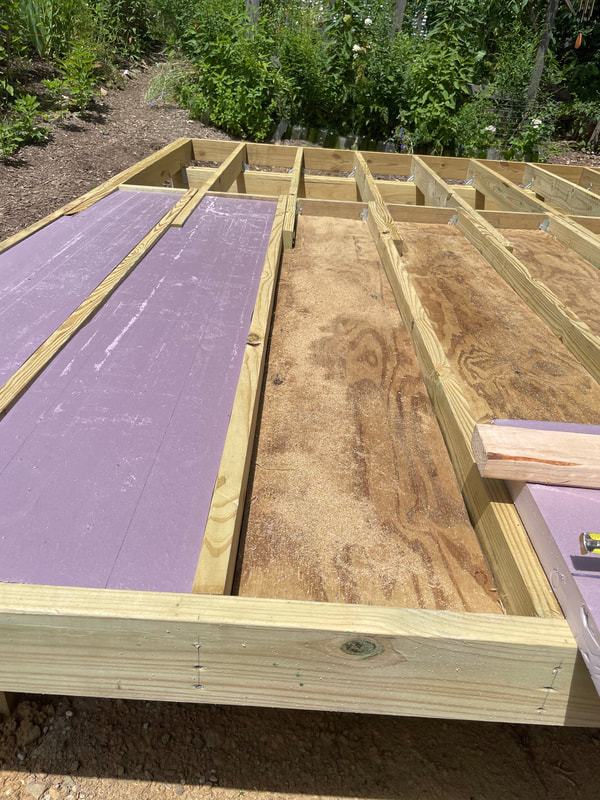
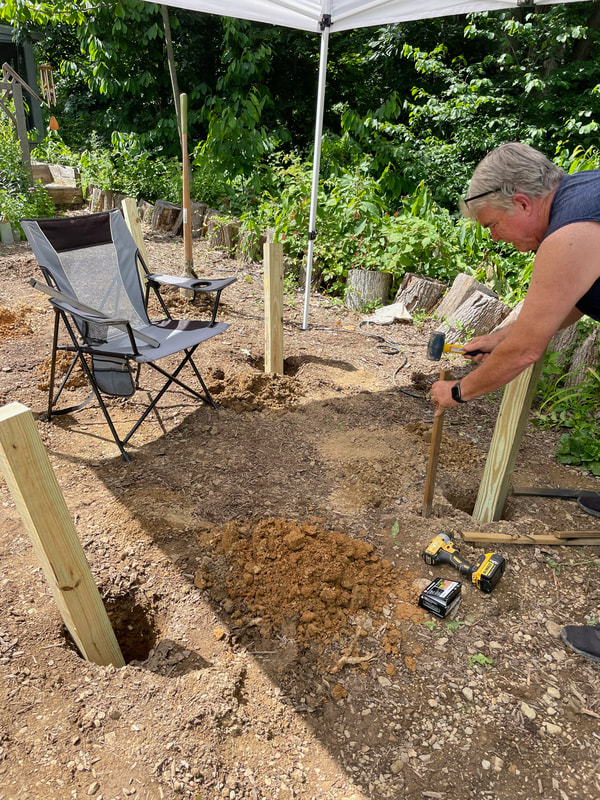
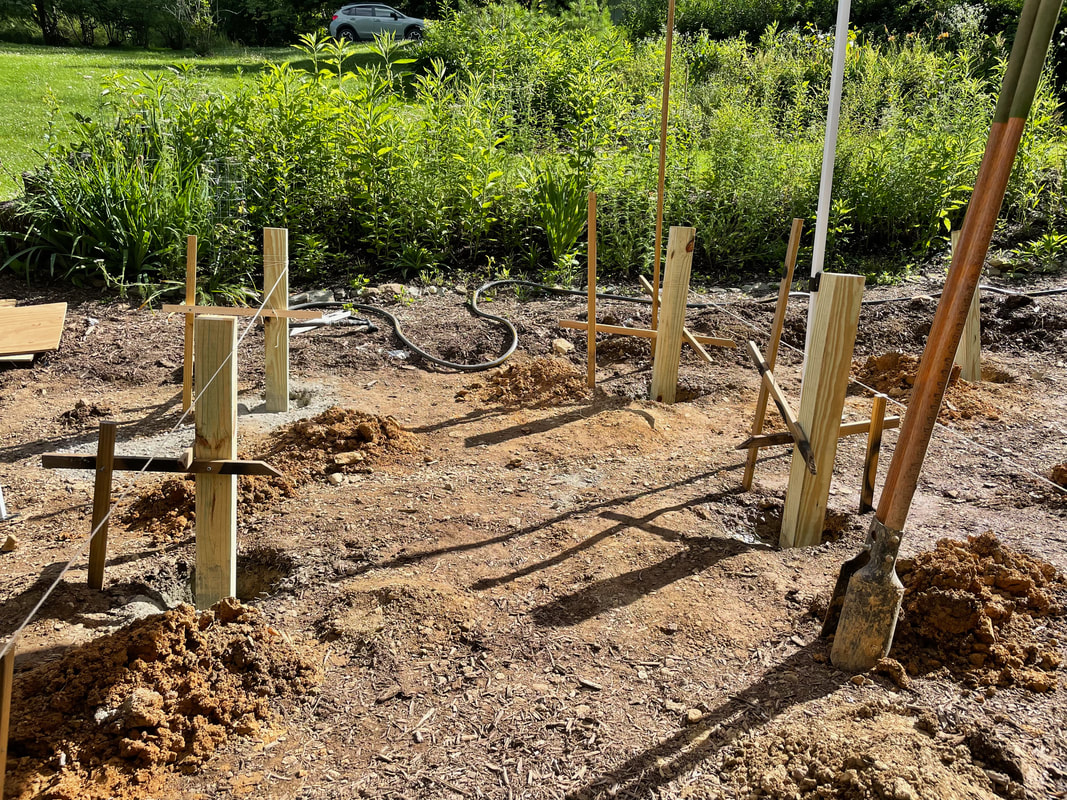
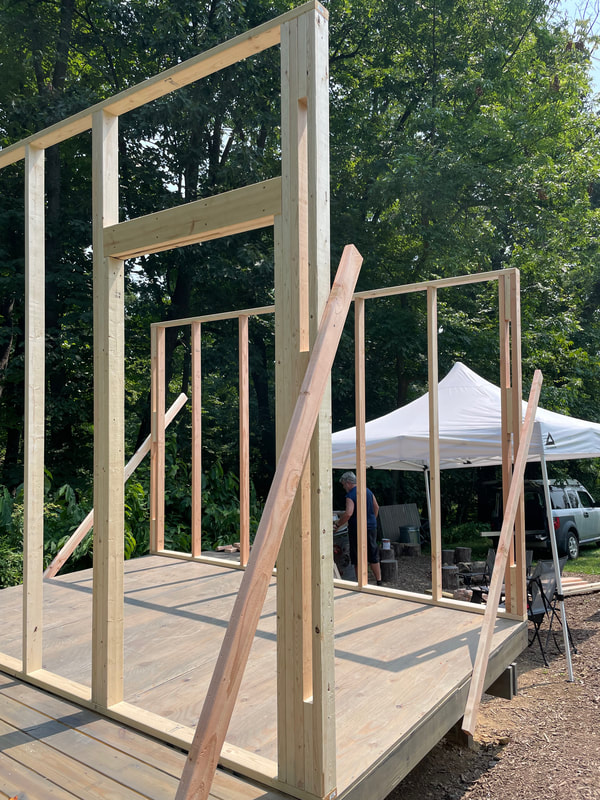
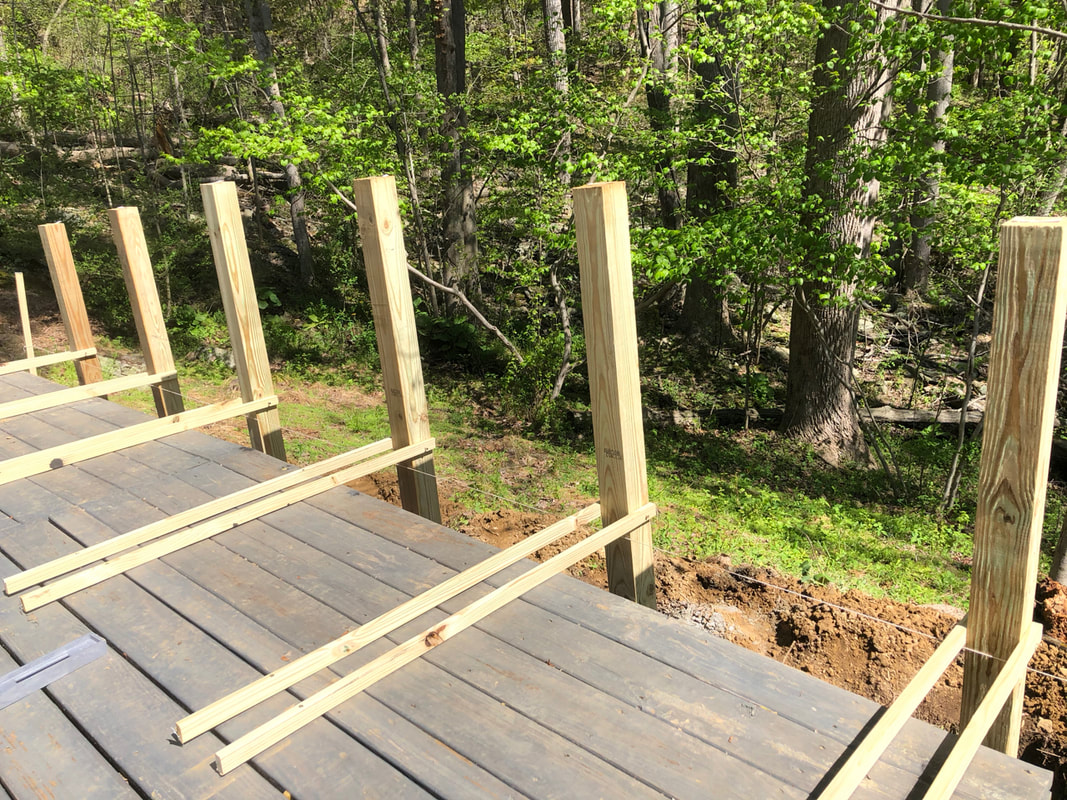
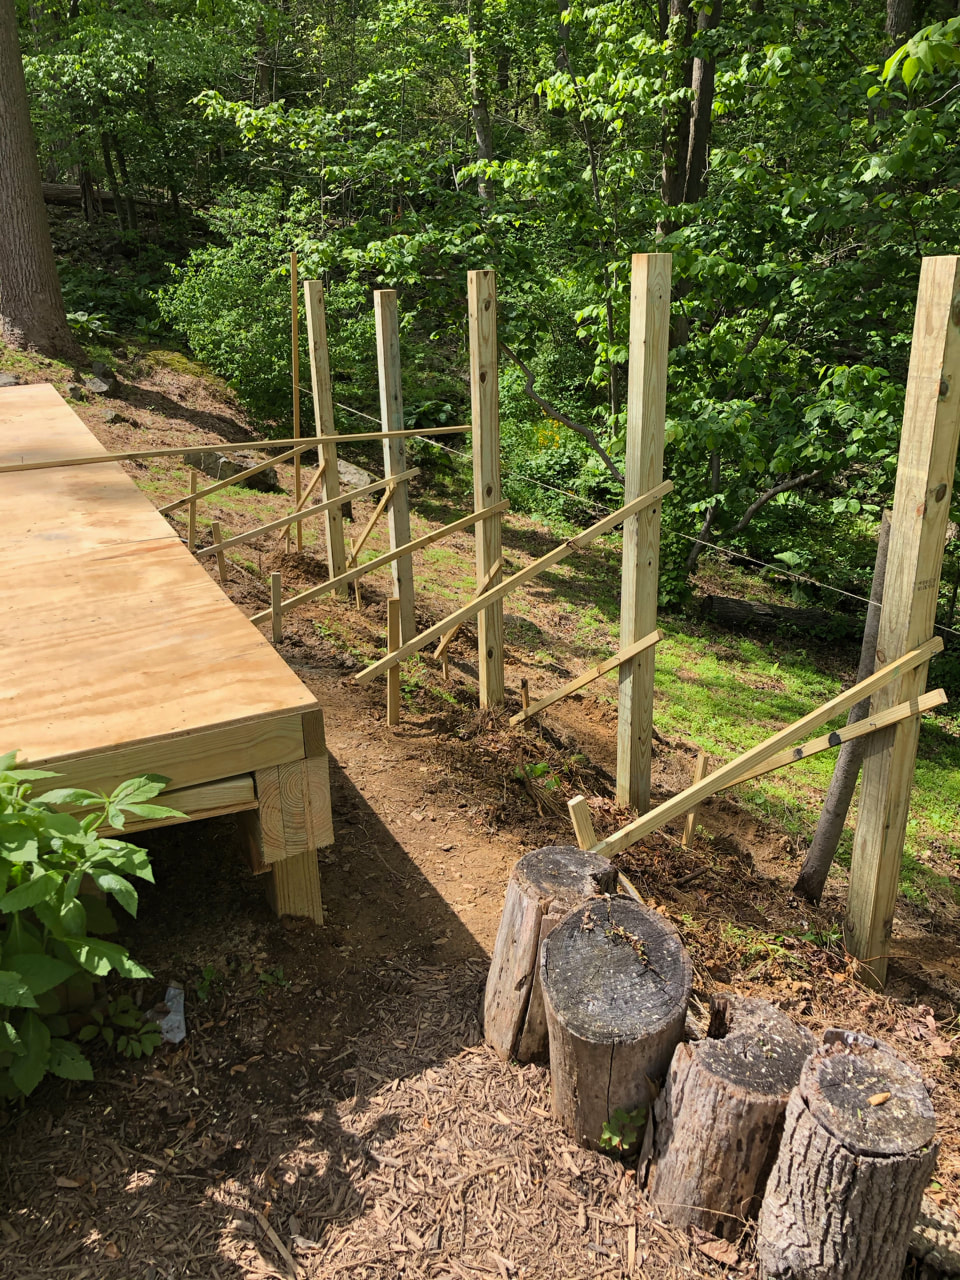
"Garage" off the back. We change our minds on this one all the time. Do we really need it? If we want to put things like the lawn mower and the chainsaw there, does it need sides? How big should it be?
Progress on the shed project in the last year:
Finishing the porch roof. We love sitting on porch now, often sipping a drink between projects. Plus, we can spread out a tarp and paint or stain even on a rainy day.
New solar generator and eco fridge. Our EcoFlow generator and solar panels can charge everything in the shed—as well as come with us on camping trips. It's a great setup with our 12-volt IceCo fridge (also great on camping trips.)
A wall of shelves and another pegboard wall of tools. We're pretty darn organized these days when it comes to tools and equipment. One box with painting supplies, another with tarps, one for plumbing pieces—and all the rest.
Our workbench. Finally, a place to work on projects inside—an eight-foot-long surface with shelve beneath for saws and chargers, generators and more. Right now, it's covered with a mess of projects, appropriately enough, as we finish wiring, etc.
Heat. We installed an Envi wall-mounted convection heater. It's the same unit we have in both the main house and the Clubhouse—perfect for small spaces like ours.
Freezer. The shed has given us room to have a full-size freezer, which means we can have more food on hand—not to mention ice!
Still in the works:
A step up to the porch. Adding a nice, wide step to the front of the porch will make access much more comfortable.
Porch railing and flip up table. The side of the porch by the woods is high off the ground. The plan is to add a railing that doubles as a flip-up table we can work or eat at.
"Garage" off the back. We change our minds on this one all the time. Do we really need it? If we want to put things like the lawn mower and the chainsaw there, does it need sides? How big should it be?


 RSS Feed
