Simply Enough
  • Building
  • Projects
  • Simply Enough
  • Community
  • Contact
  • Products
  • About Us
  • Media

Big Ideas,
a Tiny House
And Simple Living

Winter Happens

12/7/2018

0 Comments

 
Picture
This post was going to be "Winter Is Coming" if I had gotten around to writing it as planned in October. The good news is that we actually started winterizing ahead of the first frost this year, even if we didn't get around to writing about it. We may have finally learned our lesson—that winter comes whether we've insulated our water pipes or not, etc.

So, what did "winterizing" mean this year?

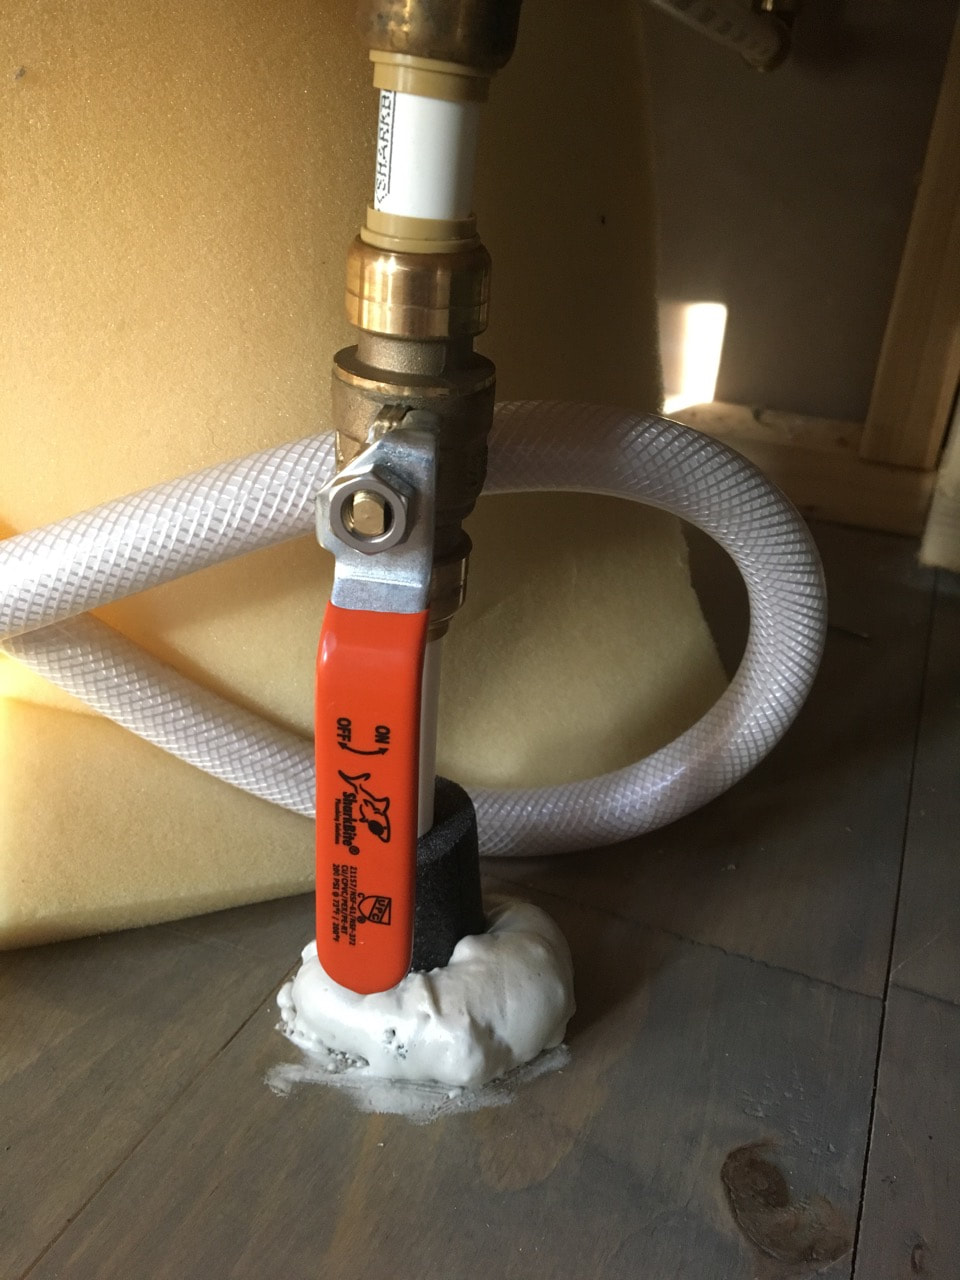
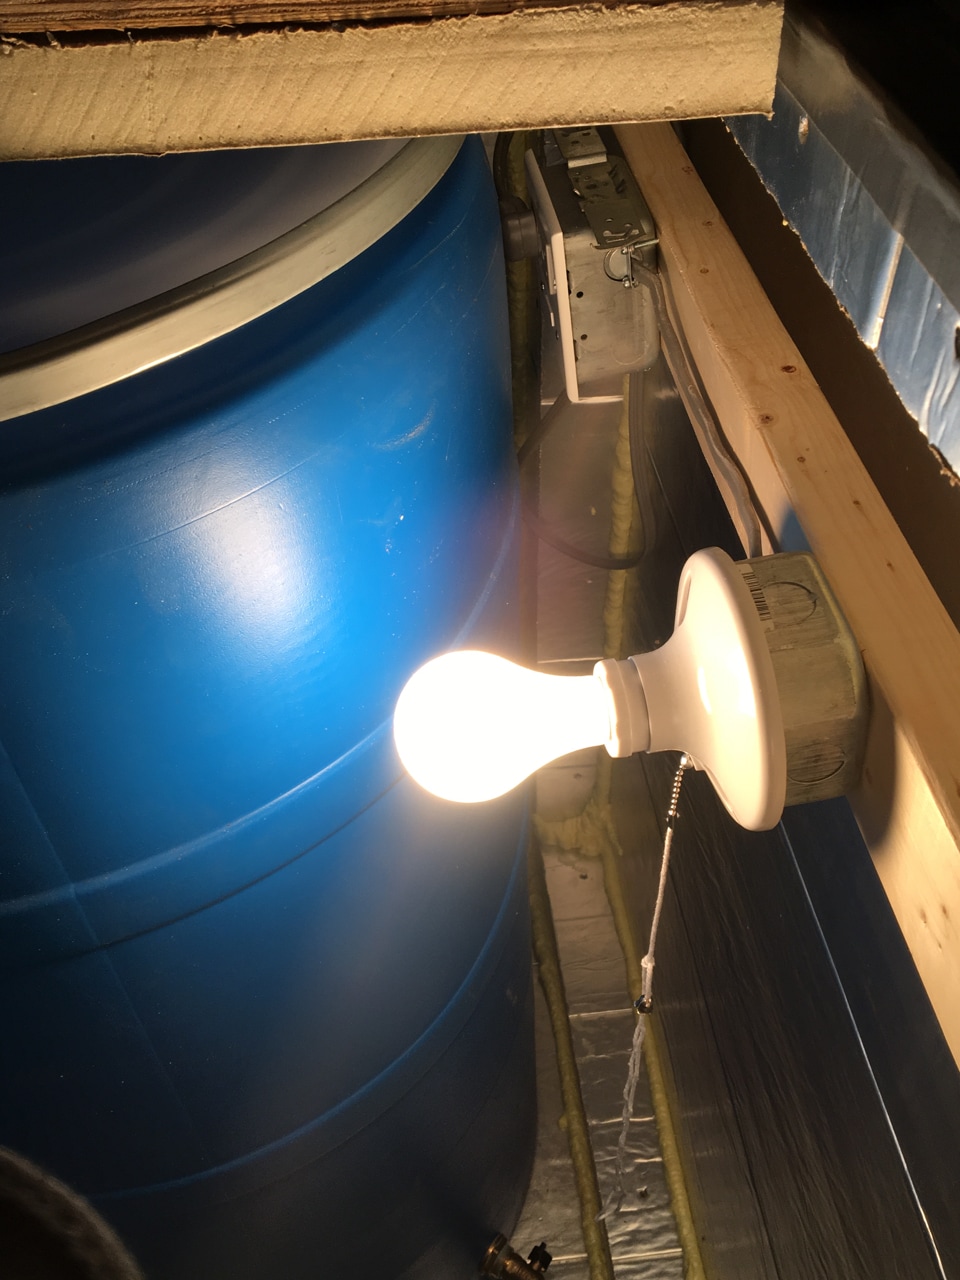
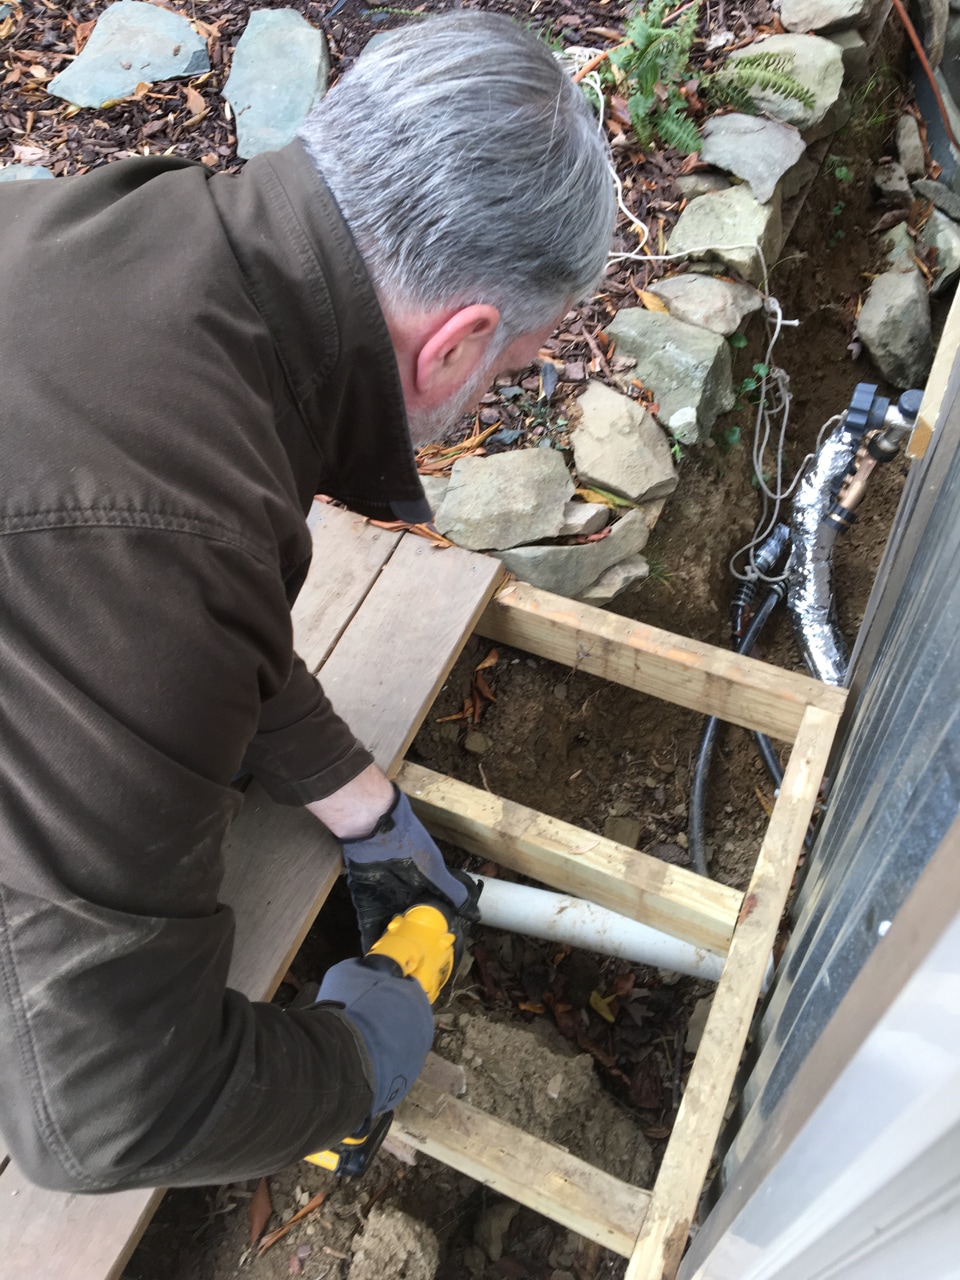
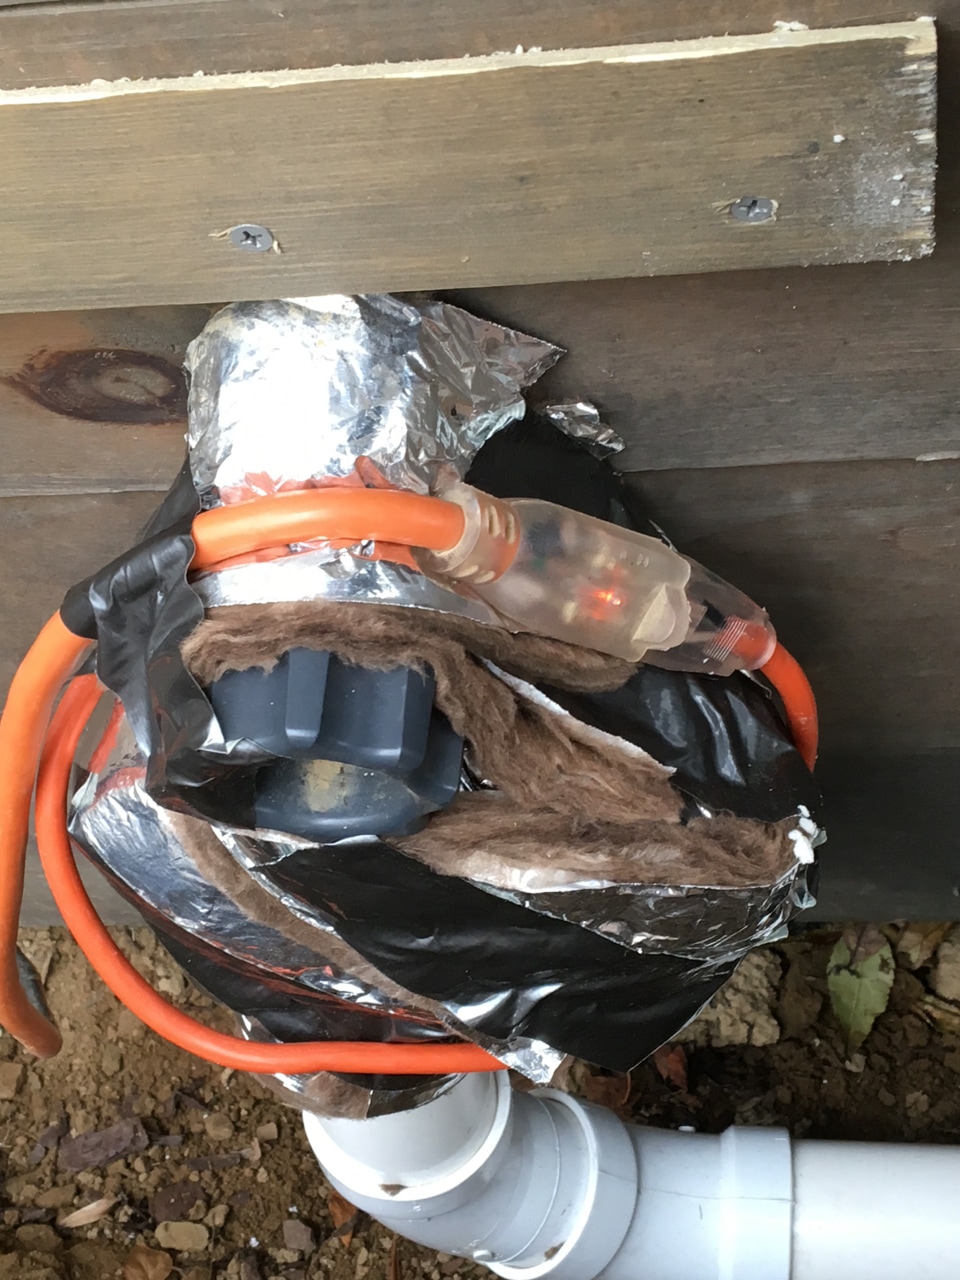
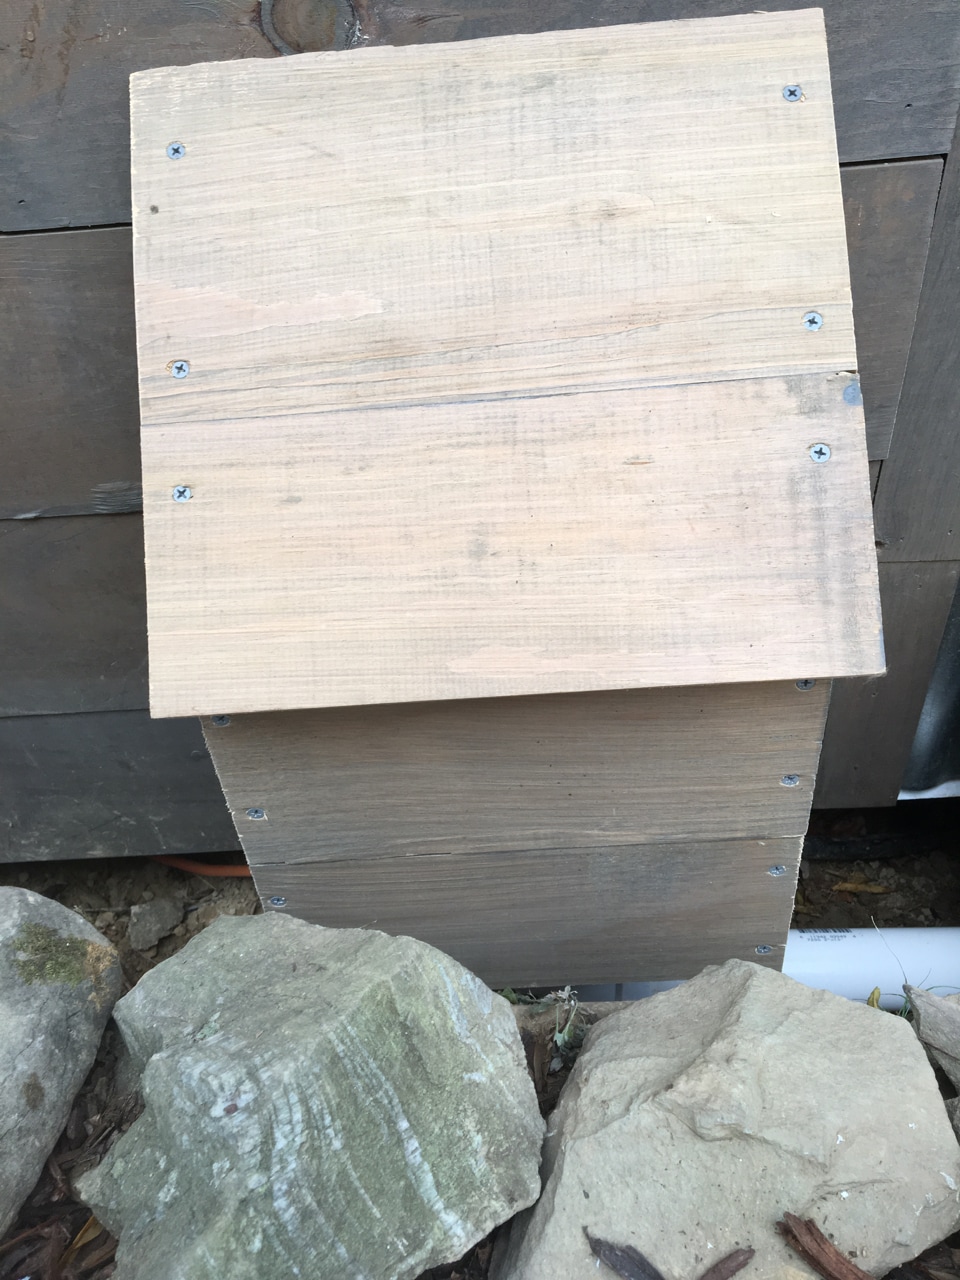
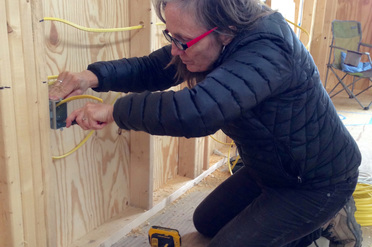
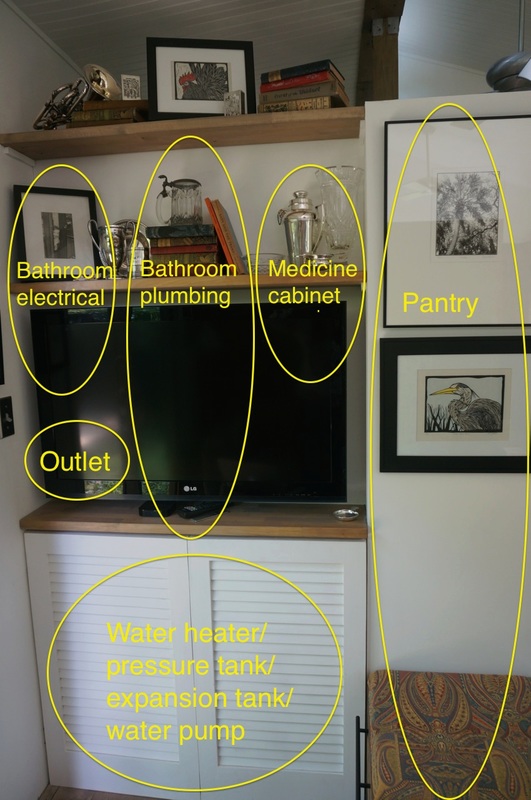
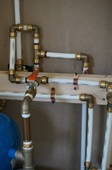
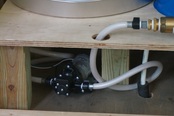
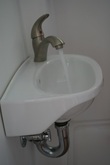
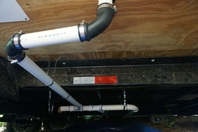
Protecting pipes. We doubled up on the insulation that protects the water intake on the house--a winter weak spot in the past. We also put a new light bulb to heat the cavity between the joists where a water pipe crosses under the floor to the kitchen sink.

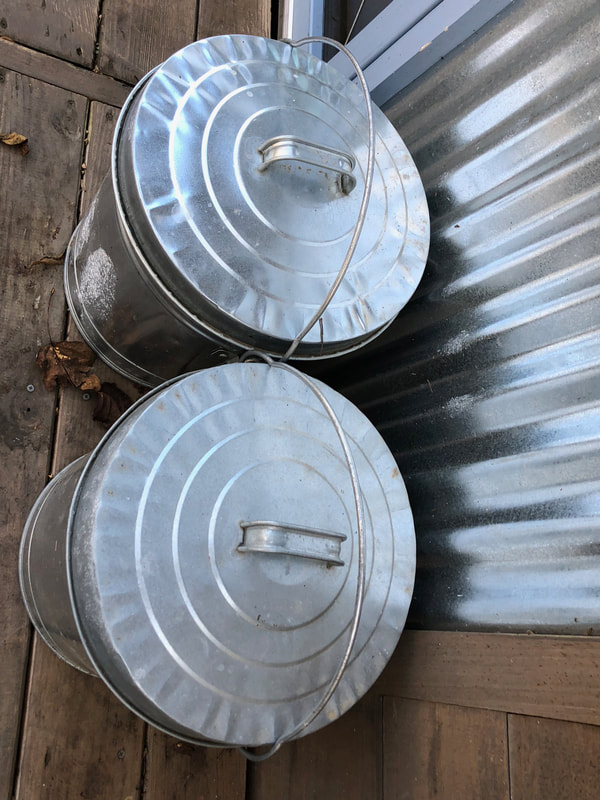
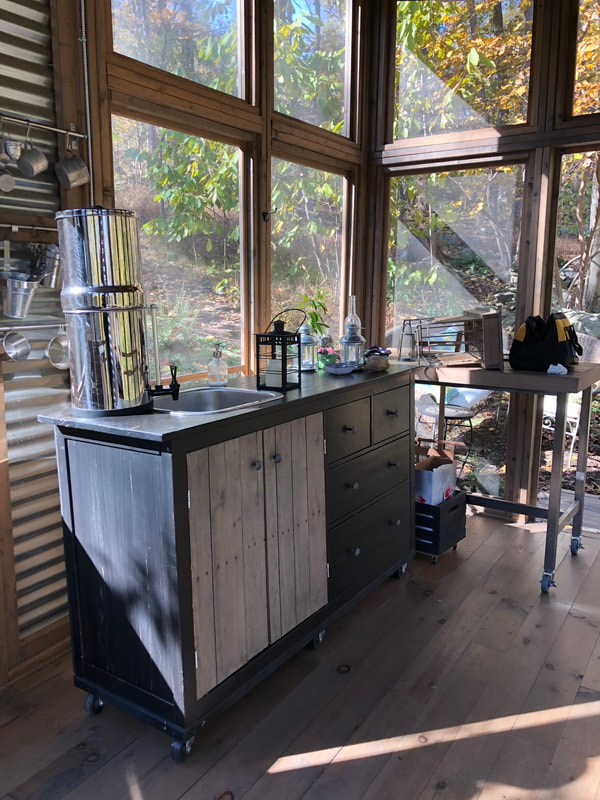
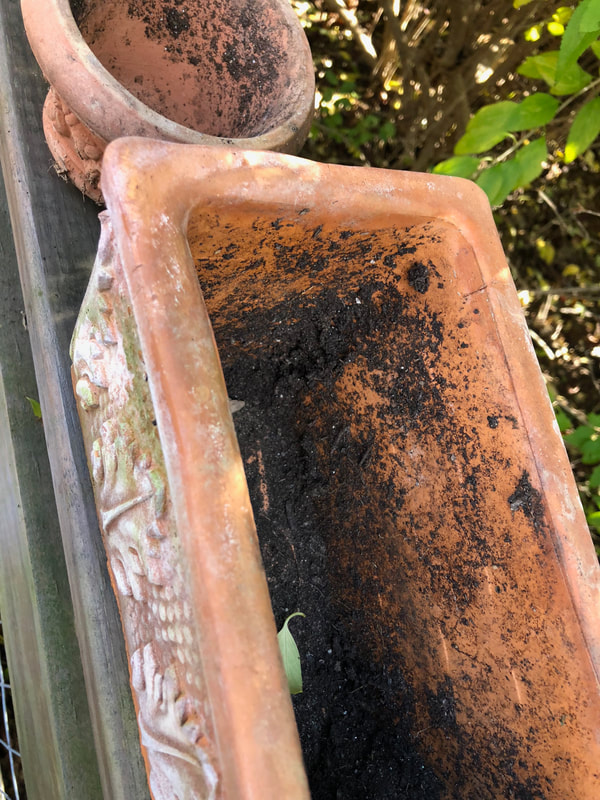
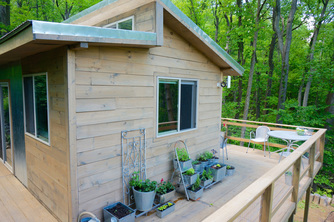
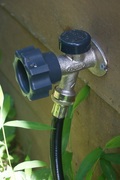
Anti-freeze measures. When it's not freezing, we love having hoses by the deck and the garden. They have to be shut off and drained when the temps dip. We also empty the big Berkey water filter we use as our water supply in the screen house, and we empty the cooler we use as a back-up refrigerator much of the year. Clay pots of flowers look great on the deck for half the year; leaving them outside in the winter filled with soil means cracked pots. Now, they all get emptied and stored away till spring. All of this has become more routine as we live in the house longer.

Loading up on firewood. This one seems obvious, but we've gotten caught under-prepared in the past. To fuel our Kimberly wood stove, we have one box inside the house, four small cans at the ready outside the door and one big trashcan of pre-cut, kiln-dried wood in our friend's garage. This also means walking around and picking up sticks, breaking them to size and loading up the wood boxes outside the house.

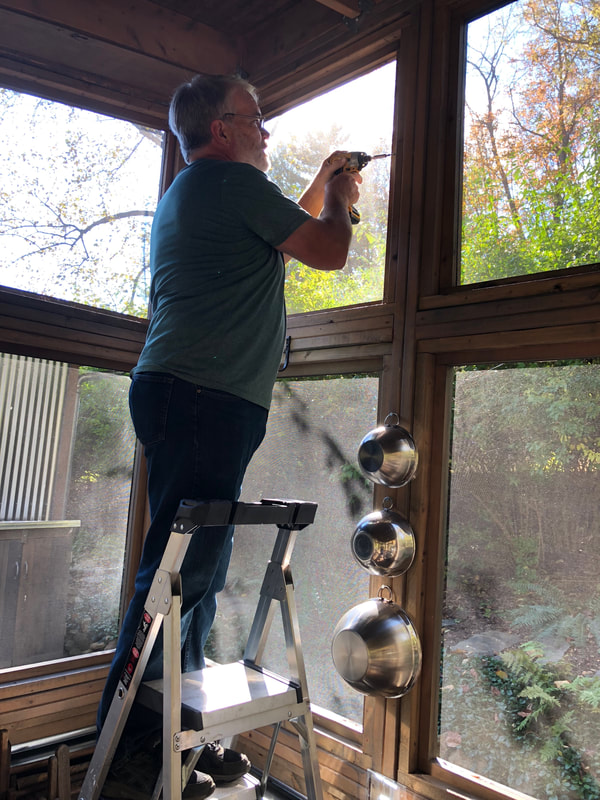
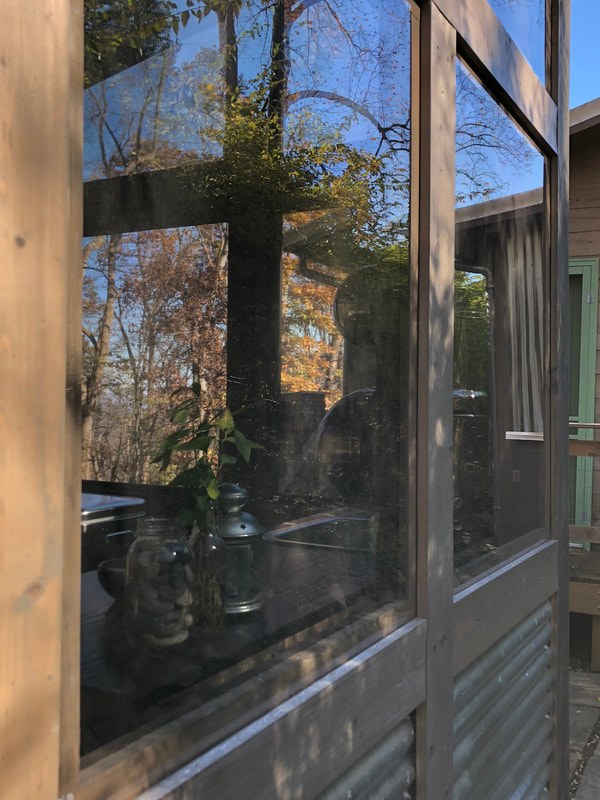
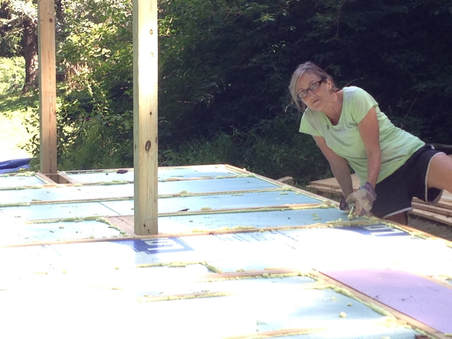
"Glassing" the screen house. Last year, we tested out installing seasonal Lexan over some of the windows of our screen house. It's expensive but it worked. We invested $2500 in Lexan sheets and cut them to size to cover all the windows and doors. Our thinking? We'll keep snow out, and we'll drastically extend the season we can enjoy the screen house. Sunny days heat up the space, greenhouse-style. We're even experimenting to see if more plants can winter over inside there.

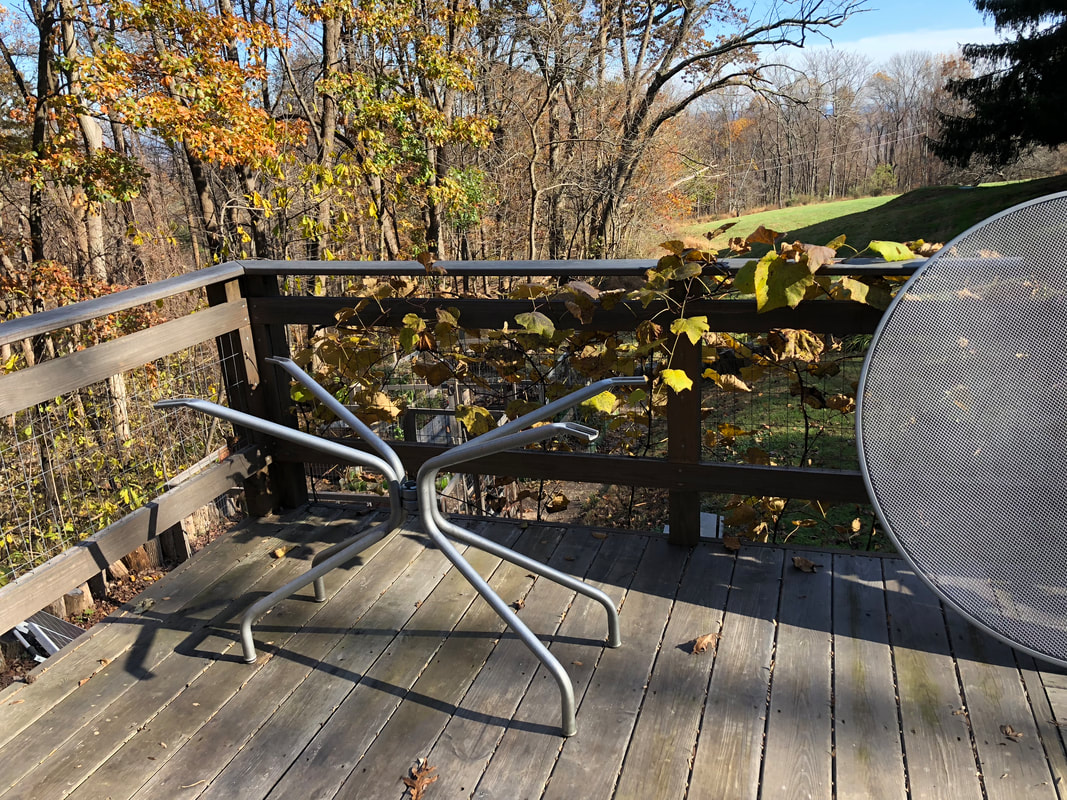
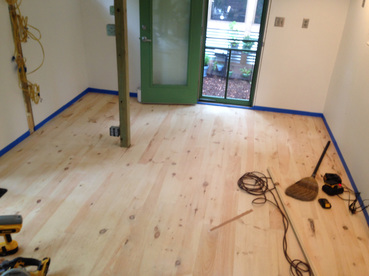
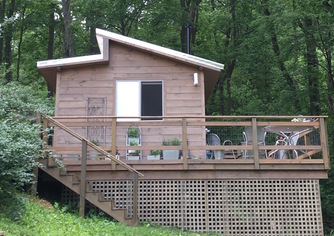
Clearing the deck. We designed our deck so that we can push snow under the railing. But you can't do that if there are things in the way. Besides putting away the pots, we moved the rocking chairs and dining table and chairs into covered space (that same garage) for the winter. In the future, they'll be able to go right under the deck, once we set up covered storage there.

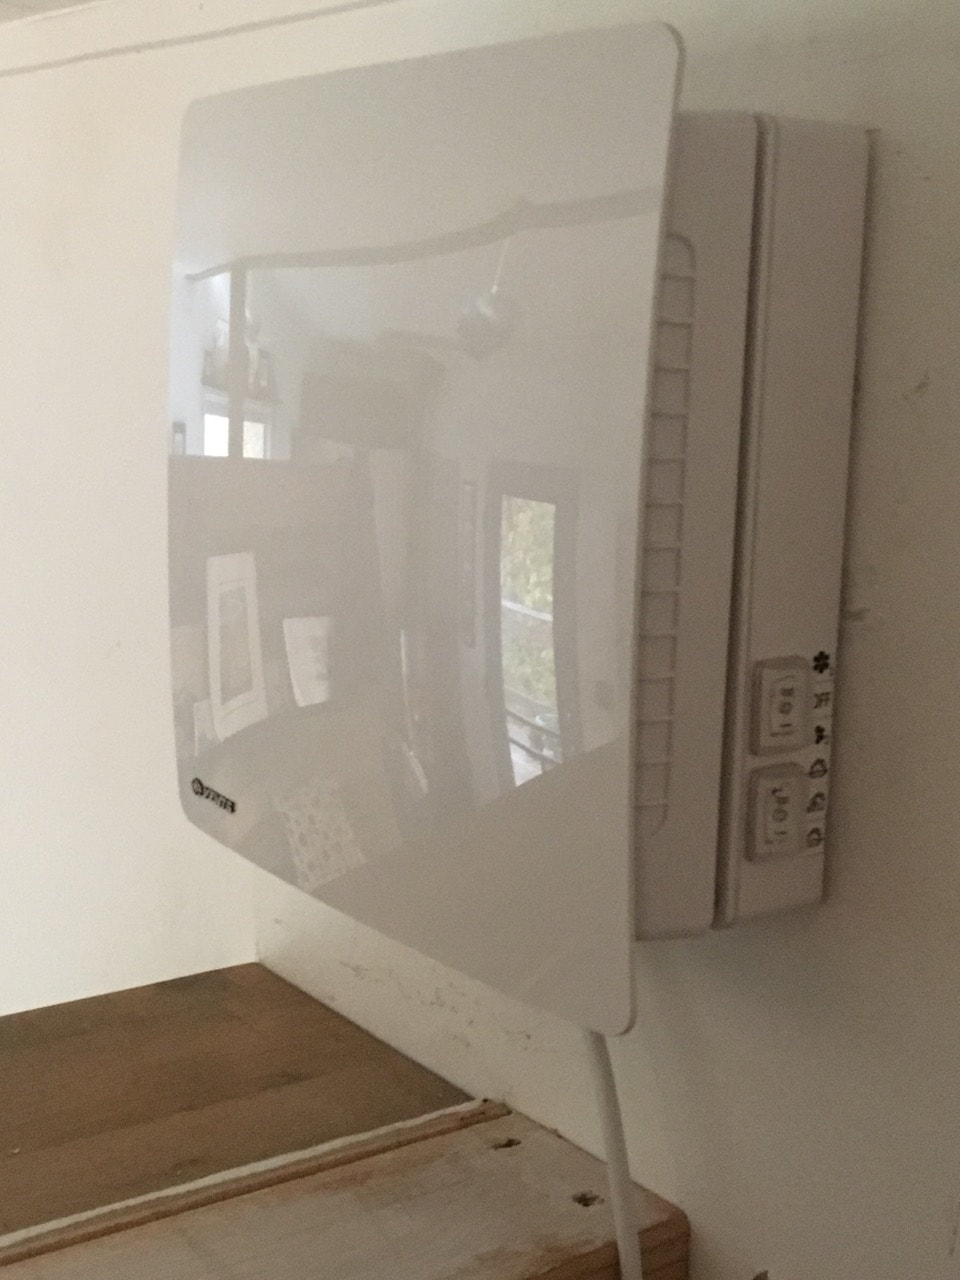
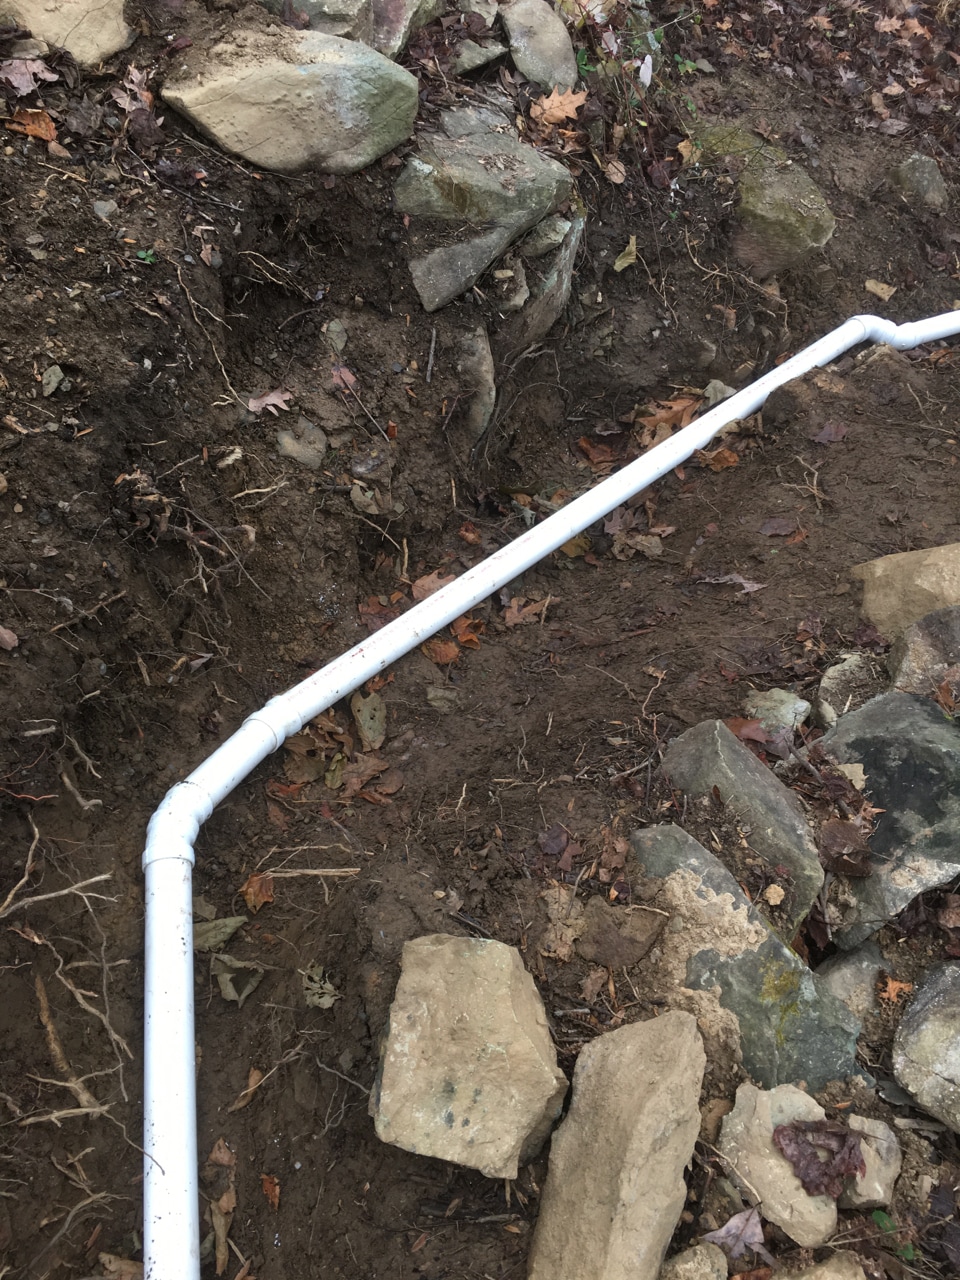
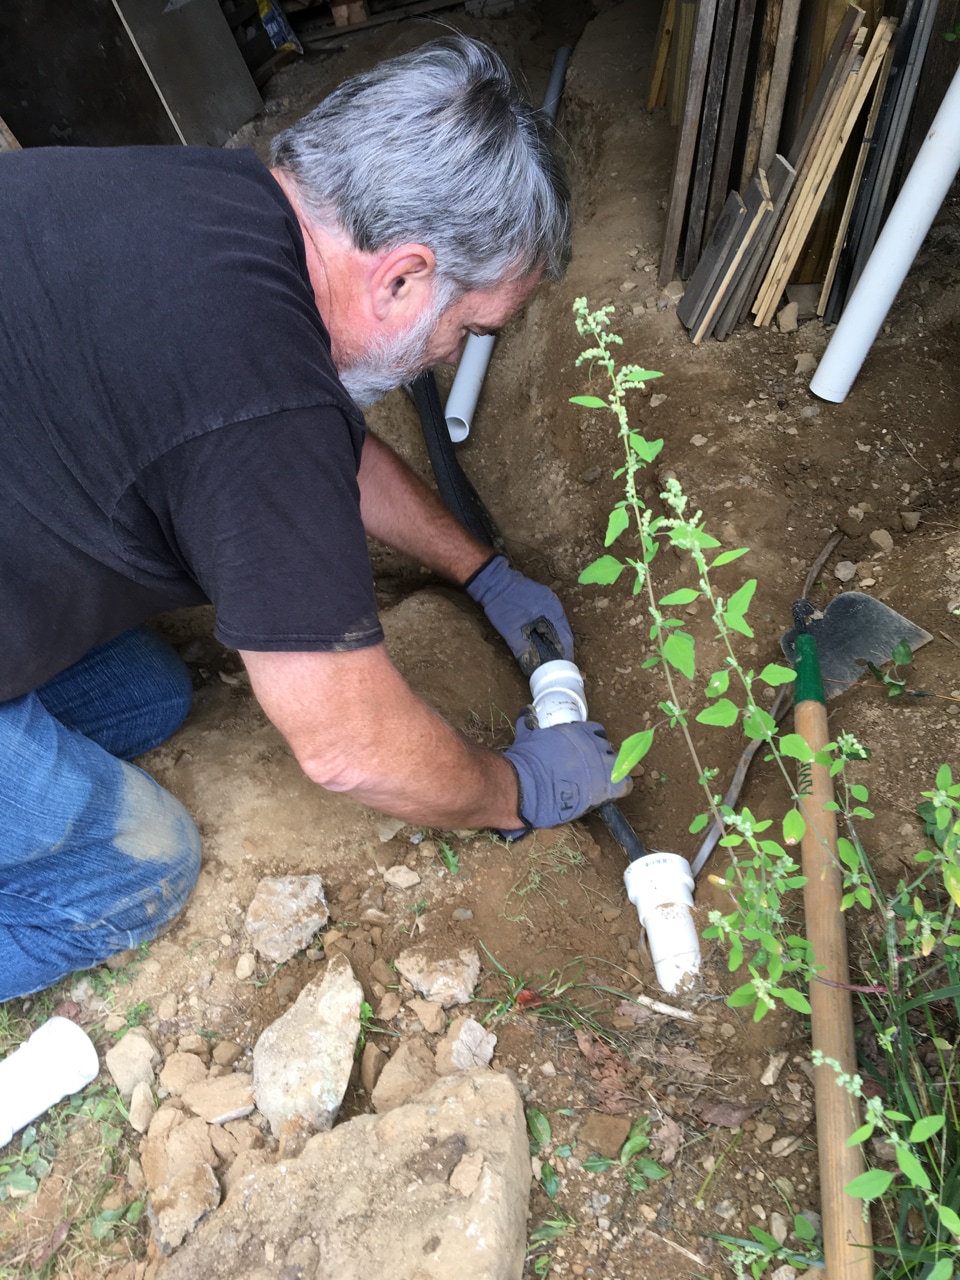
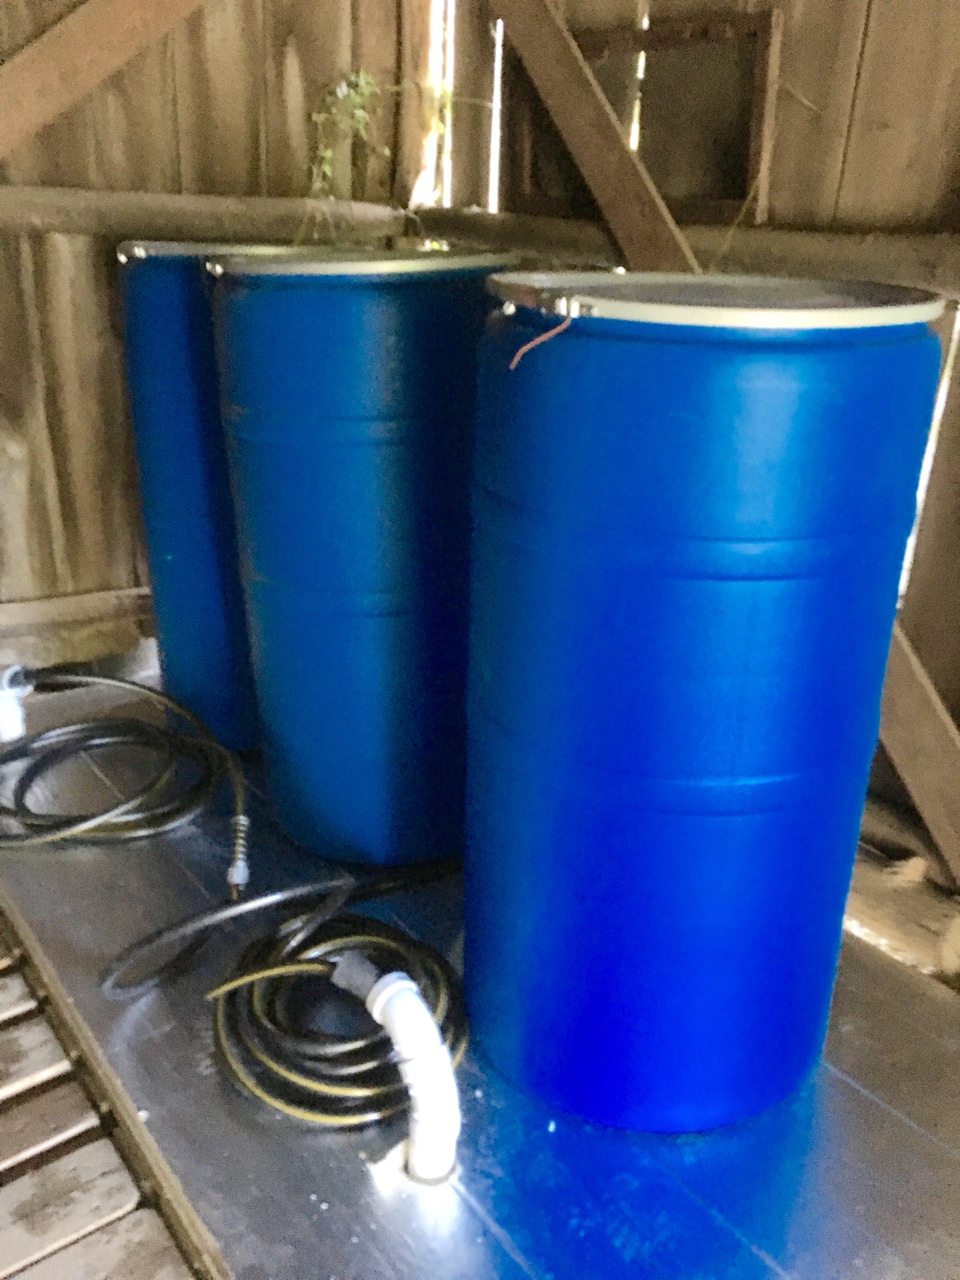
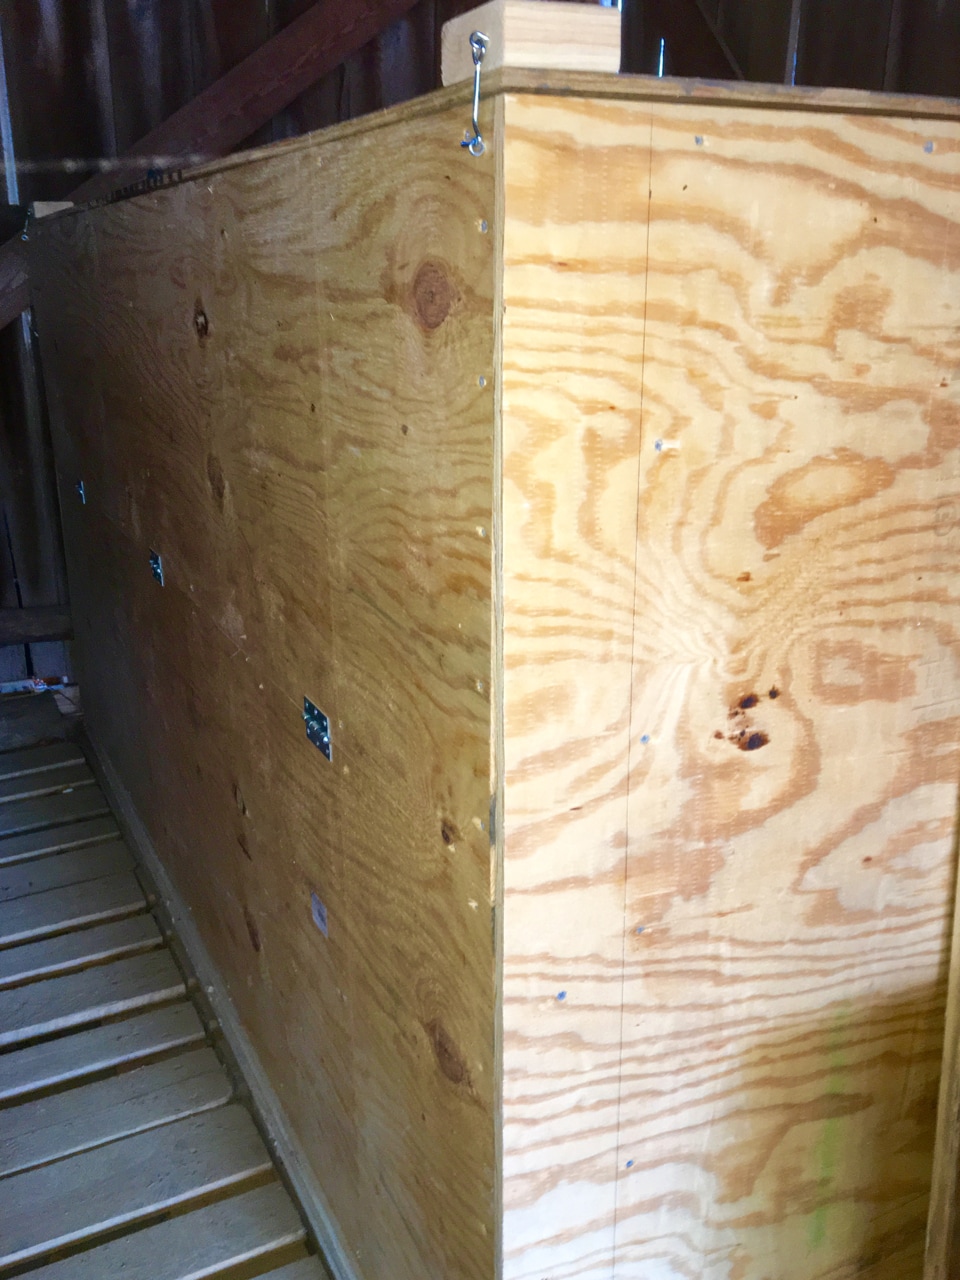
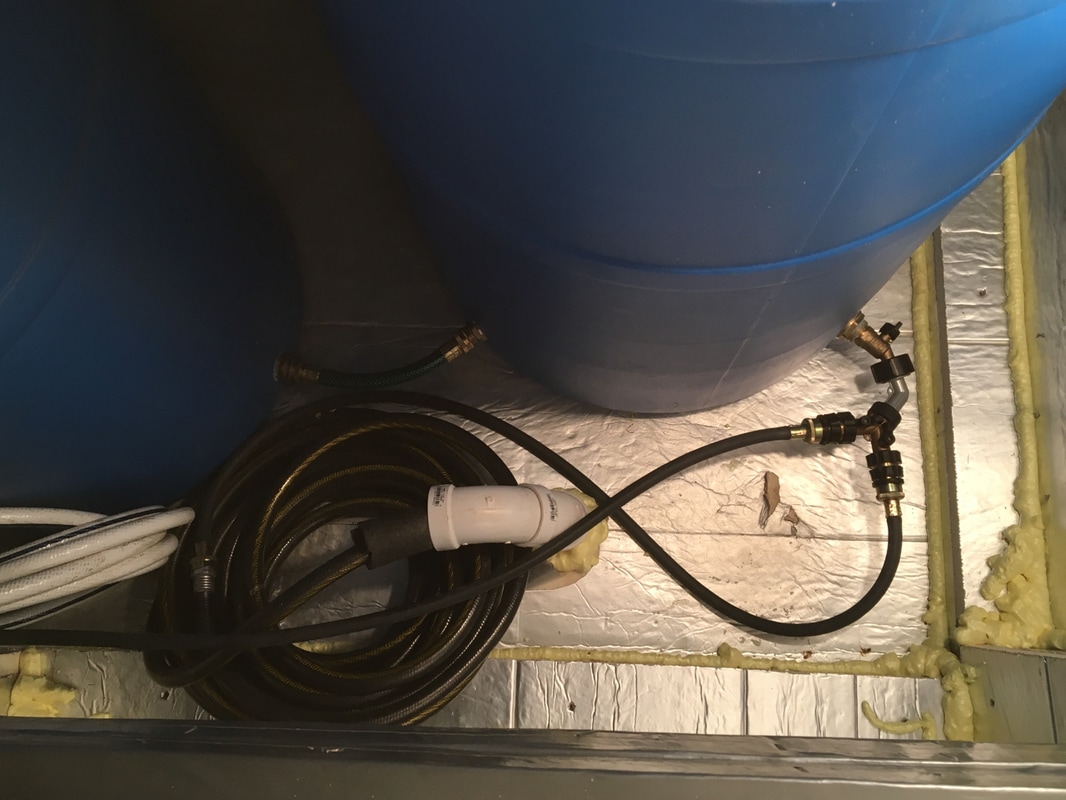
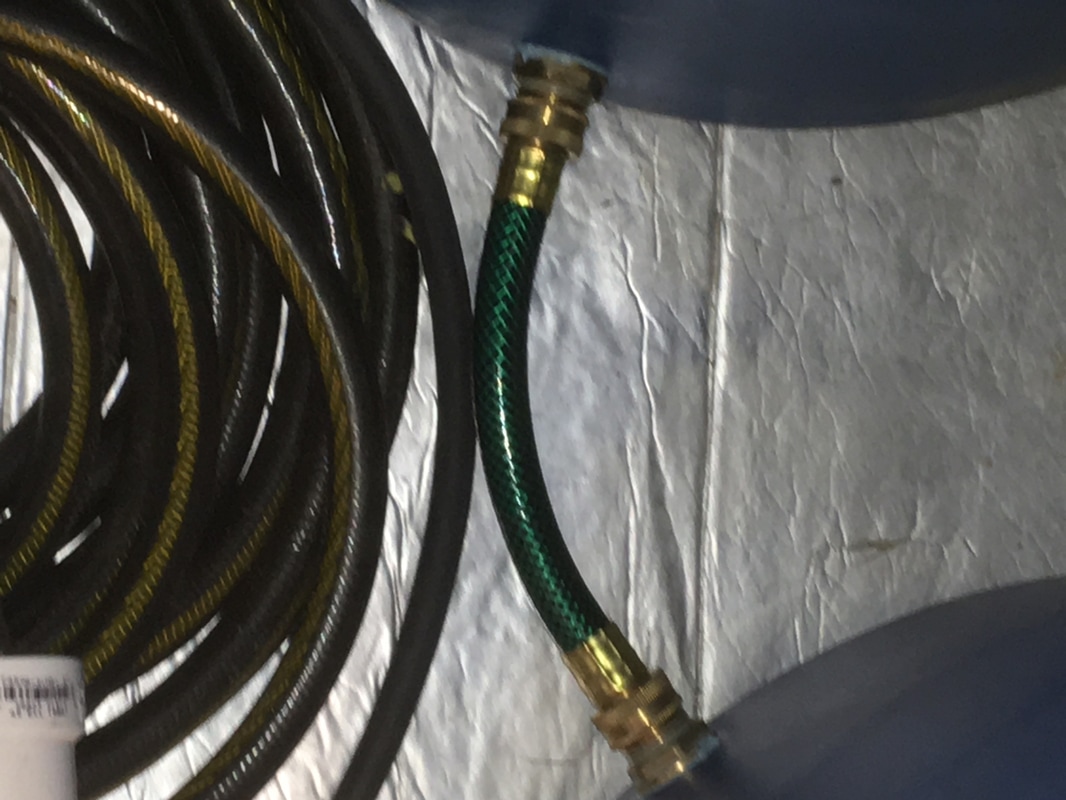
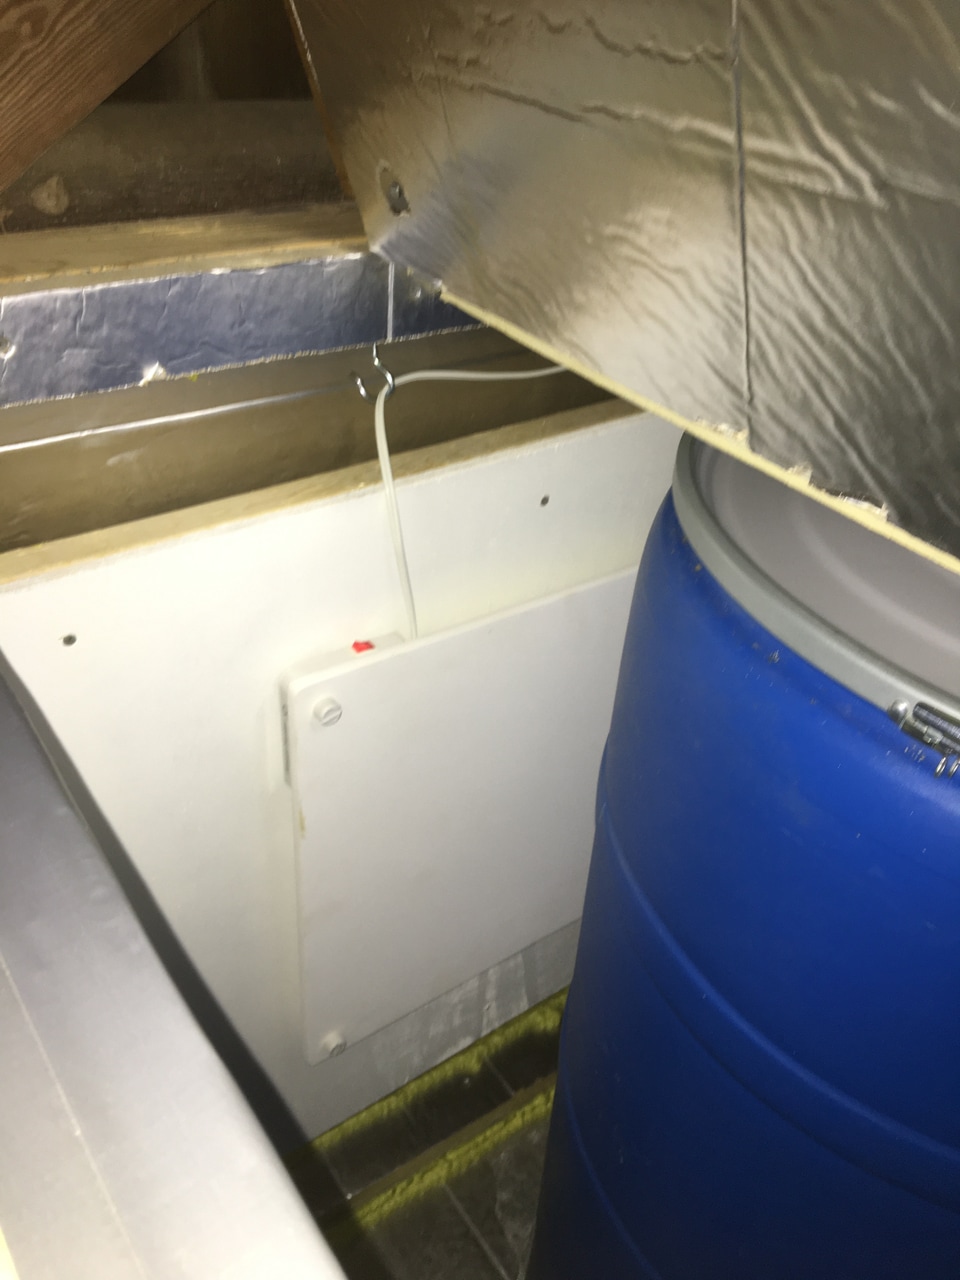
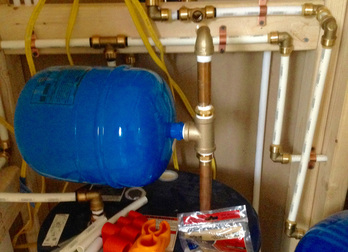
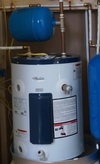
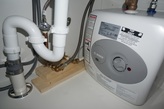
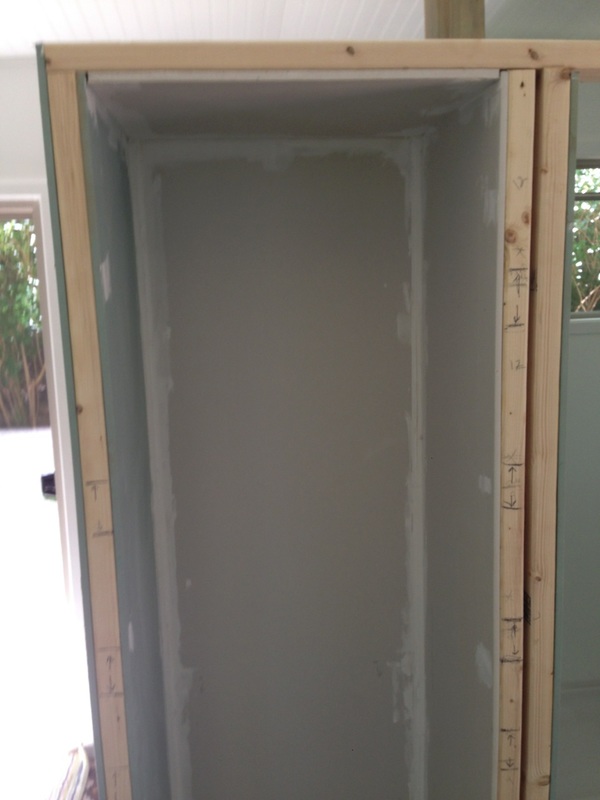
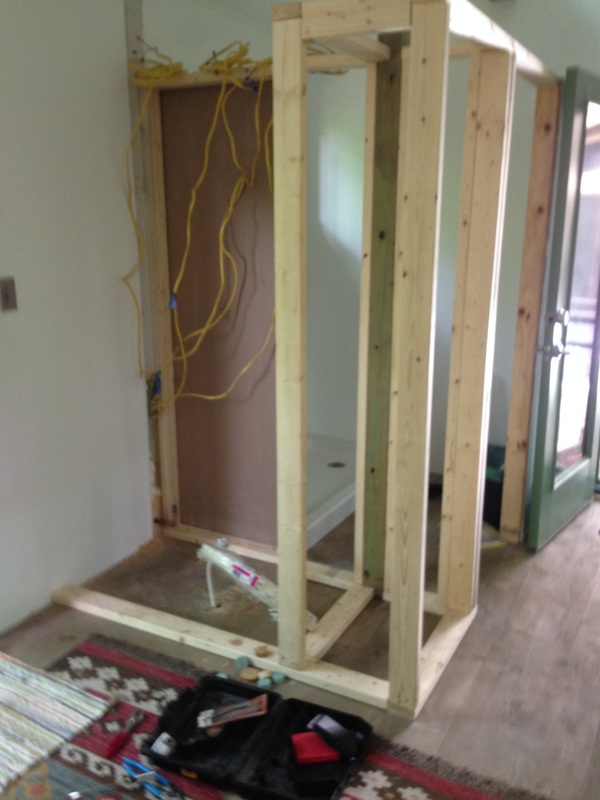
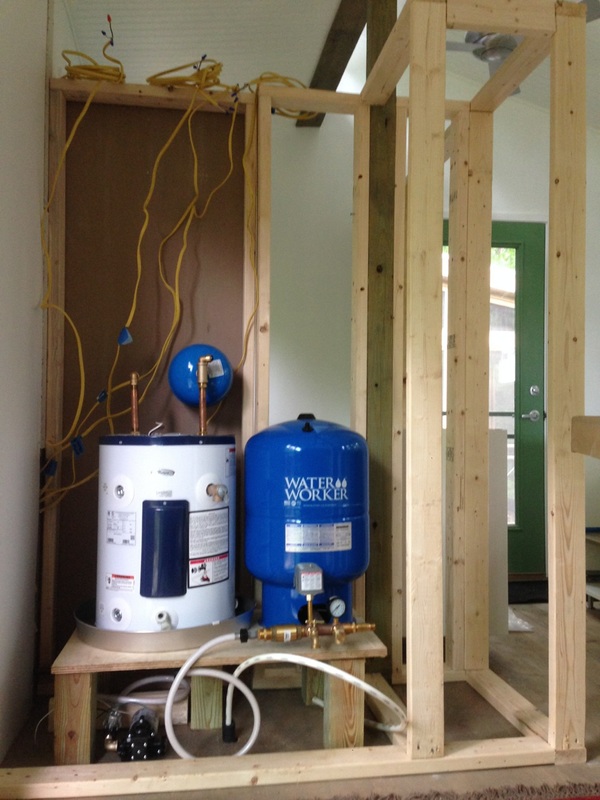
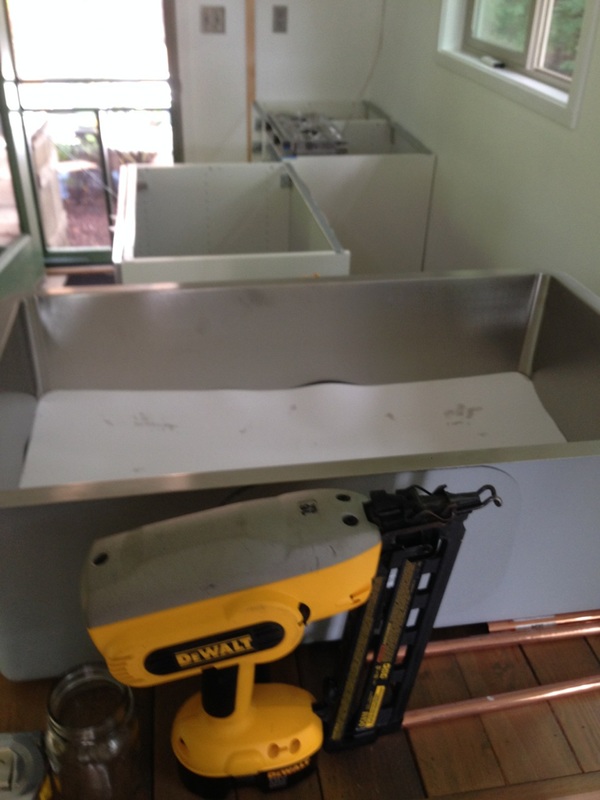
Topping off the tanks. For the winter we fill three 78-gallon tanks with water, as needed, so that the pipe from our water source doesn't freeze again. We turn on the super-efficient heater set to go on when the temps drop to 35 degrees and turn off when the space reaches 40 degrees.

0 Comments

Cold, Hard Facts

1/26/2018

2 Comments

 
Picture
Our little house has been tested this winter. Not by snow (we haven't had much of that), but by single-digit temps. It's been the coldest weather since we moved in a couple years ago, and it's supplied us with more than a few lessons learned:

Floor insulation. The cold that seeps into the house comes up from the floor. We thought the few inches of rigid insulation we put between the floor joists was enough, but we probably should have doubled it. It would have been worth the additional $$. We're thinking we might add insulation underneath the trailer.

Skirting the trailer. We would also benefit from skirting around the trailer, to cut down on the wind running under the house and chilling our floors.

Water pipe insulation. A year ago we happily reported that we'd completed enough upgrades to our system to have flowing water all year, which is something you learn to be happy about when you don't have any running water your first winter. We were wrong. Though they didn't burst (yay!), our pipes froze in a couple places, temporarily cutting off our water supply. The hose from our friend's house to our water tanks should have been deeper in the ground, to get below the freeze line. (If it ever bursts, that's just what we'll do when we replace the hose.) The pipe that runs through the floor joist under our insulation needs heat tape and more insulation, so it won't freeze. 

Cut-off valve. Adding a water cut-off inside the house means we can drain the pipe under the floor when we go into a deep freeze. Hopefully, this will keep the pipe from freezing until we get the chance to add heat tape and insulate it better.

Electric loads. We came home to a 36-degree house when the breaker popped while we were away. We had someone visiting and hadn't warned our guest about issues we've been having with the space heater, water heater and pump drawing power on the same line. If they all go on at the same time, they flip the breaker. We need to take a long look at what we have on each line, what we have on solar (we could move the refrigerator to solar, as it turns out) and how to better manage our electrical draw. (This is Bill's domain; if you have questions, let me know and I'll ask him!)

Wood. We're trying to get better about staying ahead on the log supply for the wood stove. When you need it, you need it—and a cold, winter night is not the time to be out in the dark splitting and sawing. We have one, big metal trashcan full of right-sized logs up in the garage now, and four small cans that sit outside the door on the deck, so we can grab more wood without going anywhere.
 
Backup bucket. We finally remembered to buy a spare 5-gallon plastic bucket, so that we don't have to walk up to the compost barrels in the middle of a snow storm or single-digit temps when the bucket in the toilet gets full. We can just snap a lid on the full bucket and leave it outside the door until a convenient time to bring it up the hill to the barrels.

Air exchanger. The past two winters, we've had to open windows (despite the prevailing temps) if the carbon monoxide alarm goes off, signalling the need for fresh air in the house. Now, with our  exchanger, air is efficiently coming in and going out all the time—with the windows sealed tight.

2 Comments

Water Works!

1/15/2017

2 Comments

 
Picture
Last January, I told the tale of our water woes. The ground froze before we finished under grounding the water pipes leading from our friends' "big house" to our tiny house. We drained the pipes and carried in water for drinking and cooking the rest of the winter. We showered at rec centers and other peoples' houses. We often hauled our dishes over to our friend's house for washing.

A year later, with freezing temperatures day after day, I'm happy to report that we have running water in the house! We wash our dishes here! We shower here! When the temperature first dropped to the single digits, we did have an issue—which has since been resolved. All of this wasn't just a simple matter of digging trenches for the pipes....
  • Step one: Finishing the water line to our house. We excavated rocks so that we could finish trenching to the tiny house. Then we used foam insulation around our hose and encased that in PVC pipe for protection before burying it underground.
  • Step two: Setting up holding tanks. We were still worried that pipes might freeze because we couldn't get them below the freeze line (down 20 to 30 inches), given our rocky mountain terrain. We decided to create a holding tank up the hill from our house where we could keep water from freezing. Bill constructed an insulated box large enough to hold three, 78-gallon barrels (rated for drinking water). He connected the barrels and put a thermostat-controlled panel heater inside the box. We fill the barrels from spring fed water coming down the mountain, as needed. Our tiny house can now draw water from the climate-controlled tanks.
  • Step three: Protecting the faucet. The first place to freeze last year was the short section of pipe above ground that leads to our outside faucet. Bill wrapped that section of hose in aluminum foil and then attached heat tape. He insulated the faucet where it connects with the house, and that connection hasn't (knock on wood) frozen since.
  • Step four: Better insulating the pipe running under the house. We have a section of PEX piping that runs under the house, between two floor joists, from our bathroom to our kitchen sink. While that space is sealed and insulated, it was obviously too cold on frigid nights. Water ran from the outside tanks to our bathroom without a hitch, but we couldn't use the kitchen sink after the pipe under the house froze. So, Bill insulated the PEX pipe leading to the kitchen better and installed an incandescent light bulb in that space to provide a little heat to the area with the pipe. Only once has the pipe frozen since then, when we had a number of days of single-digit weather—but at least the pipe didn't burst! Our new plan is to replace that PEX pipe with a heated, potable water hose. 

With the temperature still below freezing outside, we're quite happy to have hot, running water. It's something I've taken for granted in the past—but no longer! 

You can read more about our plumbing, water pump and water heaters in old blog posts. Please click on the images below for more details about our winter water solution.

2 Comments

Tiny House Recap

11/21/2016

15 Comments

 
Picture
After living for years in traditionally scaled homes, we sold our last house and moved to an apartment to try  living in a smaller footprint. We didn't miss the space, we loved ditching our mortgage and we found ourselves firmly on the path to living more sustainably.

​We finished this house and moved in about 15 months ago. People late to our story have asked about our build, so I figure it's time for a retrospective.
 

Picture
Site prep. We were fortunate enough to have a friend invite us to build on a corner of her 5-acre property in the Blue Ridge mountains. We cleared and leveled (or partially leveled) a site for our house, with enough room to build a separate screen house which went up first. (More on the screen house here.) We scavenged old boards and used them to build a retaining wall, then reinforced the wall with stones from the woods.

Picture
​The trailer. Zoning doesn't allow a second foundation-built house on the property, so we built on a trailer. Ours is  on a 24-foot equipment trailer from Tiny House Builders of Georgia. Our design runs the full 24' of the trailer and extends over the bed two feet on both sides. We used 10" joists to raise the floor over the wheel wells; it also left us plenty of room for insulation). Bill drilled holes through the trailer to attach the joists and bottom layer of plywood with 6" lag screws.

Picture
​Framing. We went with a "stick built" house on 24" centers (sometimes referred to as advanced framing). The technique saved us a little money (by using less wood) and reduced the house's overall weight. We designed the framing in about 8-foot sections so that it would be easy for the two of us to lift pieces into place and attach them. We put up four 4x4" posts to carry the weight of the roof, since we decided to go with a split roof design that incorporated clerestory windows.

Picture
​Roof. After a couple months of tarping the build site for rain, we were thrilled to roof the house. We installed a beam and framing for the row of clerestory windows between our two rooflines, then hung rafters and screwed down plywood decking. On top of the plywood, we went with a layer of WeatherWatch instead of roof felt for more leak resistance. On top of that went panels of corrugated steel fastened using screws with rubber washers. Bill bent the flashing out of strips of galvanized steel.

Picture
Sheathing and house wrap. Plywood installed on the exterior studs made our build look more like a home. After cutting out the spaces for our windows and doors, we swathed the house with Dupont Tyvek HomeWrap. We'd talked about adding a rain screen which would leave a gap of air between the house wrap and the siding yet to come...but we forgot. Rainscreen helps control moisture. (You can read more about it here, for more information.) So far, so good here without the rainscreen.

Picture
​Windows and doors. We knew we wanted a lot of light and cross ventilation (no air conditioning) in our house. We looked at second-hand windows, but finally decided we didn't want to take the time to scavenge the exact sizes we wanted. The best deal we found was for Jeld Wen windows and doors at a local lumber yard. We made a last-minute decision to swap out one window for a third door when we thought about building a deck. So, 11 windows and three glass doors it was.

Picture
​Siding. We wanted to break up the sides of the house by using wood and metal siding. Our final choices: corrugated steel (same as the roof) and wood clapboard (stained the same color as the screen house). Snow came before we could finish the siding, and eventually our progress crawled to a stop. We took a few months off and finished the last side and the eaves of the house in the spring. We started the eaves with super light-weight panels, but switched to thicker plywood by the end. 

Picture
Wiring. Our electrical plan got a little complicated when we decided to go solar as much as we could afford. We found a solar generator (the SolMan classic by Sol Solutions), and Bill designed the wiring to go to two boxes. All the lights and most outlets are wired to a box powered by our generator. The hot water heater, water pump, microwave and back-up heater—all items that need surges of power—use grid power drawn from our friend's house.

Picture
Plumbing. A mountain spring feeds the cistern that supplies water to our friend's house. We tap into that supply. We went with PEX water pipes because PEX is flexible, inexpensive and easy to work with. Bill watched YouTube videos to figure out the little he didn't already know. As far as waste pipes go, we're careful about everything that goes down our drains so it can be piped to a mulch pit. We're not on septic, so urine also goes to its own pit. We deal with solid waste by composting it.

Picture
Insulation, walls and floor. With the electrical and plumbing installed, we insulated between the ceiling rafters with rigid foam and between the wall joists with EcoTouch Fiberglas. The walls went up fairly quickly with standard drywall; the ceiling is light-weight (too light-weight) beadboard panels. We painted the walls and ceiling white, knowing we would have dark wood floor and trim For the floors we found a good deal on pine boards at Lumber Liquidators, then stained them with the same color as the exterior house. 

Picture
Kitchen, bathroom and bedroom. We built interior walls to divide our space for a bathroom on one end of the house and sleeping space on the other. The interior bathroom wall also houses the water heater, plumbing, electrical, a medicine cabinet and the pantry. Both walls stop short of the ceiling for air flow and light. We went with a big sink, undercounter fridge, alcohol-burning stove, butcher block counters and IKEA cabinets in the kitchen. Besides the DIY composting toilet, the bathroom houses a mini sink and a metal-lined shower.

Picture
Deck. Most of the deck went up after we moved in. It wraps around three sides and makes it much easier to walk around the house, especially important given our sloped mountain site. The deck also gives us plenty of room for grilling and dining, growing herbs and having friends over. We've planted  grapes and hope they'll grow up the lattice that hides the trailer from view. Still to come: planters outside the big glass sliding door.

A year after we started our build, we  moved in. We finished the deck seven months after that. There's much I've skipped (the wood stove install, for example), so let us know if you have questions about the steps I've passed over here. (Or the steps I included!)
15 Comments

What's Behind the Wall

9/7/2015

0 Comments

 
Picture
Bathrooms require privacy; naturally, we built a wall to separate the bathroom from the rest of our living space. 

But there's no room to waste in a tiny house, so there's more to this wall than meets the eye. In the living room, we have a wall-mounted TV, pictures and shelves. In the kitchen, the wall becomes a pantry. In the bathroom, a recessed medicine cabinet, lighting, outlets and the sink and shower line the wall. 

We wanted to be able to get at the "guts" inside the wall should something come up, so the TV pulls out to reveal two doors and the bottom shutters come off completely, giving us access to all our plumbing. It's a hard-working wall.

Please click on the pictures below for more details.

0 Comments

Bathroom Talk

8/28/2015

3 Comments

 
Picture
We have hot showers! We have a bathroom door! We have a recessed medicine cabinet! Who knew a year ago that having a fully functioning bathroom would be this exciting? Not me.

So, it's time for a restroom summary:

The bathroom is a little under 6' x 6'. Like the bedroom partition, the bathroom walls don't reach all the way to the ceiling. Though we needed privacy, we wanted the house to feel open and light.

Our shower has an off-the-shelf 27" x 54" pan. We covered the moisture-resistant green board in the shower area with galvanized, corrugated sheet metal attached by roofing screws with waterproof washers. We overlapped the sheets to prevent water from getting behind them and sealed the corners with silicone caulk. Our nice, big shower window lets in a lot of light, but we didn't realize it would get splashed this much when we shower. So we added extra-wide, painted trim around the window, and we wipe the wet sill after we shower. (So far, so good.) Our Delta shower head is a low-flow model, but still produces a good, solid spray. Rather than heating water all day, we flick on our 12-gallon water heater 30 minutes before shower time, and get a good six minutes of hot water. Not a long shower, but long enough! You'll find more on plumbing here.

Our tiny, wall-hung sink is deep enough to make hand washing and tooth brushing convenient without taking up much space in our compact bathroom. After a lengthy search, we found our pint-sized Barclay sink online at Home Depot. We went with a Delta faucet on the sink. 

Our composting toilet may not be as convenient as a traditional flushing model, but we've adapted quickly with no real complaints. Nuts and bolts: The toilet seat is an Ecovita Privy 501 with a urine diverter, which means Number Two stays drier and therefore less smelly while Number One flows down a pipe through the floor to a gas can under the house. The diluted urine can be poured out anywhere and used as an effective fertilizer; we chose to pour it a distance from the house. Two 5-gallon buckets sit inside our DIY cabinet. One we line with BioBags, fully compostable liners that we will eventually be tossing into a yet-to-be-built "humanure" composter. (For now, the poop gets "wasted" by being tossed in the landfill. We need to get on this project!) Each time we make a deposit in the bucket, we scoop up some coco coir from second bucket to cover the poop. (We use coco coir, because it's considered more effective than sawdust and it's more sustainable than peat moss, the other "cover" options.) For more info on composting toilets, you can't do better than the Humanure Handbook. We also found the Gone with the Wynns website handy when figuring out our system.

Our door is a hanging barn-style DIY model scavenged from local demo sites. More here.

Our 9-inch-deep medicine cabinet is set into the utility closet behind the bathroom. A hinged mirror covers it. More here.

Our floor is the same tongue-and-grove pine we installed throughout the house. We used a waterproof stain and have a rug to sop up any shower drips. 

The light is an outdoor fixture by Design House that seemed to fit our bathroom style better than traditional bathroom lighting options. (It was also cheaper!) Like the rest of our lighting, we're using an LED bulb. It should last around 20 years and uses very little power. 

Our towel hooks, towels, soap dispenser, shower curtain, rod, rug and shower shelf are all from IKEA. They don't pay me to say this: IKEA showrooms are a great place to cruise for tiny house ideas and their products fit tiny budgets like ours.

What's not in our bathroom yet: a vent fan. We bought one, and it was so big and so ugly, we returned it. We'd like to figure out an affordable, compact way of bringing fresh air into the house and venting out any bathroom moisture and smells. Still in the works.... 

Please click on the pictures below for more details.

3 Comments

Here's to Running Water

8/4/2015

4 Comments

 
Picture
We put off dealing with the plumbing in our tiny house as long as possible. Why? Because it's complicated. It took us months of research and head scratching to come up with a basic approach, then more research and more than a few headaches to figure out where in the tiny house we could fit all the pipes and tanks and pumps. Then yet more time assembling the pieces and even more time running back again and again to the store for the "one" piece we were missing.

Bill is our plumber. My job is to hand him wrenches and cheer him on. It's taken a couple weeks cutting pipes and assembling pieces, but we can finally say...we have running water! Even in a tiny house, there's an amazing number of components required to make this happen. I'm just going to outline them here.

Picture
Fresh water. We plan on staying put, and we're lucky enough to have a source of water on the property where we're building. We use the spring-fed water supply from our friend's house, using potable water hoses, some of which we've put underground inside conduit; the rest will go underground soon. We plan to integrate two 55-gallon holding tanks into the system, but that's down the road.

Inlet. We have a simple water hose inlet valve on the outside of the house. 

Picture
Pipes. We went with PEX piping because it's flexible, inexpensive and easy to work with. Mapping out the connections and making them fit the space we have was the hard part. PEX is also resistant to breaks in cold weather because it can expand and contract. That's particularly important to us, because we have a stretch of pipe running under our floor (though a channel of the trailer) to reach the sink. We have it wrapped in insulation but it won't be heated in the winter like the rest of the pipes.

Picture
Pump. We have a small, inexpensive, NOISY Shur-flo water pump that feeds our pressure tank. Thankfully, it only comes on when the pressure tank gets low. Sound-proofing would be a nice next step.


Picture
Pressure tank. Our Water Worker holds 14 gallons of water under pressure (40 PSI). Being able to take a decent shower is important to us, so we picked a tank that can hold more than a shower's worth of water under pressure. Having the pressure tank means our pump won't have to cycle as often, which means it should last longer--and we'll have to hear it less often.


Picture
Hot water heater with expansion tank. Ours is a 12-gallon, point-of-use electric tank from Whirlpool. It heats water for the shower and bathroom sink. We'll turn it off when we leave the house and/or don't need hot water in the bathroom. The expansion tank installed on the water supply line to the heater handles any thermal expansion, protecting the system.


Picture
Shower/bathroom sink. We have a low-flow shower head and a tiny sink just on the other side of the wall where the pump, pressure tank and heater are located. The water doesn't have far to travel.

Toilet.  Bathroom waste is an important issue for tiny housers, who aren't on typical city plumbing. I've written a little about our composting toilet; more to come!

Picture
Kitchen sink. Since we don't have a bathtub, our GIANT kitchen sink is where we'll wash anything out that needs washing. It gets hot water thanks to a 2.7-gallon, point-of-use Bosch mini tank. The unit plugs in right under the sink. Again, we'll turn off the heater when we don't need hot water.

Picture
Drinking water. We have crystal clear drinking/cooking water with our two Berkey water filter systems (one in the screen house; one in the tiny house). With these, we could (but don't) pull water straight from the streamlet and filter it for drinking. It doesn't hurt that we think these stainless steel wonders are things of beauty.  


Picture
Drains/grey water: What water comes in, must go out. All our drains lead to one main drain to simplify dealing with grey water. We're still working on our system. For now, a French drain/mulch pit and branched drains will do, but as we develop our site we'd like to create a small wetlands to collect and clean the water so we can use it for gardening. It's important to note that no "black water" (urine or feces) goes into our drains and that we use only all-natural, biodegradable soaps and cleaning products, so that the water that leaves our house won't harm soil, plants or critters around us. More on this later.

4 Comments

It's (Almost) a Kitchen!

7/24/2015

4 Comments

 
Picture
We have food cooling in the refrigerator, a kettle warming on the stove, a gigantic sink, a table to eat at, silverware organized in a drawer.... Still to come in the kitchen are shelves, backsplash, pot racks, slide-out drawers in the half-finished pantry and, most critically, running water. 

Happily, the plumbing is progressing and we should have our wee-sized, point-of-use water heater hooked up before too long.

Kitchen specifics:
  • Stove/oven: Our Origo 6000 is an alcohol-burning marine stove. Cooking would quickly draw down our solar-fueled batteries and we don't want to use propane for eco reasons. So, we've gone with clean-burning, renewable alcohol for cooking. It's tiny--but so far, so good.
  • Refrigerator: Our Energy Star GE fridge is efficient enough that solar has no problem powering it. Yes, it's summer, and the sun is producing more energy now than it will in the winter, but Bill has us wired so the the highest energy users (hot water and refrigerator) can be plugged into the grid if needed. The 5.6 cubic feet of space seems plenty big enough for the two of us.
  • Sink: We don't have a bathtub, so we wanted a large sink for anything big we'll want to wash. Our 32x19x10-inch Kraus sink takes up a lot of counter space, so we have inserts that drop in to cover the sink when we want to spread out in the kitchen.
  • Counter-height table: The stainless base is from IKEA, intended for a stainless top but sold separately. We made our table top from sanded, stained pallet wood. Its the same dimensions as the table we assembled for the screen house, so we can put them together when we have more people over. The black/stainless stools are also from IKEA.
  • Wine rack: Another pallet wood project. More on it here.
  • Cabinets: We thought we'd need to build our own cabinets to get things just the way we wanted them (sink centered on the window; oven built-in, etc). Then we looked at an IKEA catalog and realized they had pieces that would fit perfectly and save us loads of time. We could have kept costs down by going with all-white doors and drawers, but we decided to splurge on stainless. The drawers are full pull-outs, and, by leaving two drawers off one unit, we were were able to build in our Origo stove/oven and even leave room for storage behind it.
  • Pantry: Eventually the pantry space will have six pull-out shelves and one fixed shelf (on the top). It's our main kitchen storage and will hold glasses, dishes and appliances, as well as food. Shelf slides are from Home Depot. The three bottom sliding shelves will house antique wood boxes with some of our bigger kitchen items; the top three sliders will have pallet-wood rims to keep things in place.

Though our kitchen footprint isn't large, the space feels big to us. Maybe it's all the light, maybe the high ceilings, maybe the open floor plan...or maybe we've just adjusted our spatial perceptions!

4 Comments

Sometimes you need to make a mess

7/10/2015

0 Comments

 
Picture
What's happening in the tiny house build? Everything. All at once. 

This week, Bill drilled six holes through the floor of the house and one through a side wall to get our plumbing well underway. Before he could do that, we had to frame up a multi-purpose space between the bathroom and living room which will be: home to the water heater, pump, pressure tank and other plumbing "guts"; space for wiring to run to the bathroom lights and plug; a built-in medicine cabinet on the bathroom side; a pantry on the kitchen side; and built-in shelves and a spot for a TV on the living room side. It's still taking shape, but we think we've worked out how all that can happen.

At the same time, we've also: installed the floor trim in the kitchen area; assembled our IKEA cabinets with their big, pull-out drawers; figured out how to build in our wee, alcohol-buring oven/stove; put in half the bathroom walls; installed the shower base; bought our three faucets and two sinks (which takes a lot more time than I thought it would); started building a wine rack; and set up our SOLAR unit--which is now powering the fans that keep us from overheating while doing five things at once. 

More on all these projects in future posts! But now it's time to paint the potty, sand the countertop, attach the base for the oven, install the bathroom sink, screw the cabinets into the wall...

0 Comments

    Categories

    All
    Bathroom
    Bedroom
    Ceiling
    Ceiling Fan
    Composting Toilet
    Cooking
    Deck
    Design
    Doors
    Electrical
    Energy
    Flooring
    Floor Plan
    Framing
    Gutters
    Heating
    House Wrap
    Insulation
    Kitchen
    Making Furniture
    Materials
    Plumbing
    Rain Barrels
    Roofing
    Screen Porch
    Shower
    Siding
    Solar
    Stairs
    Storage
    Tiny House
    Trailer
    Ventilation
    Walls
    Windows
    Winterizing
    Wiring
    Wood Stove

    RSS Feed

Powered by Create your own unique website with customizable templates.