Last January, I told the tale of our water woes. The ground froze before we finished under grounding the water pipes leading from our friends' "big house" to our tiny house. We drained the pipes and carried in water for drinking and cooking the rest of the winter. We showered at rec centers and other peoples' houses. We often hauled our dishes over to our friend's house for washing.
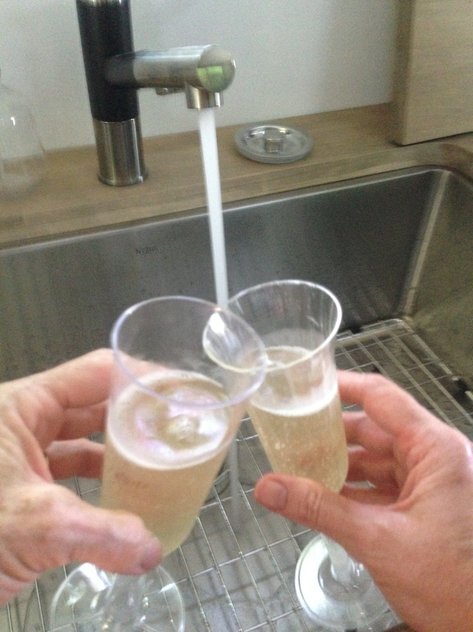
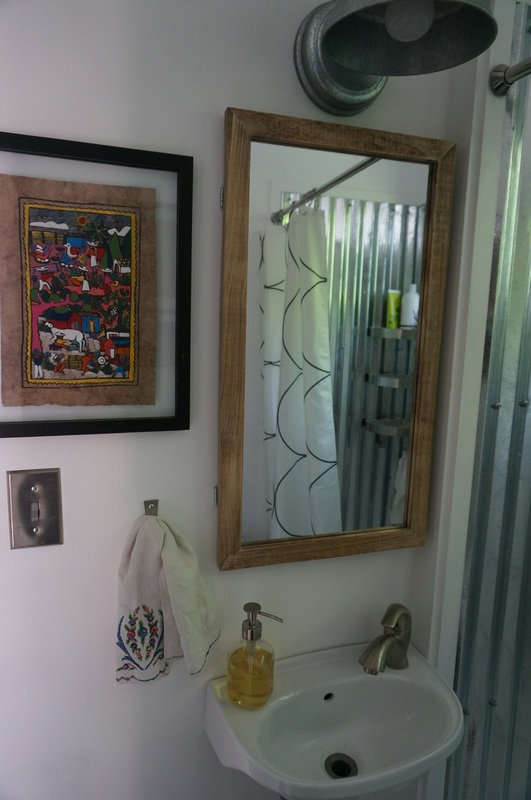
A year later, with freezing temperatures day after day, I'm happy to report that we have running water in the house! We wash our dishes here! We shower here! When the temperature first dropped to the single digits, we did have an issue—which has since been resolved. All of this wasn't just a simple matter of digging trenches for the pipes....
With the temperature still below freezing outside, we're quite happy to have hot, running water. It's something I've taken for granted in the past—but no longer!
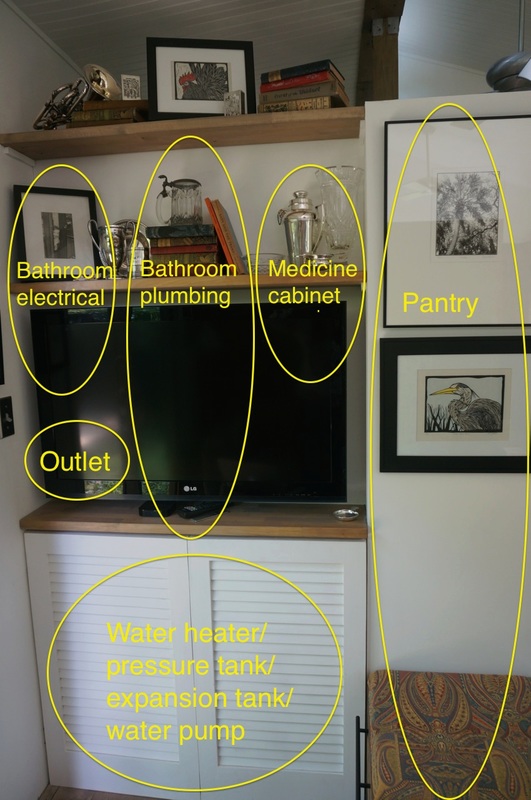
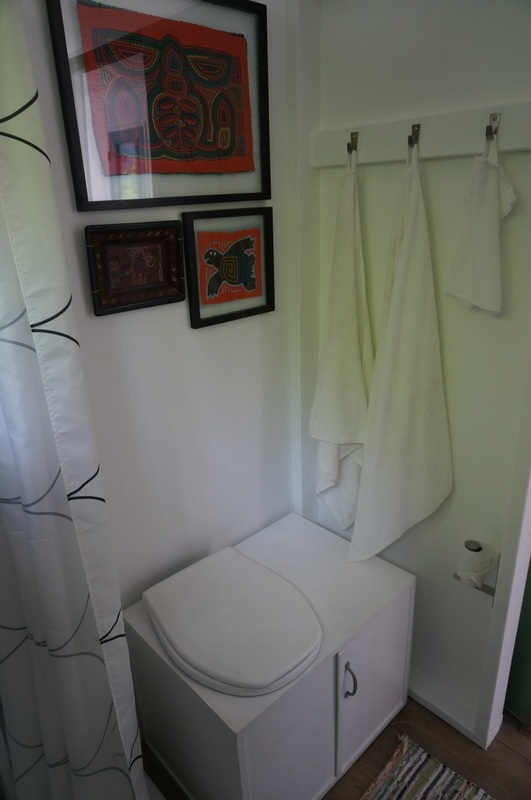
You can read more about our plumbing, water pump and water heaters in old blog posts. Please click on the images below for more details about our winter water solution.
A year later, with freezing temperatures day after day, I'm happy to report that we have running water in the house! We wash our dishes here! We shower here! When the temperature first dropped to the single digits, we did have an issue—which has since been resolved. All of this wasn't just a simple matter of digging trenches for the pipes....
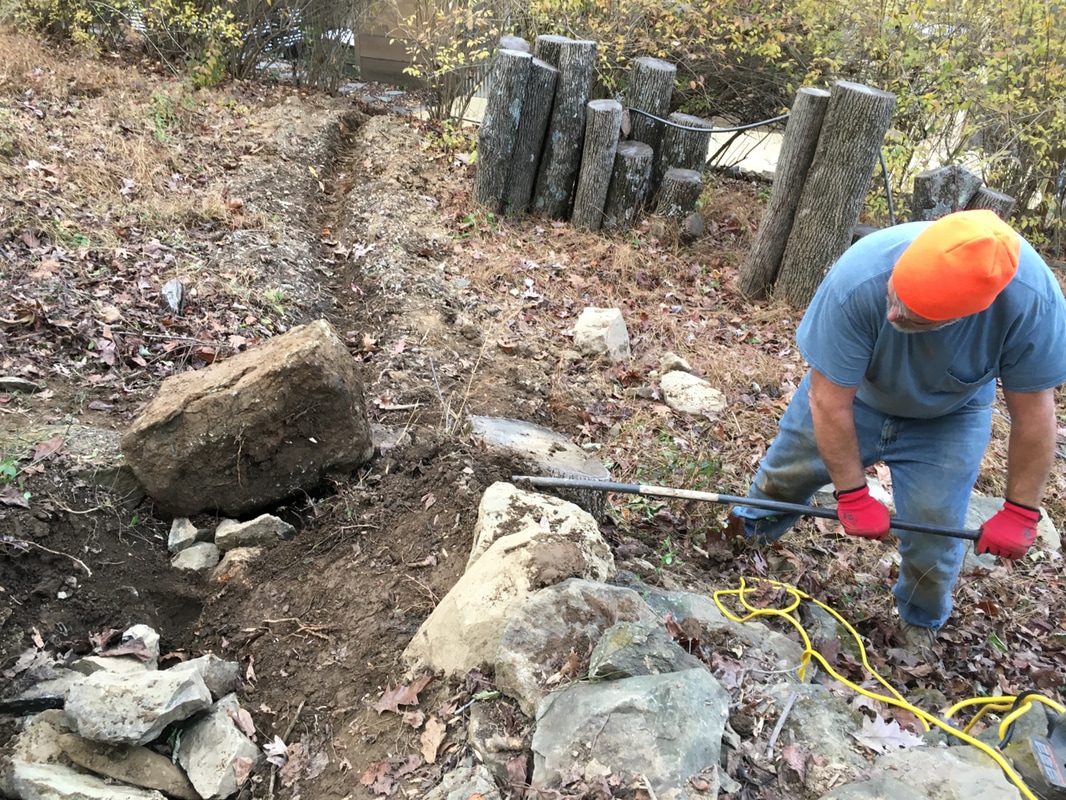
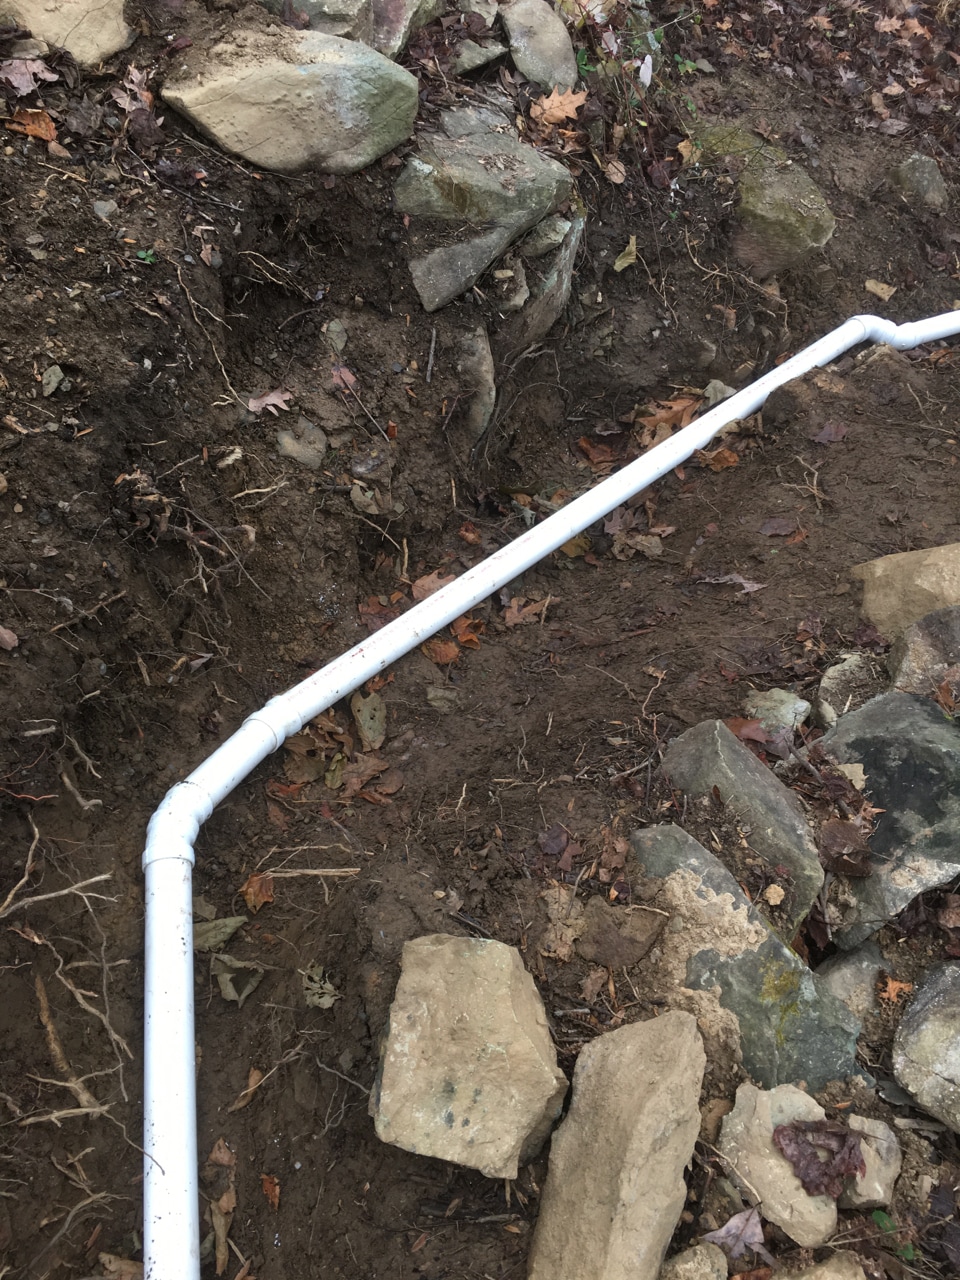
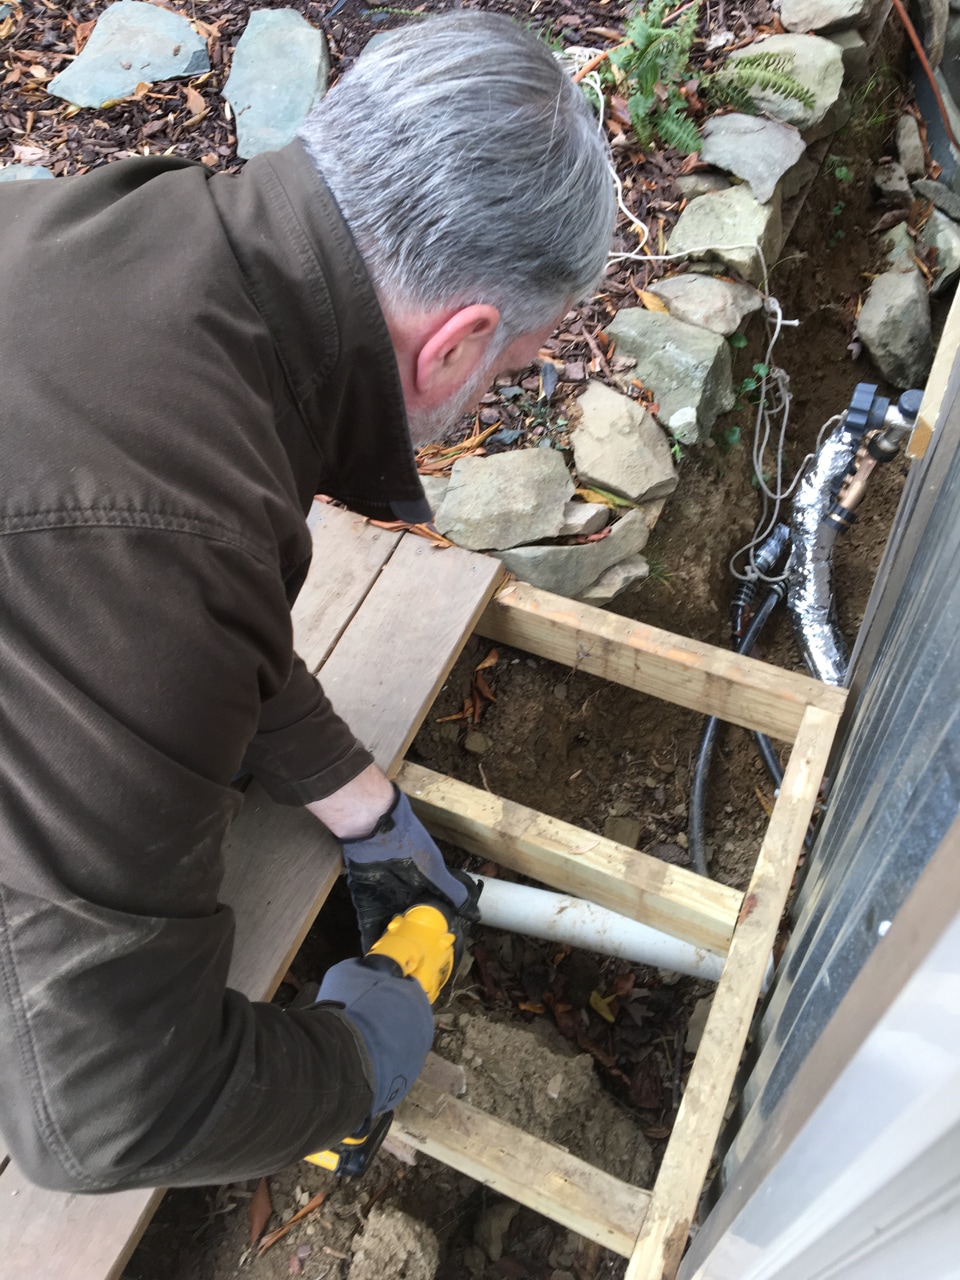
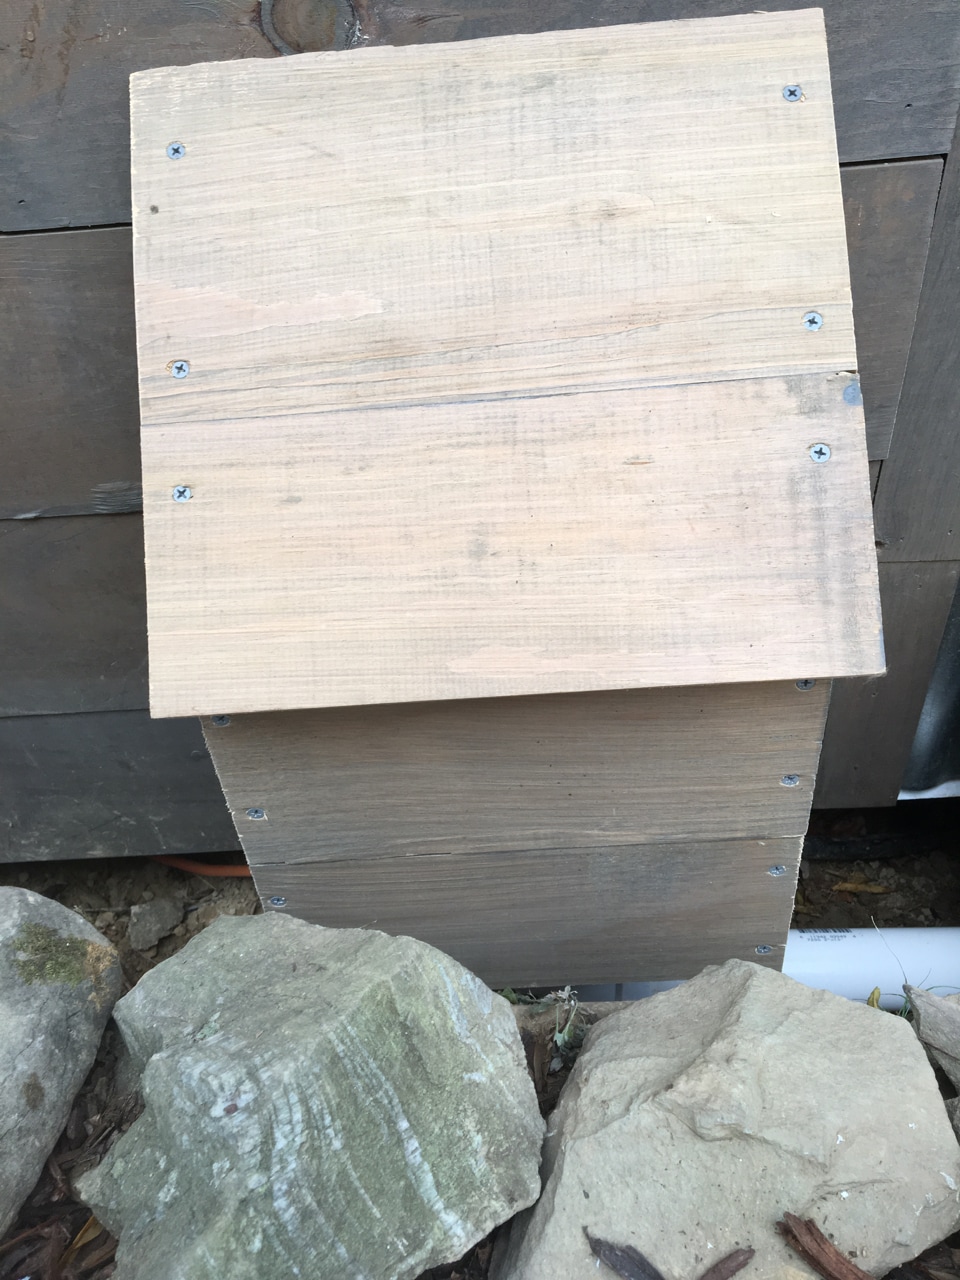
- Step one: Finishing the water line to our house. We excavated rocks so that we could finish trenching to the tiny house. Then we used foam insulation around our hose and encased that in PVC pipe for protection before burying it underground.
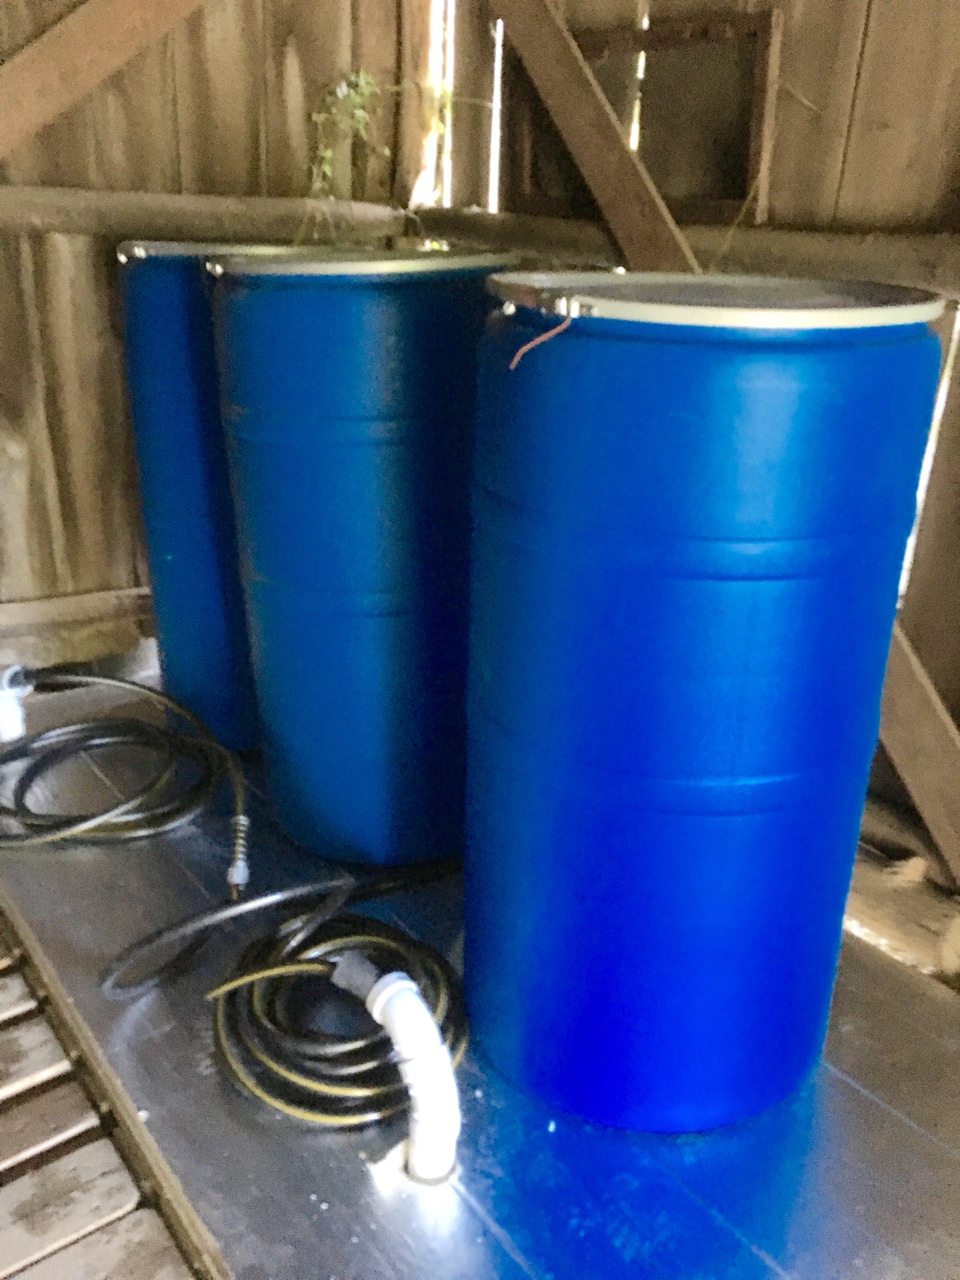
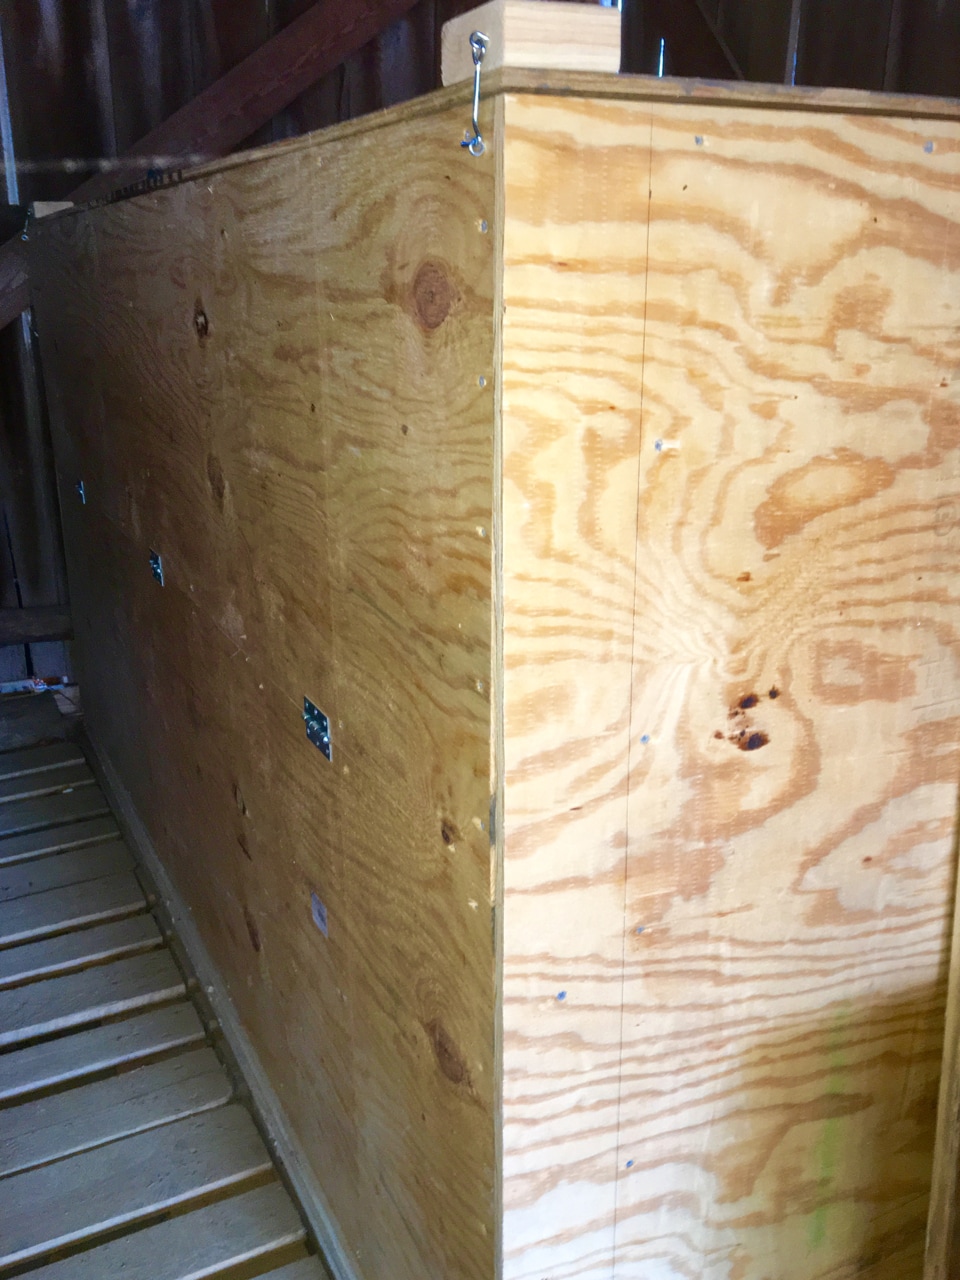
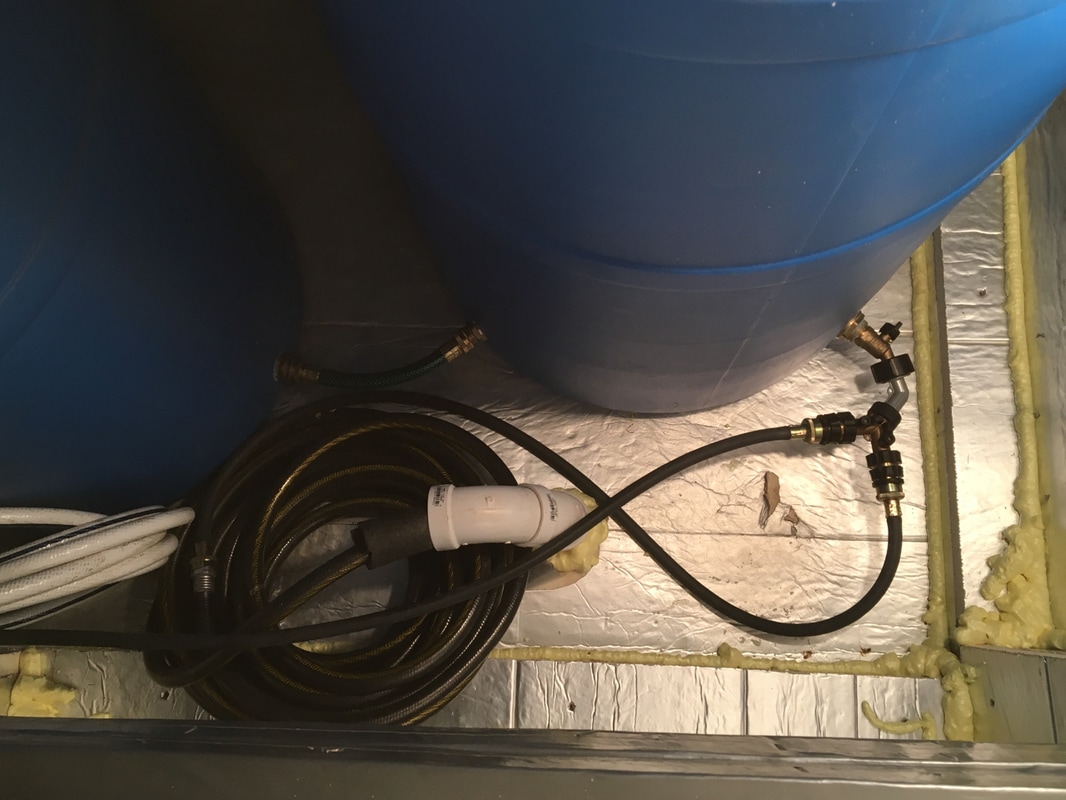
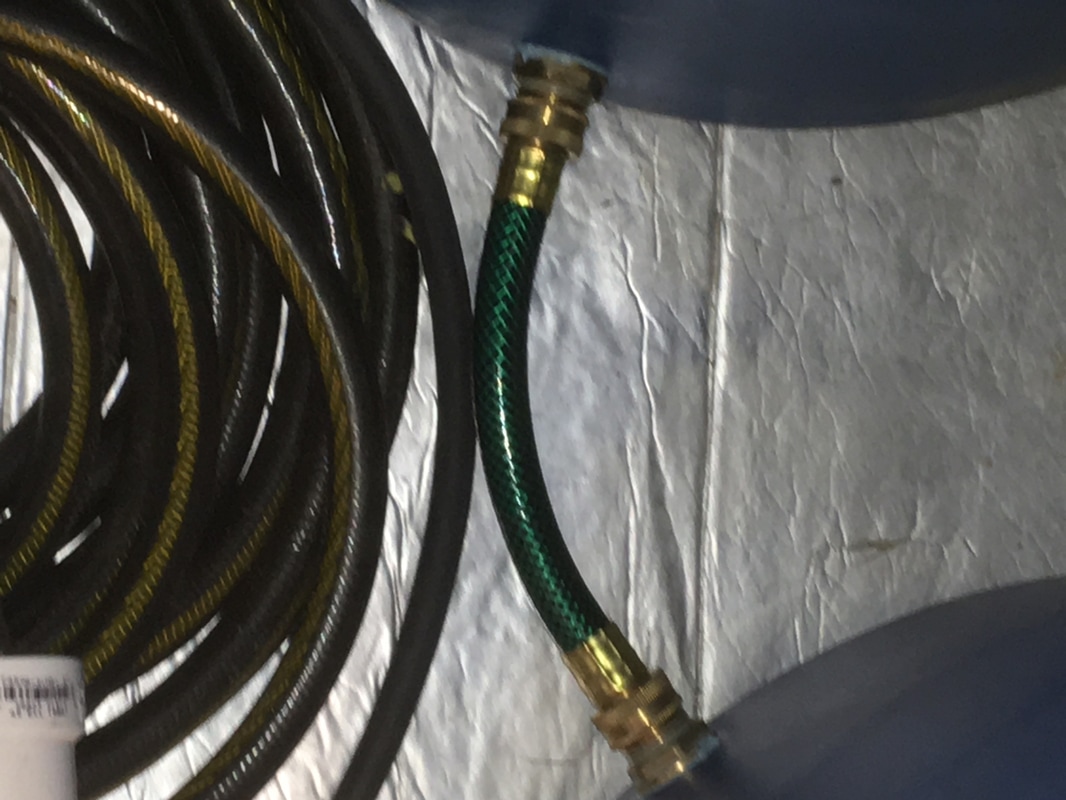
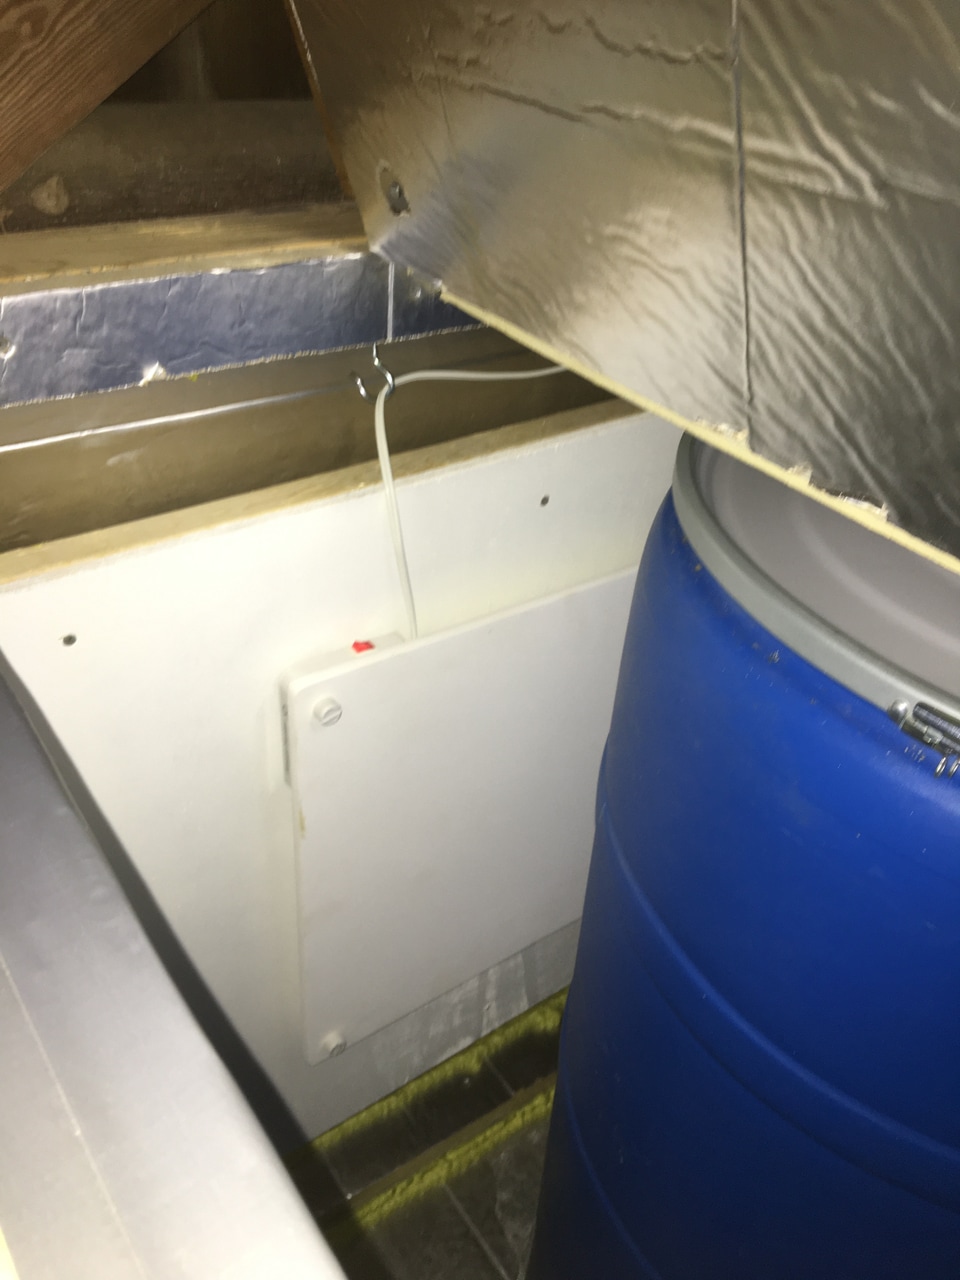
- Step two: Setting up holding tanks. We were still worried that pipes might freeze because we couldn't get them below the freeze line (down 20 to 30 inches), given our rocky mountain terrain. We decided to create a holding tank up the hill from our house where we could keep water from freezing. Bill constructed an insulated box large enough to hold three, 78-gallon barrels (rated for drinking water). He connected the barrels and put a thermostat-controlled panel heater inside the box. We fill the barrels from spring fed water coming down the mountain, as needed. Our tiny house can now draw water from the climate-controlled tanks.
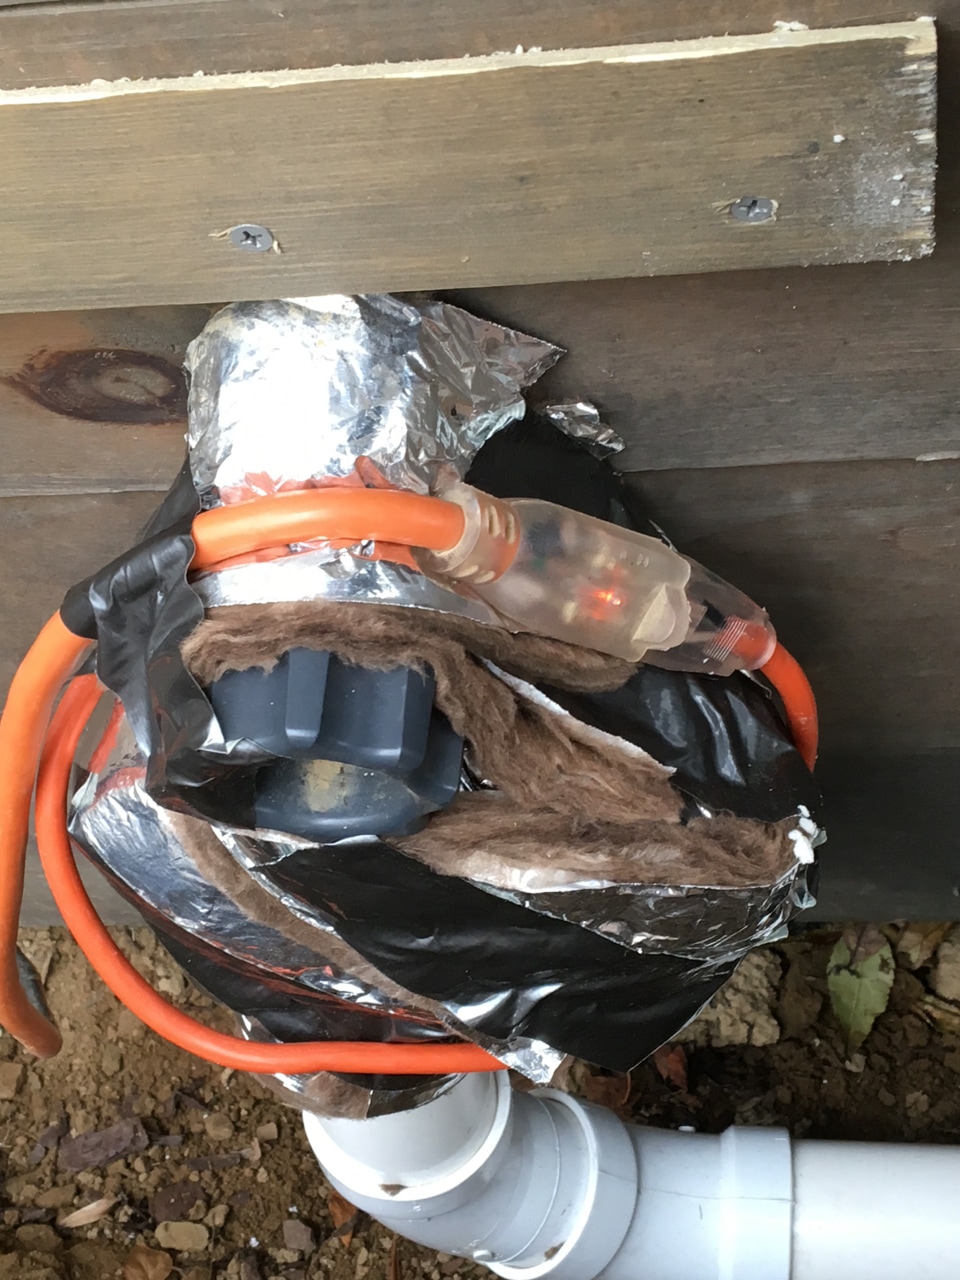
- Step three: Protecting the faucet. The first place to freeze last year was the short section of pipe above ground that leads to our outside faucet. Bill wrapped that section of hose in aluminum foil and then attached heat tape. He insulated the faucet where it connects with the house, and that connection hasn't (knock on wood) frozen since.
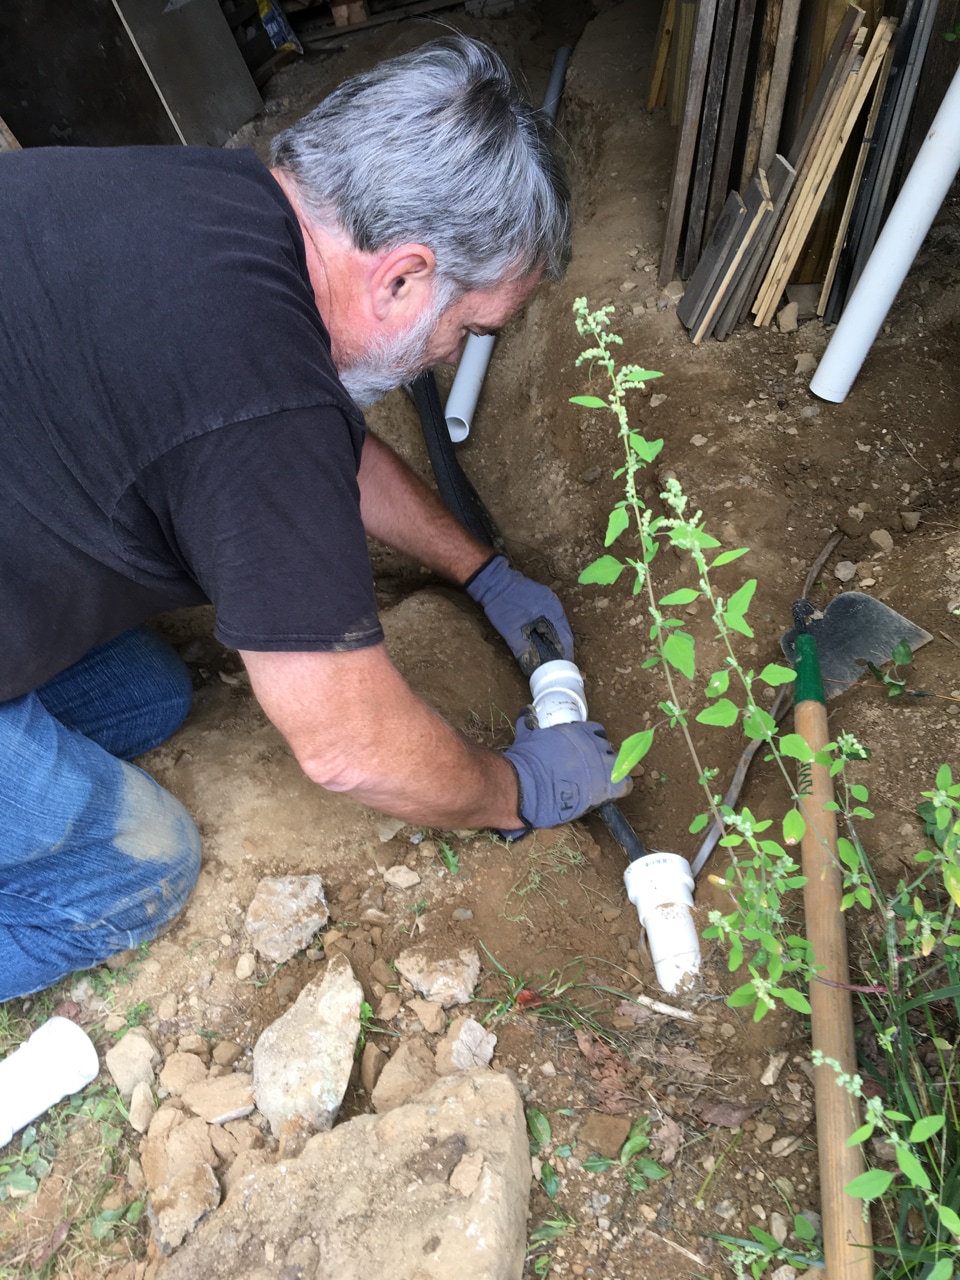
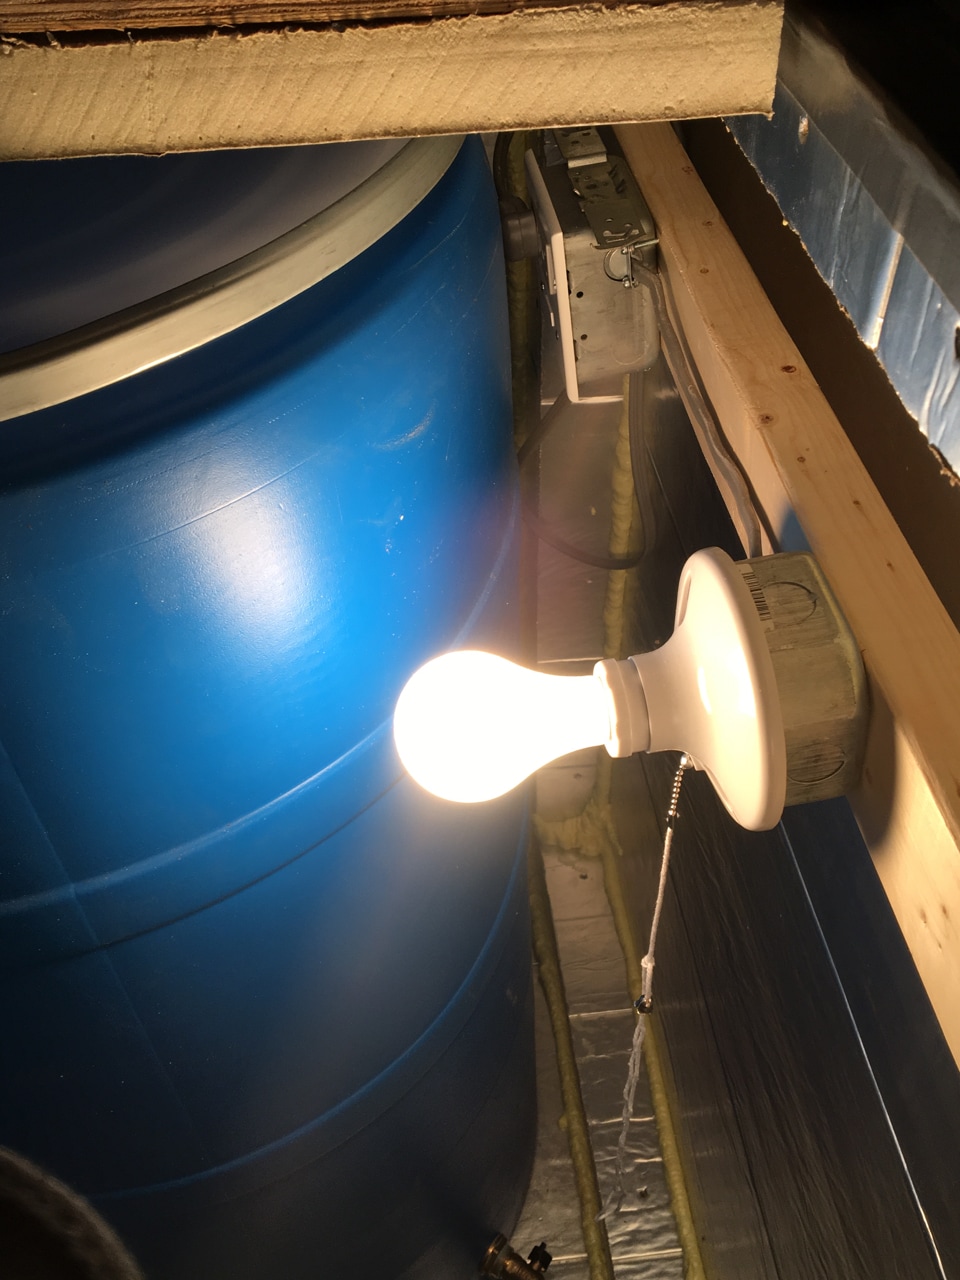
- Step four: Better insulating the pipe running under the house. We have a section of PEX piping that runs under the house, between two floor joists, from our bathroom to our kitchen sink. While that space is sealed and insulated, it was obviously too cold on frigid nights. Water ran from the outside tanks to our bathroom without a hitch, but we couldn't use the kitchen sink after the pipe under the house froze. So, Bill insulated the PEX pipe leading to the kitchen better and installed an incandescent light bulb in that space to provide a little heat to the area with the pipe. Only once has the pipe frozen since then, when we had a number of days of single-digit weather—but at least the pipe didn't burst! Our new plan is to replace that PEX pipe with a heated, potable water hose.
With the temperature still below freezing outside, we're quite happy to have hot, running water. It's something I've taken for granted in the past—but no longer!
You can read more about our plumbing, water pump and water heaters in old blog posts. Please click on the images below for more details about our winter water solution.


 RSS Feed
