Simply Enough
  • Building
  • Projects
  • Simply Enough
  • Community
  • Contact
  • Products
  • About Us
  • Media

Big Ideas,
a Tiny House
And Simple Living

Three Years later...

8/22/2018

0 Comments

 
I have read the accounts: People don't like living in tiny houses for long, they say.

The New York Times, for example, ran Gene Tempest's 2017 tiny-living tell-all:

"Deep inside the expensive custom closets and under the New Age Murphy beds, the pro-petite propaganda has hidden some unseemly truths about how the other half lives. No one writes about the little white lies that help sell this new, very small American dream. Here, on the inside, we have found small not so beautiful after all."

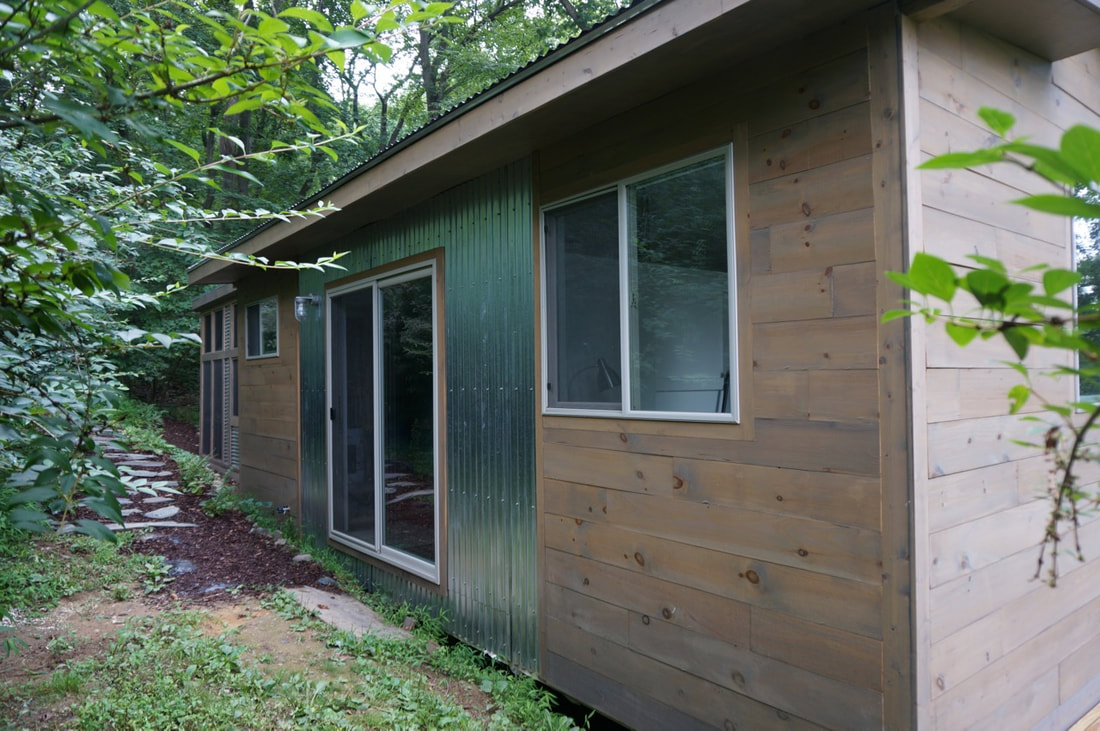
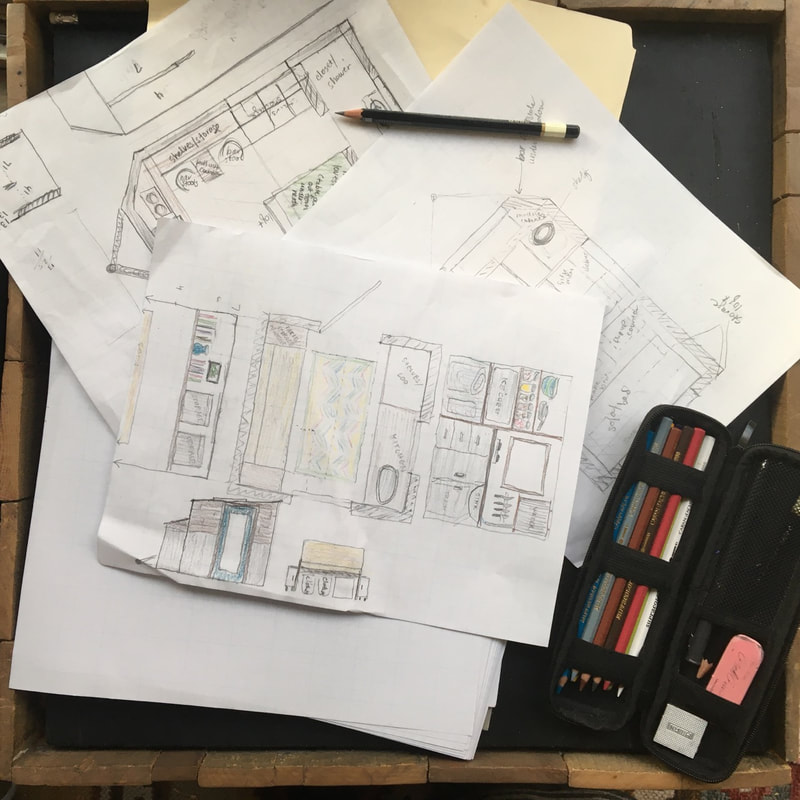
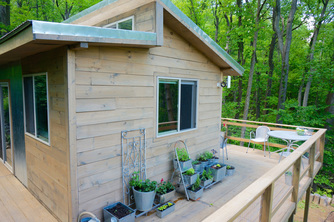
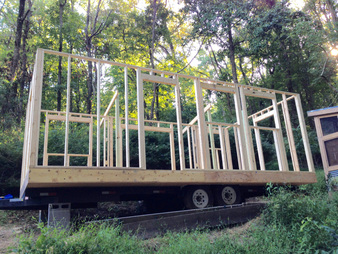
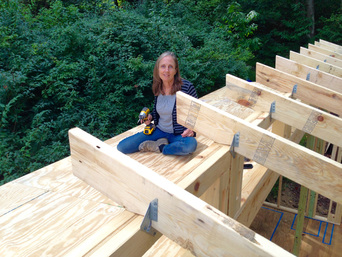
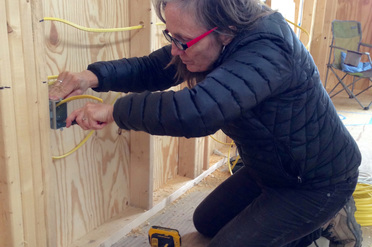
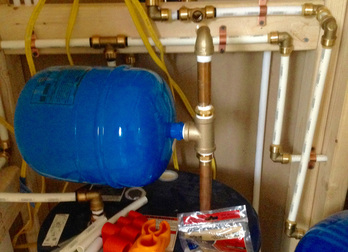
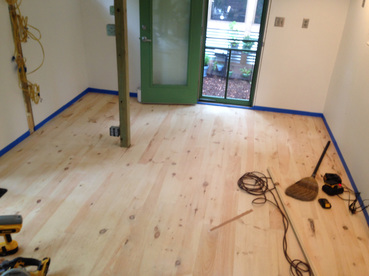
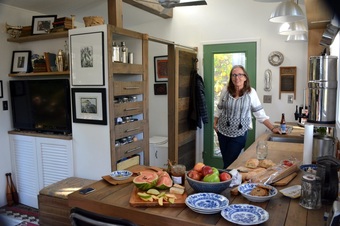
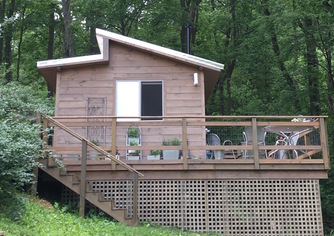
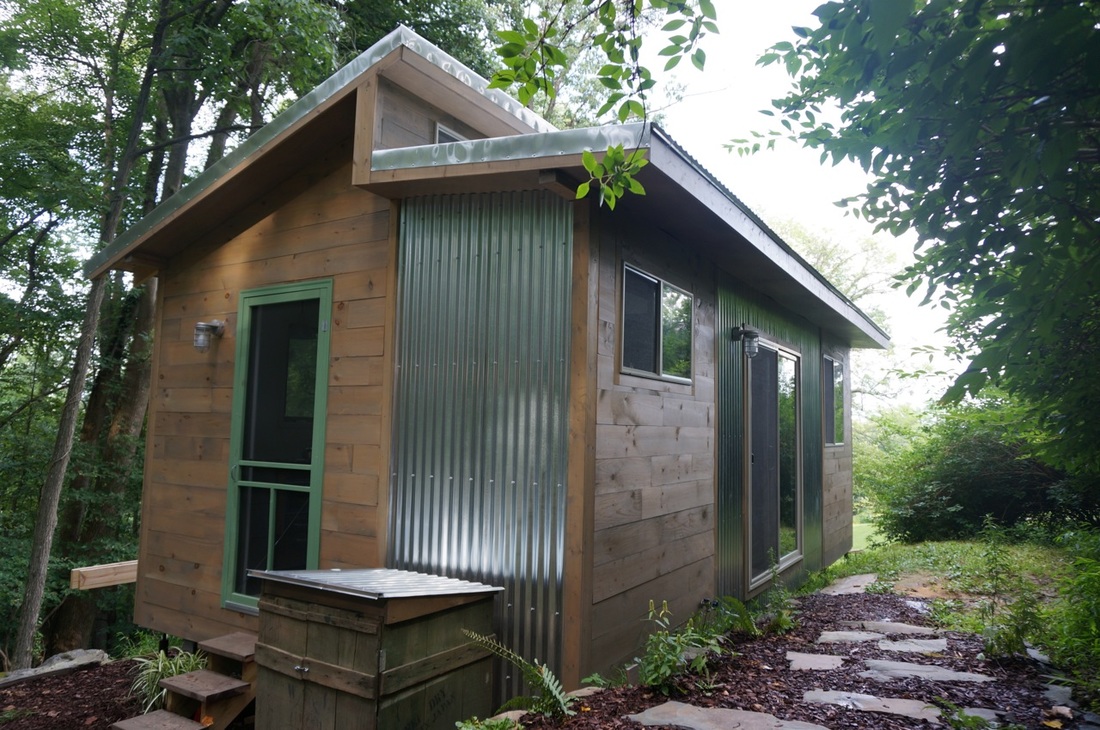
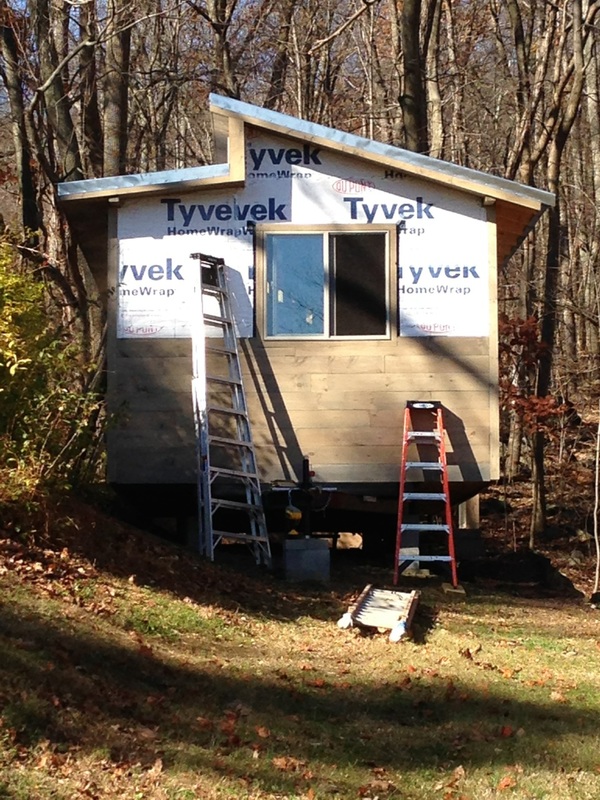
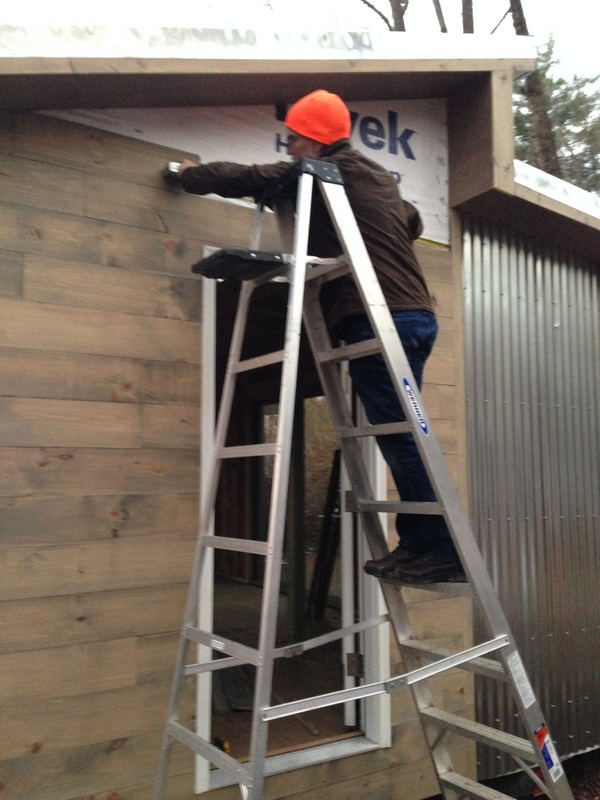
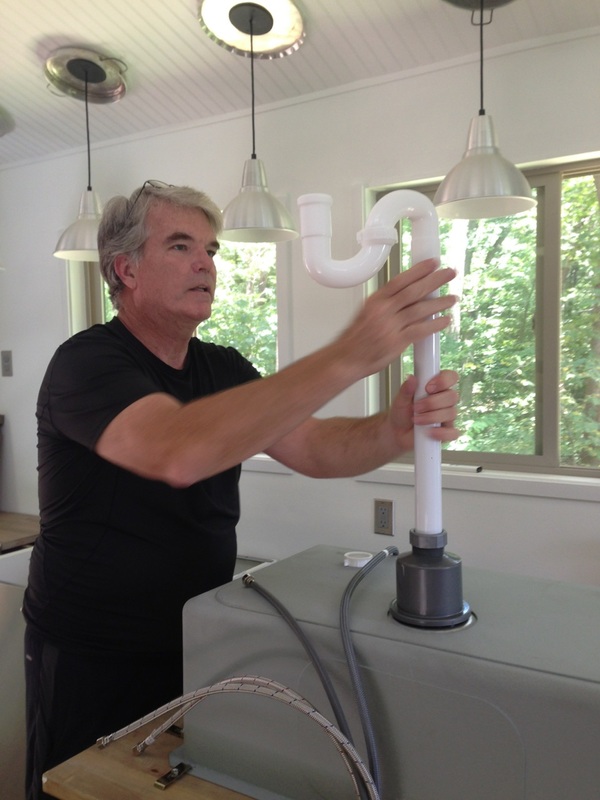
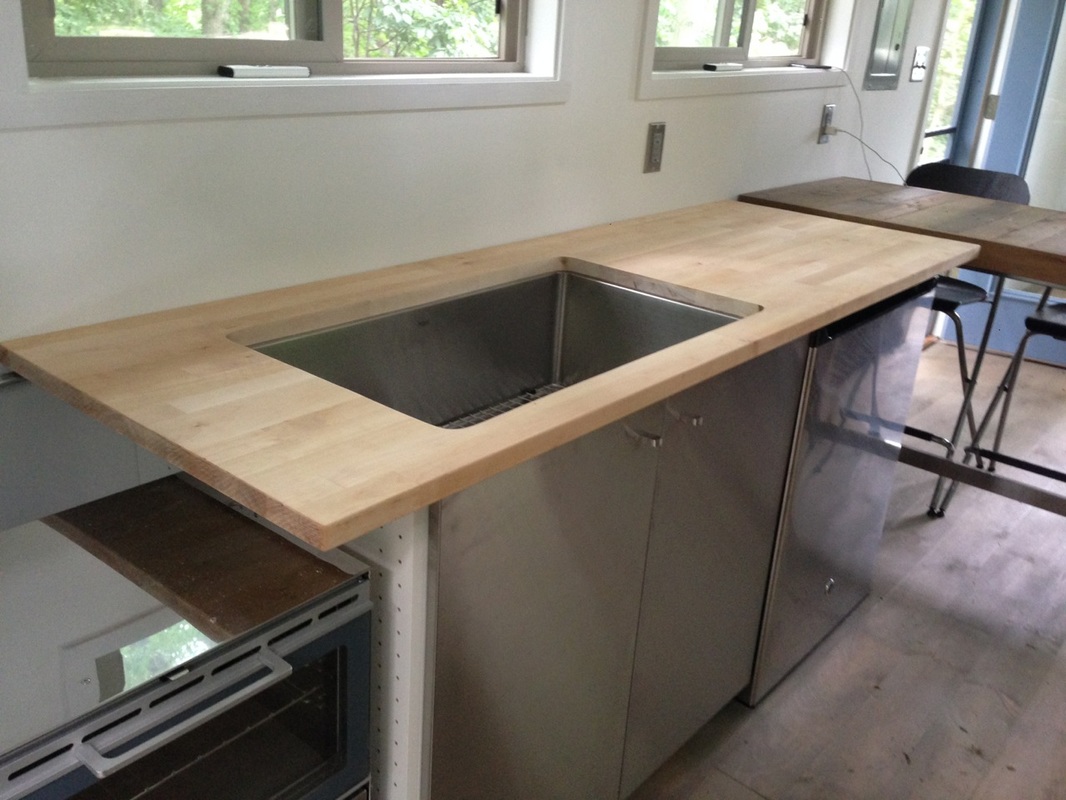
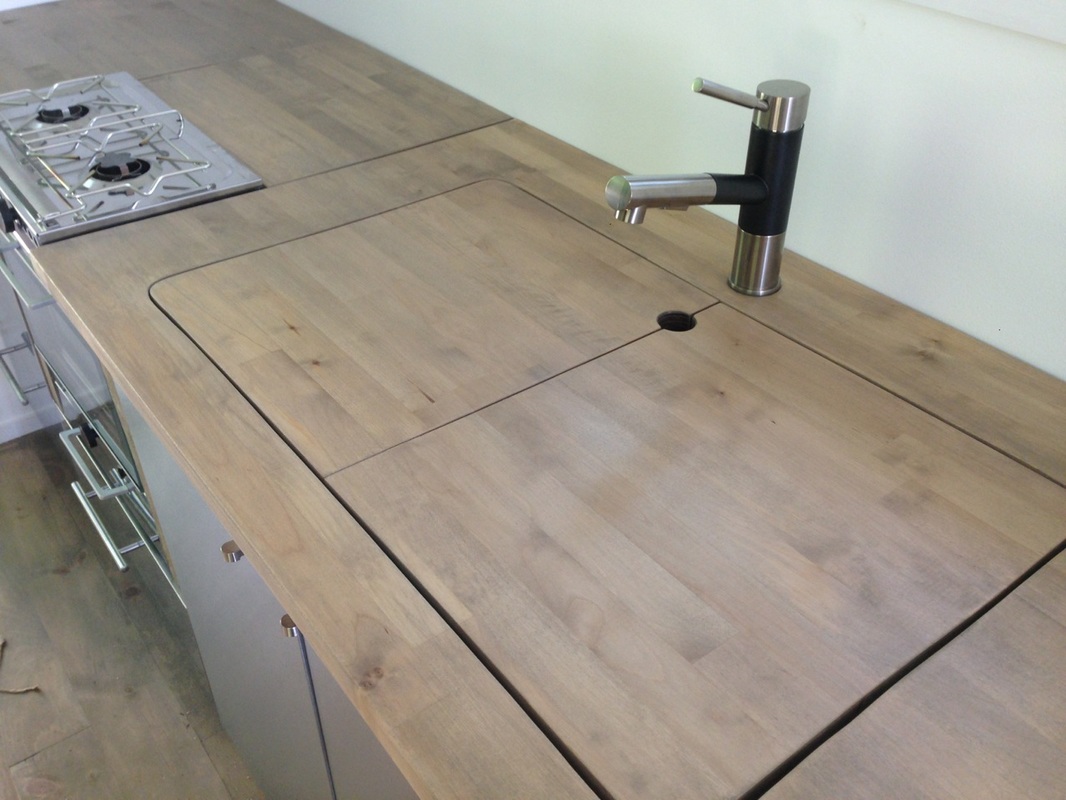
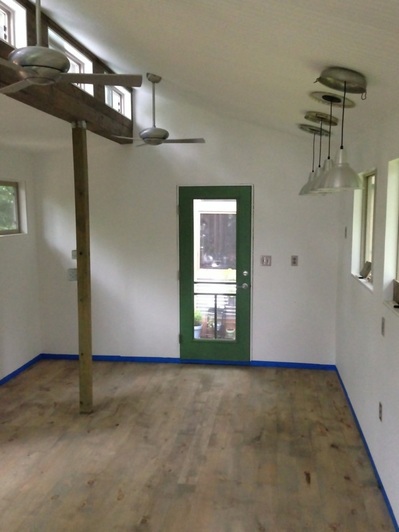
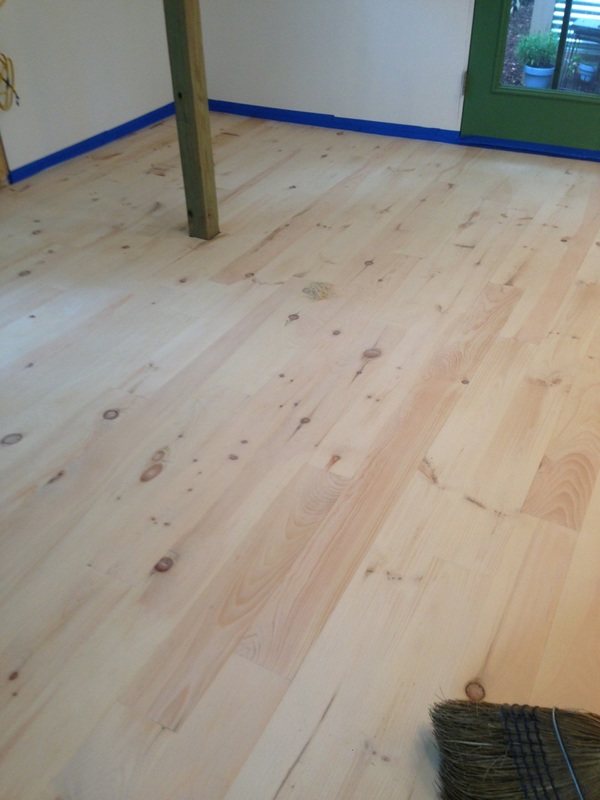
On the other hand, I'm happy to report that here, "on the inside," we have found small is beautiful after all. We finished our build in August 2015, and for three years we've lived full-time in this 250-square-foot home. Bill and I have lived in a lot of houses and apartments (I can think of 13 off hand), and this wee dwelling is our favorite home. I tell people it "fits us like a glove," and that's the truth. It has everything we need and less of the things that used to clutter up our life in other spaces.

"Small can be a bad fit," Tempest wrote in her essay. I don't disagree. But small can be a good fit, too.

In 2013, The Atlantic ran this story: "The Health Risks of Small Apartments: Living in tiny spaces can cause psychological problems." The article warns readers about the dangers of "claustrophobic" spaces and points to research showing that "crowding-related stress can increase rates of domestic violence and substance abuse." Other research concludes that people in small spaces can suffer identity loss. "An apartment has to fill other psychological needs as well, such as self-expression and relaxation, that might not be as easily met in a highly cramped space,” says one expert.

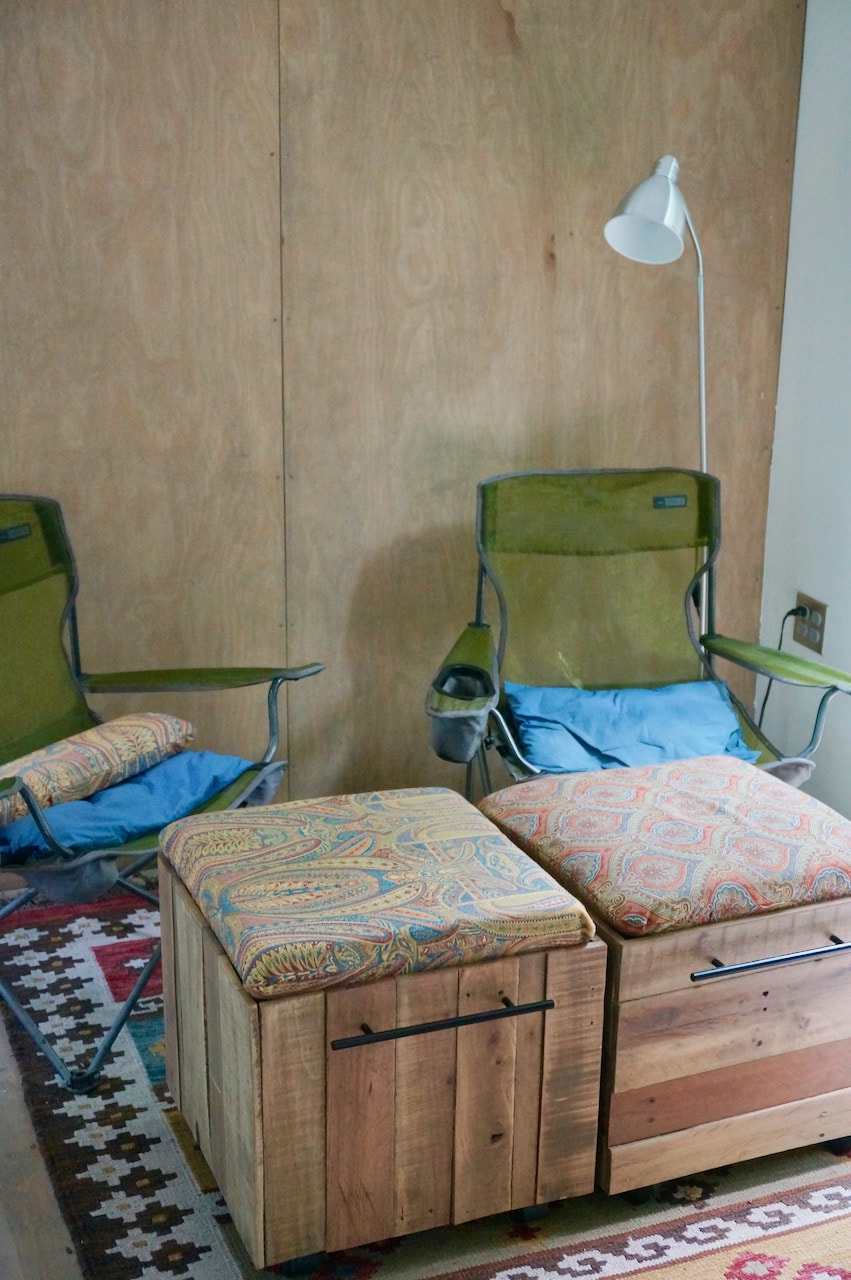
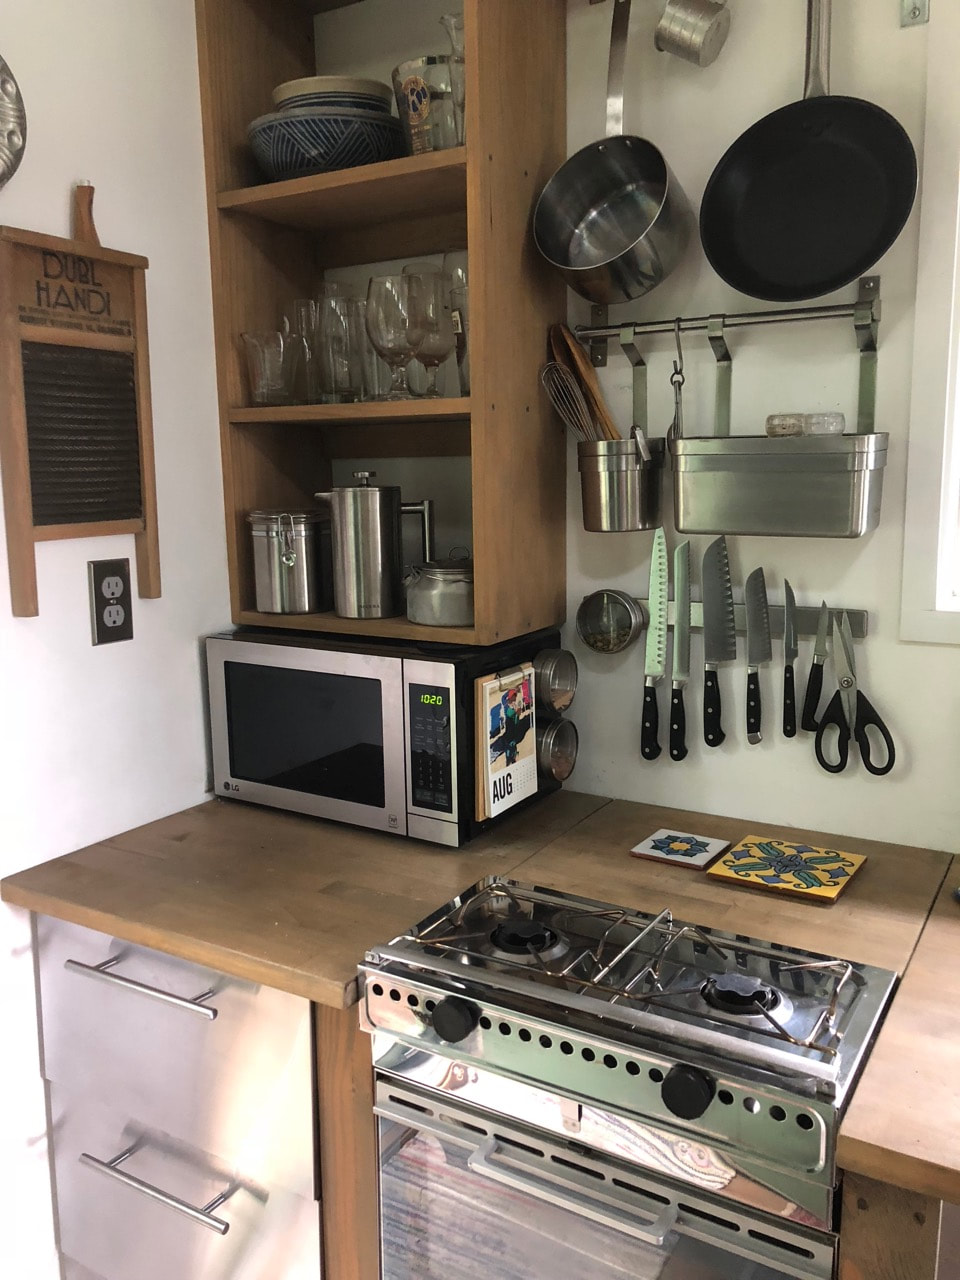
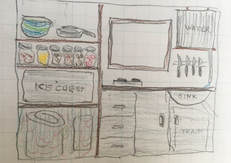
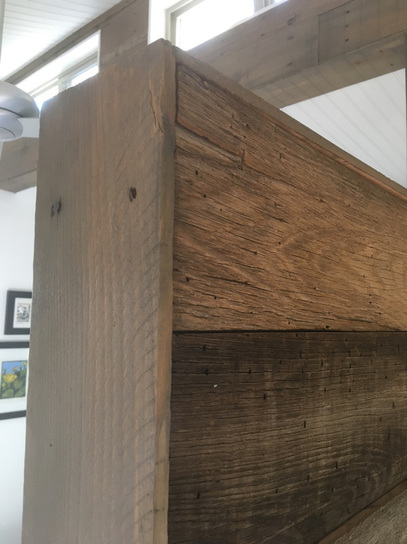
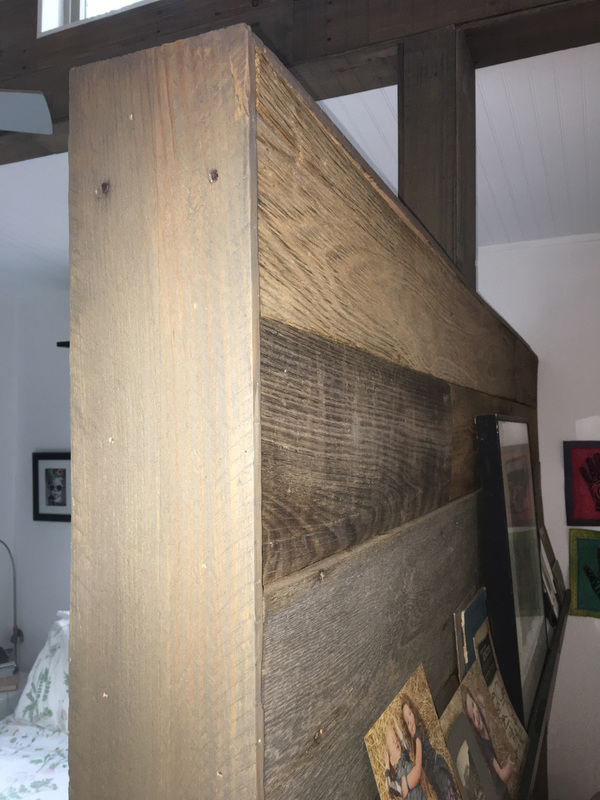
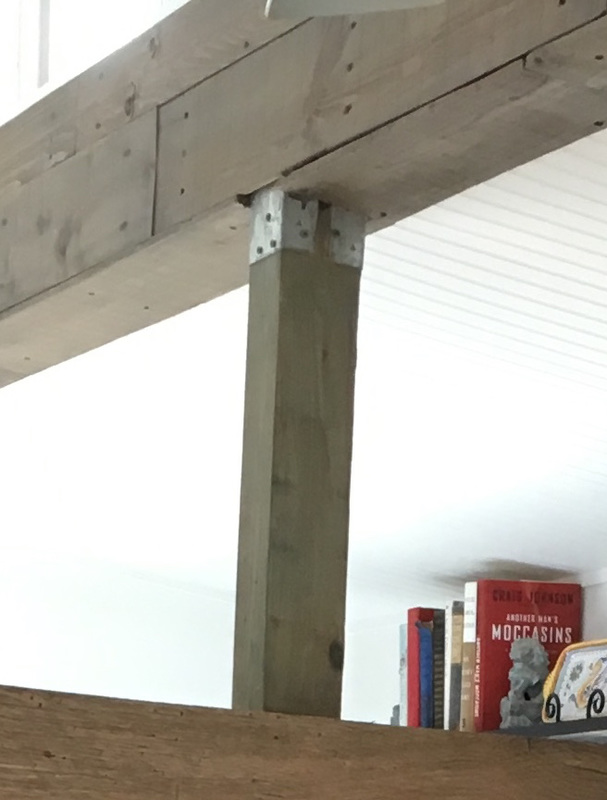
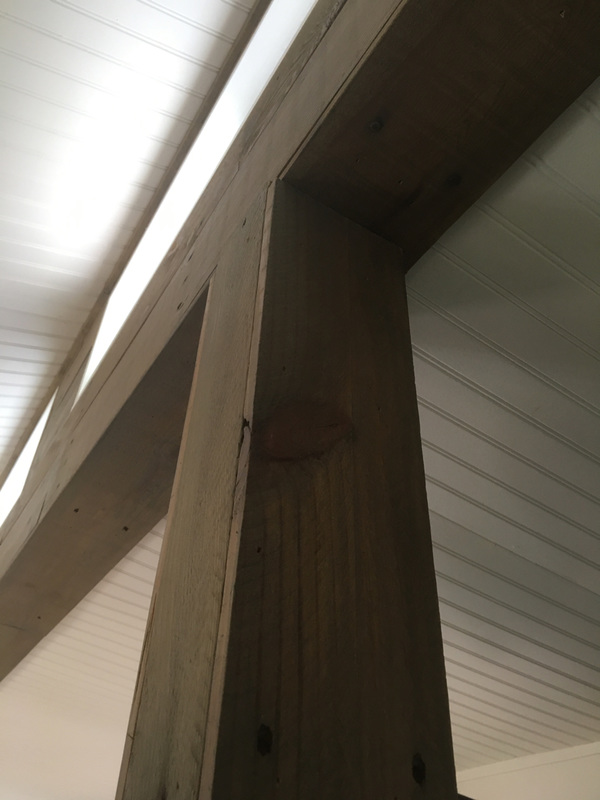
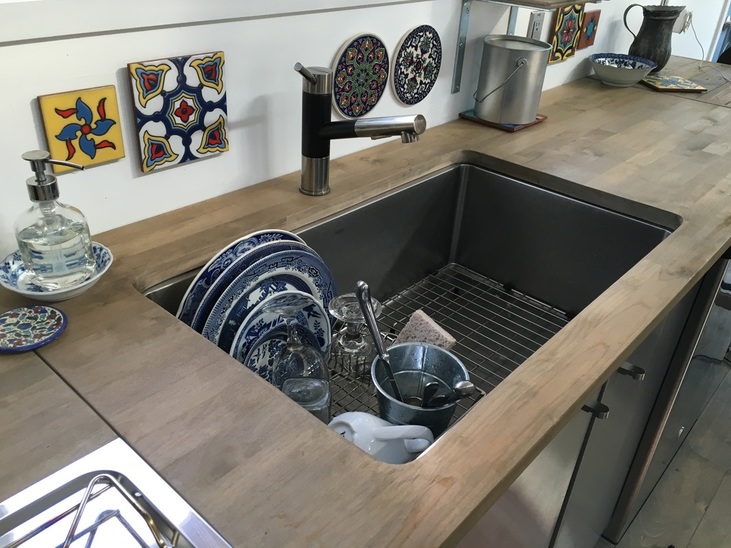
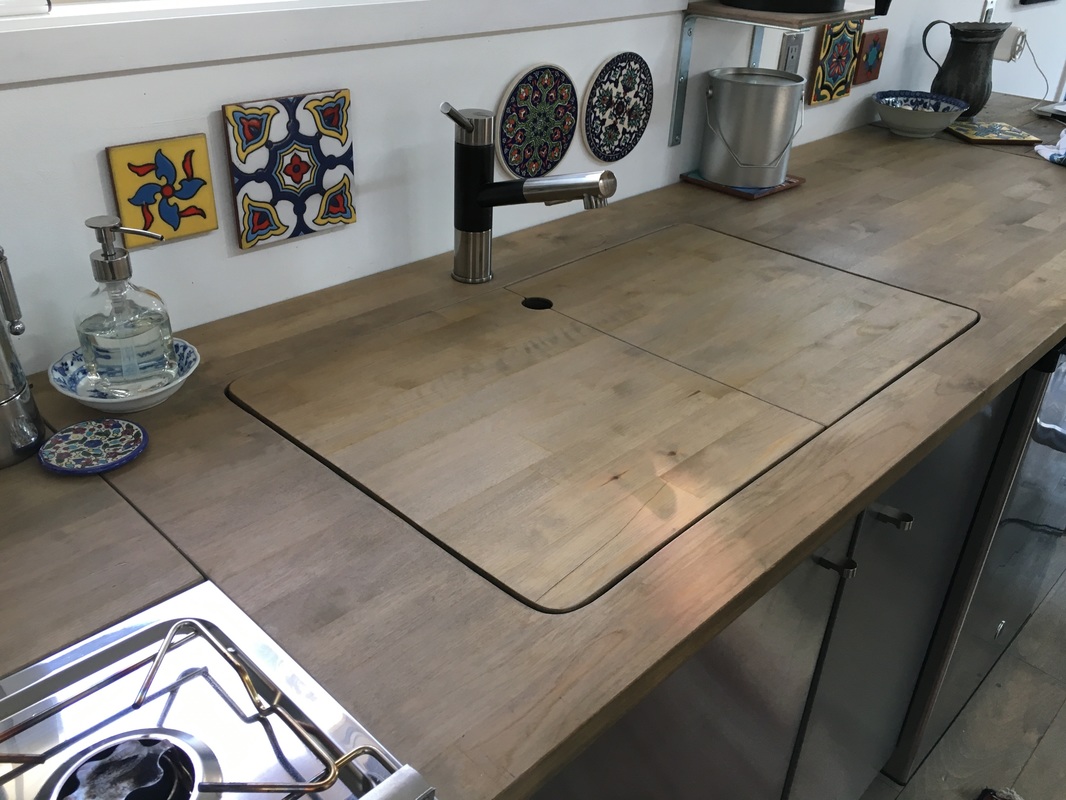
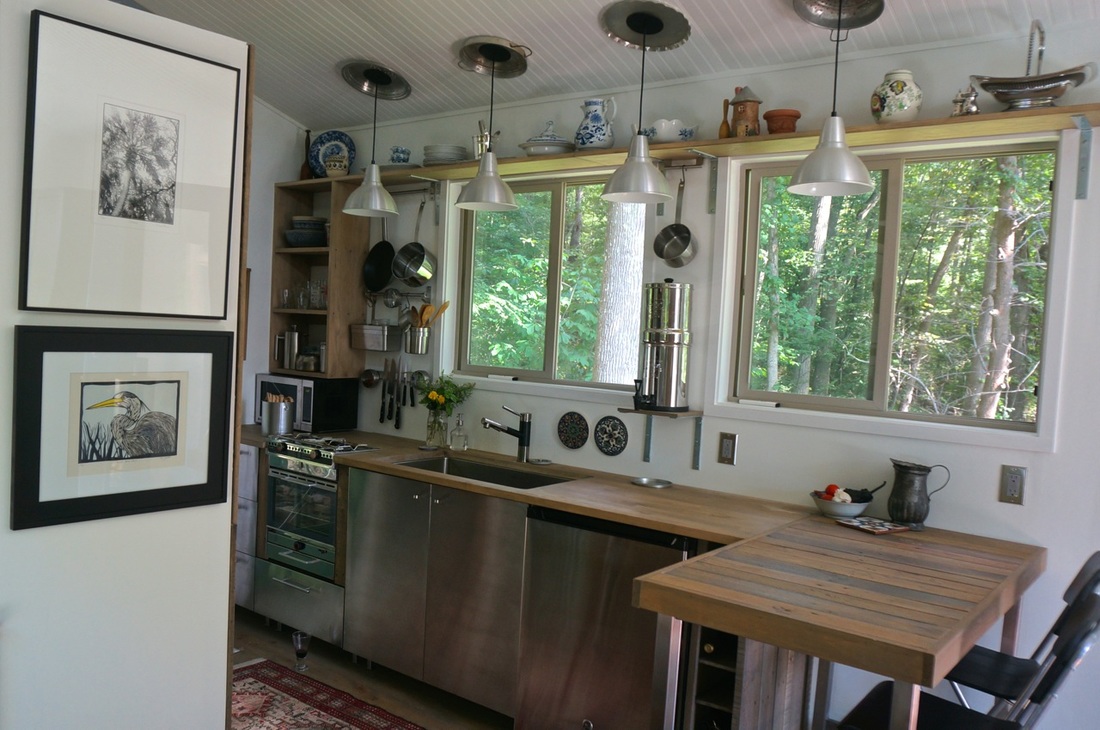
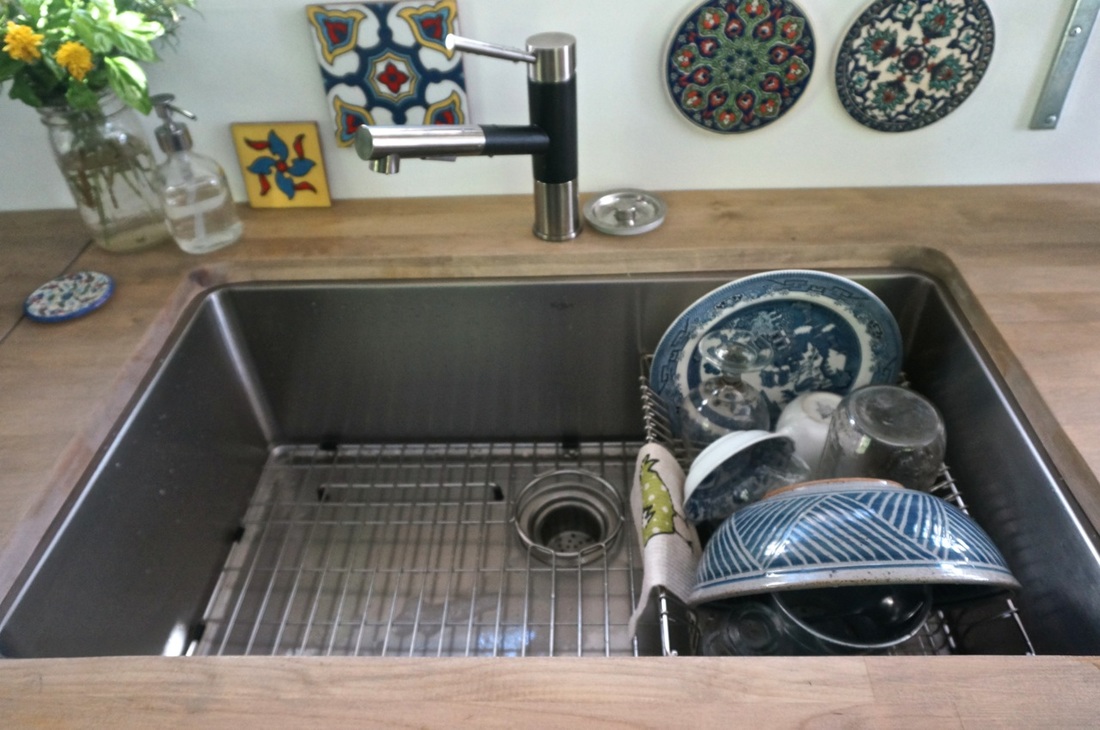
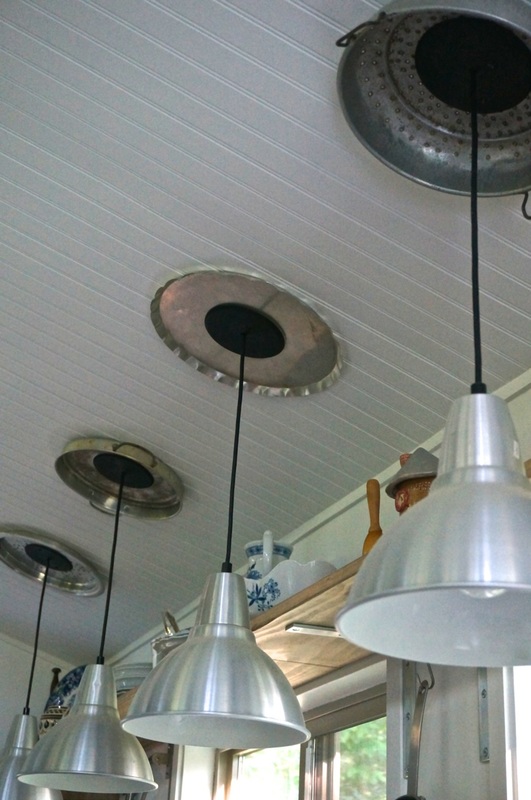
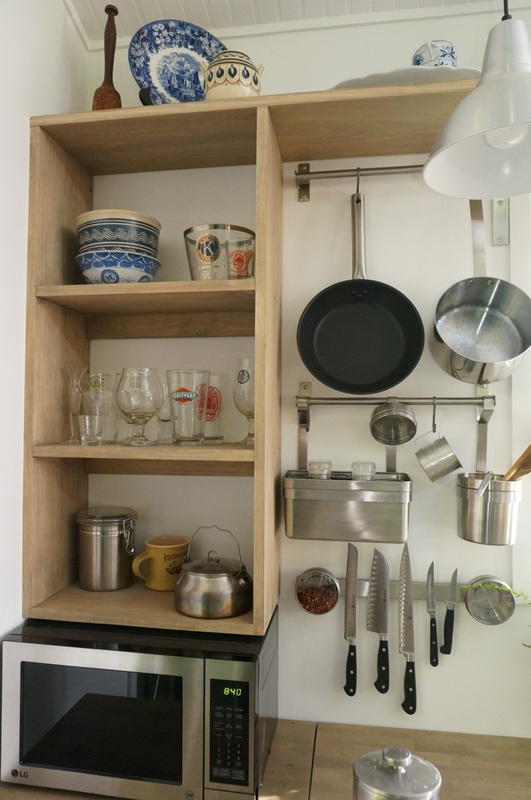
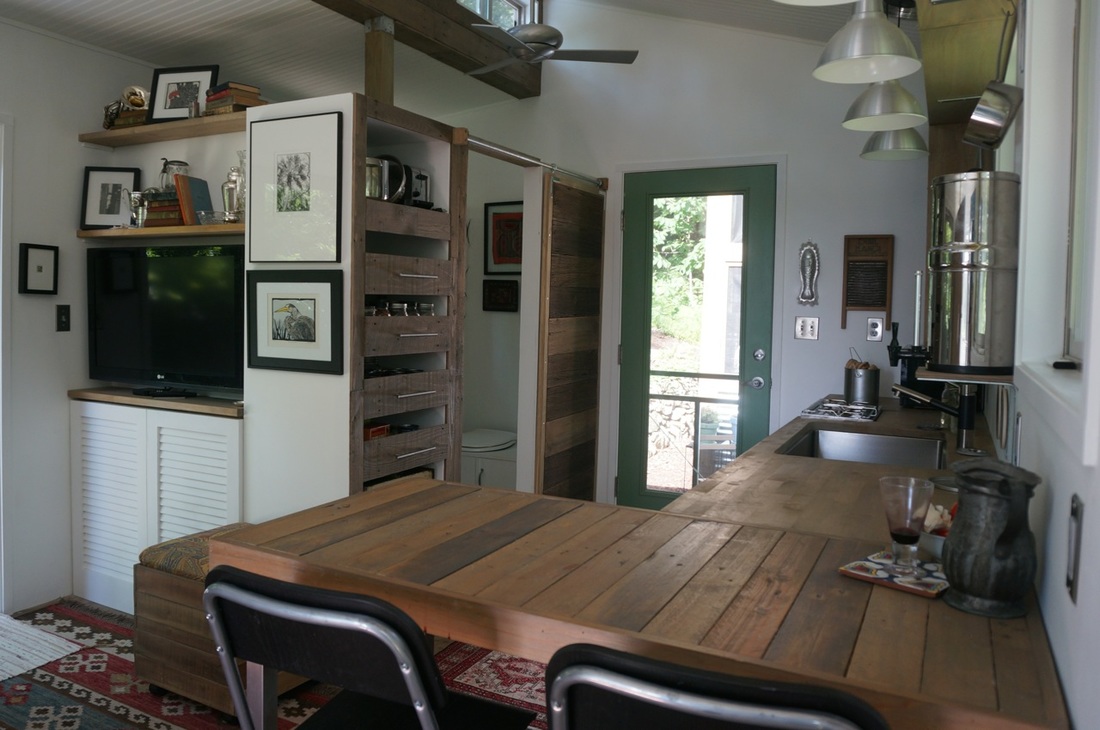
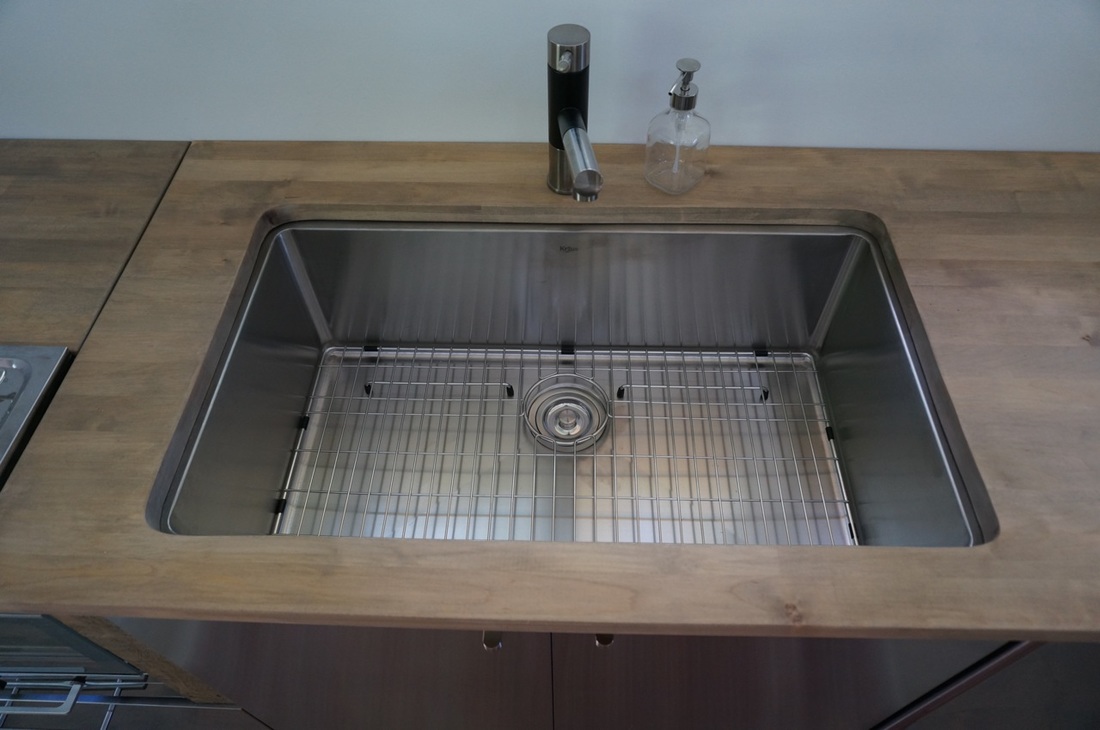
​I don't know why people assume tiny spaces are 100% function, 0% form. I've written about the art in our home before. I would argue that self-expression can be more easily achieved in a small space that's been curated to keep just the most important and most pleasing items. 


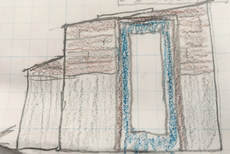
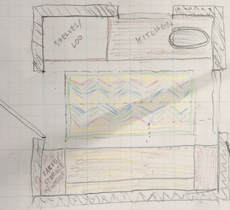
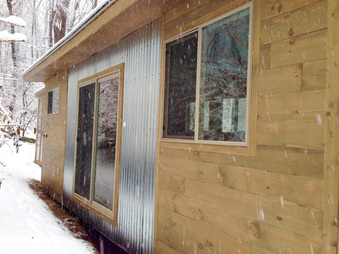
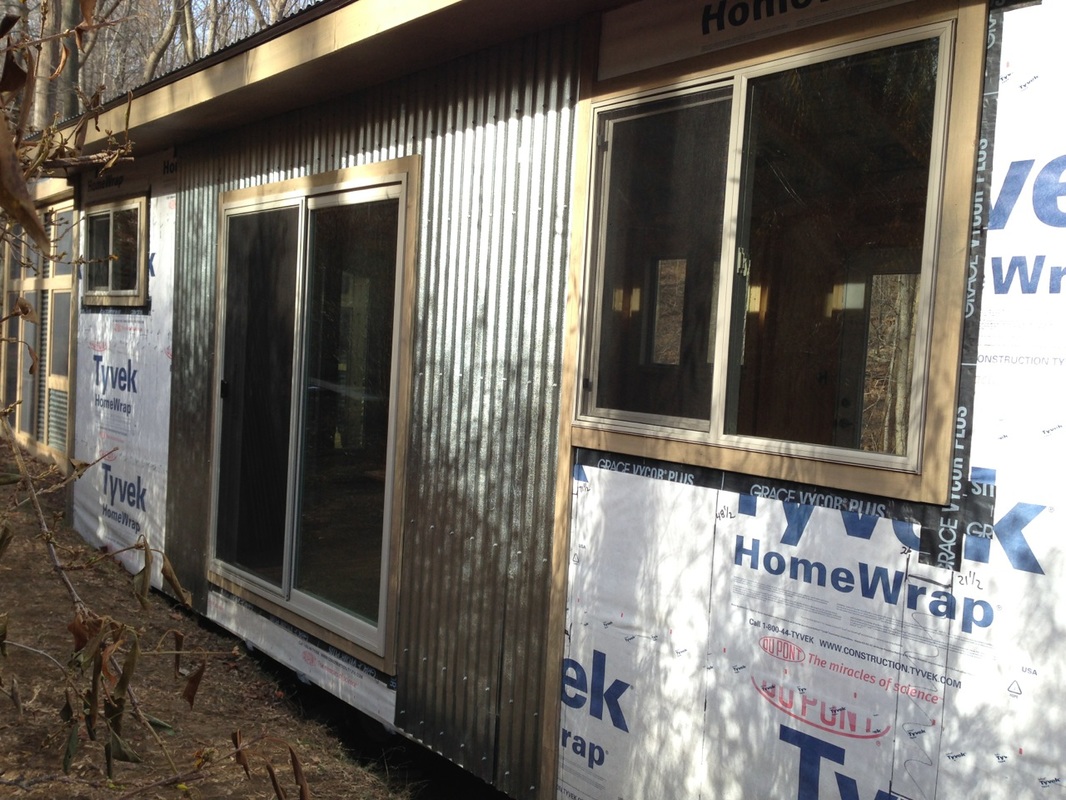
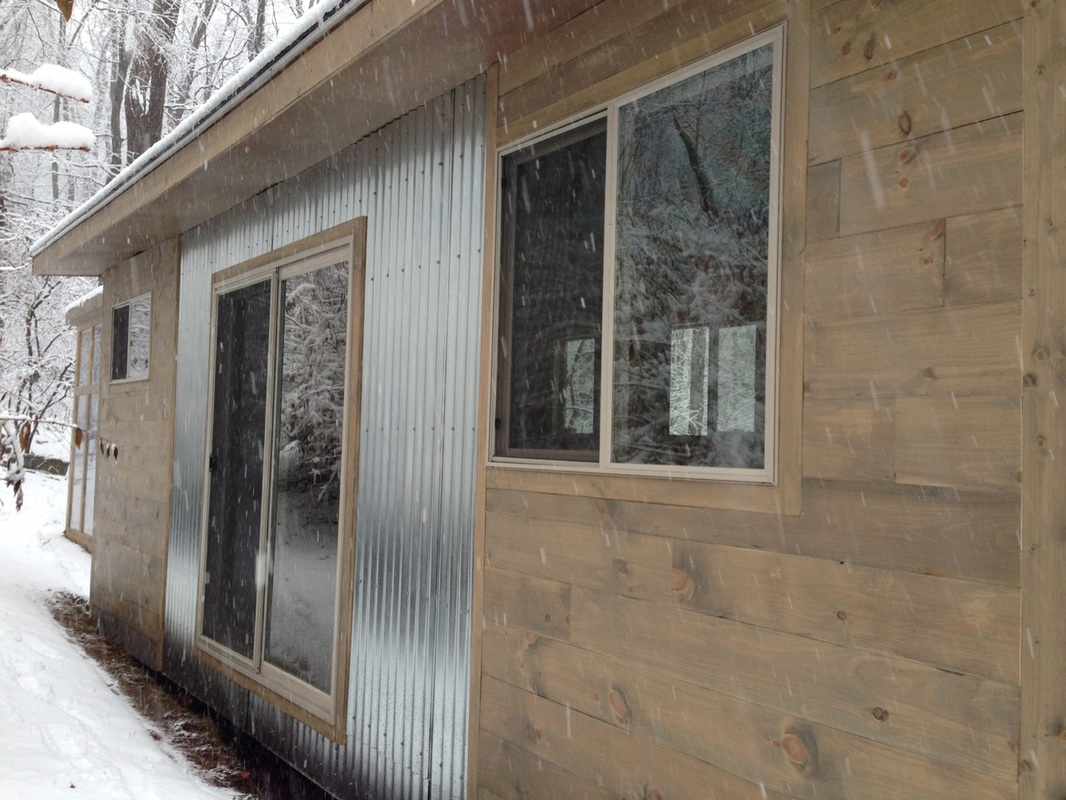
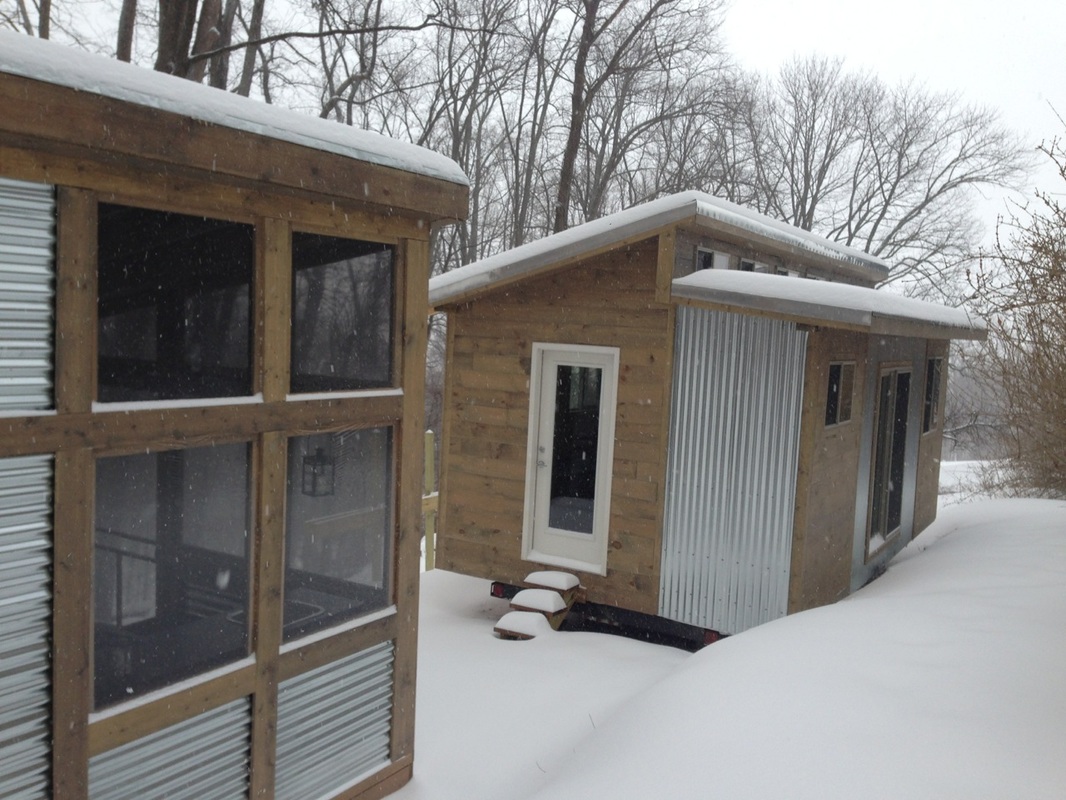
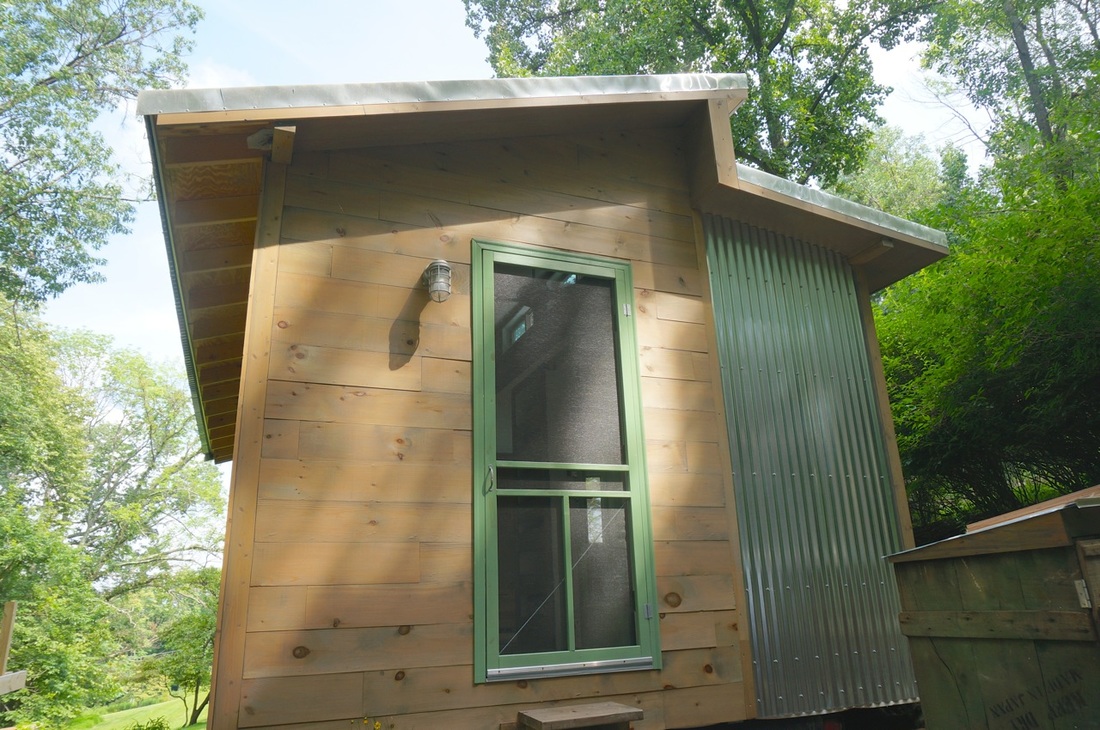
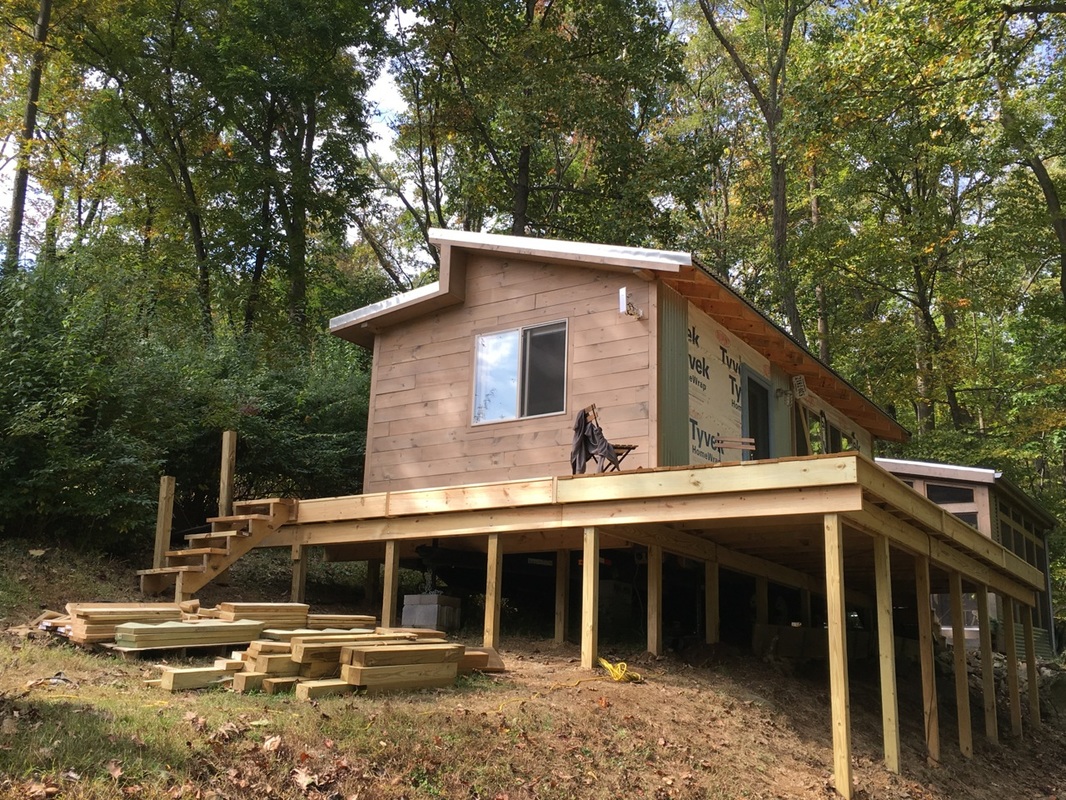
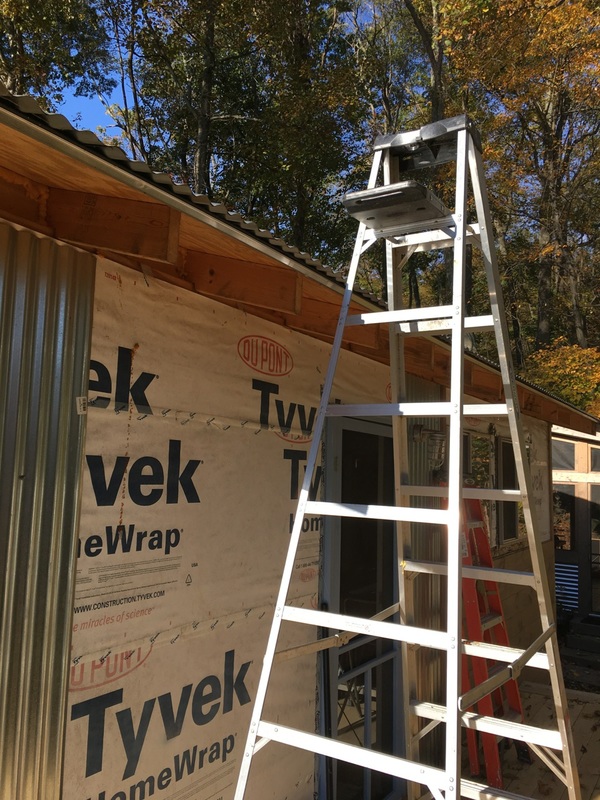
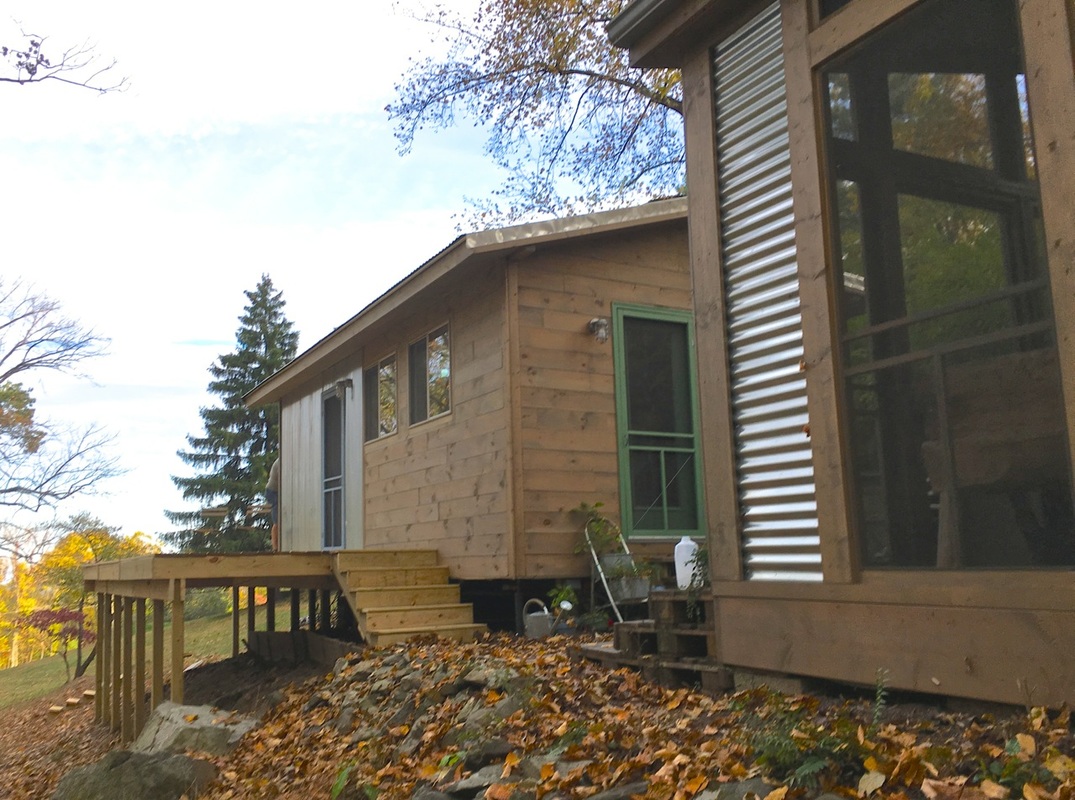
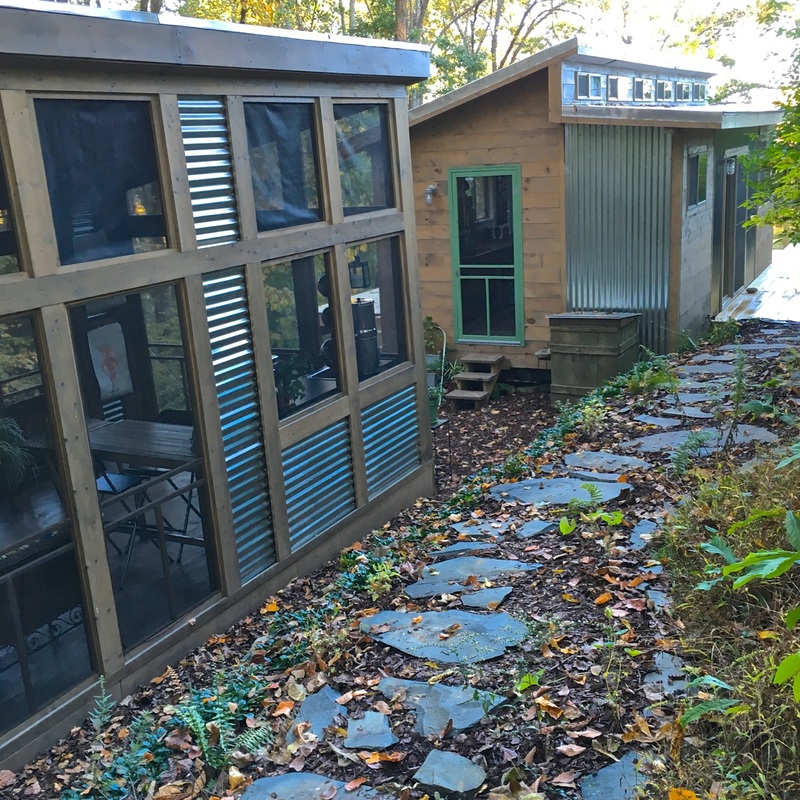
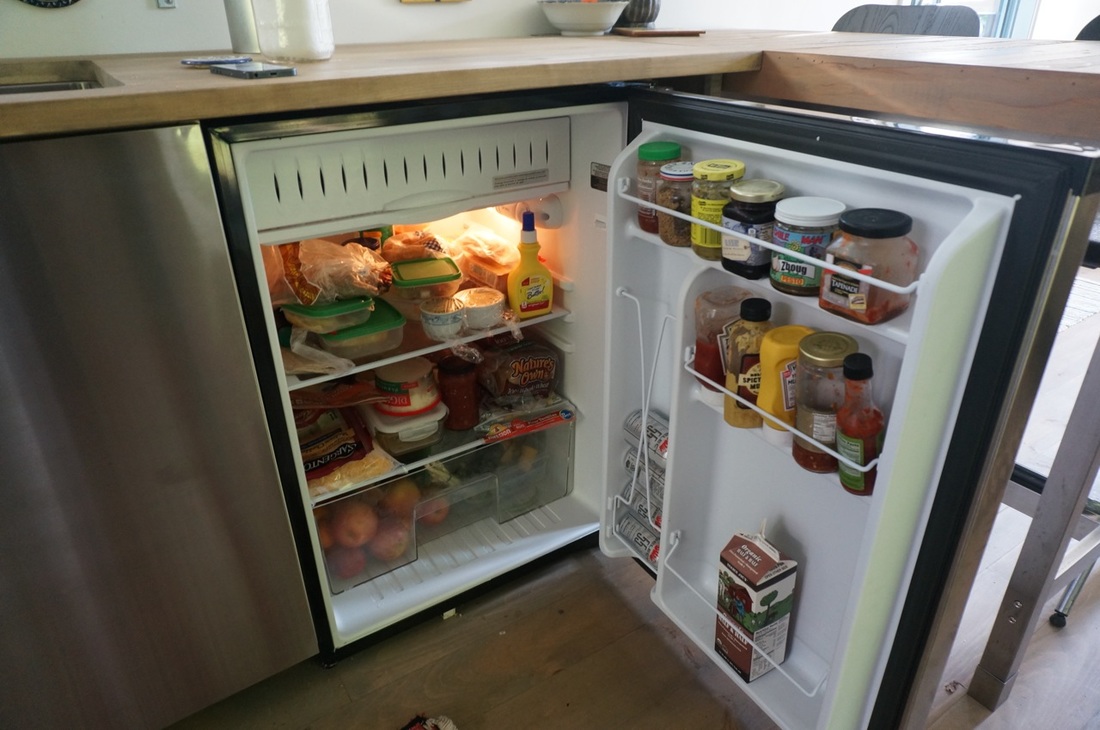
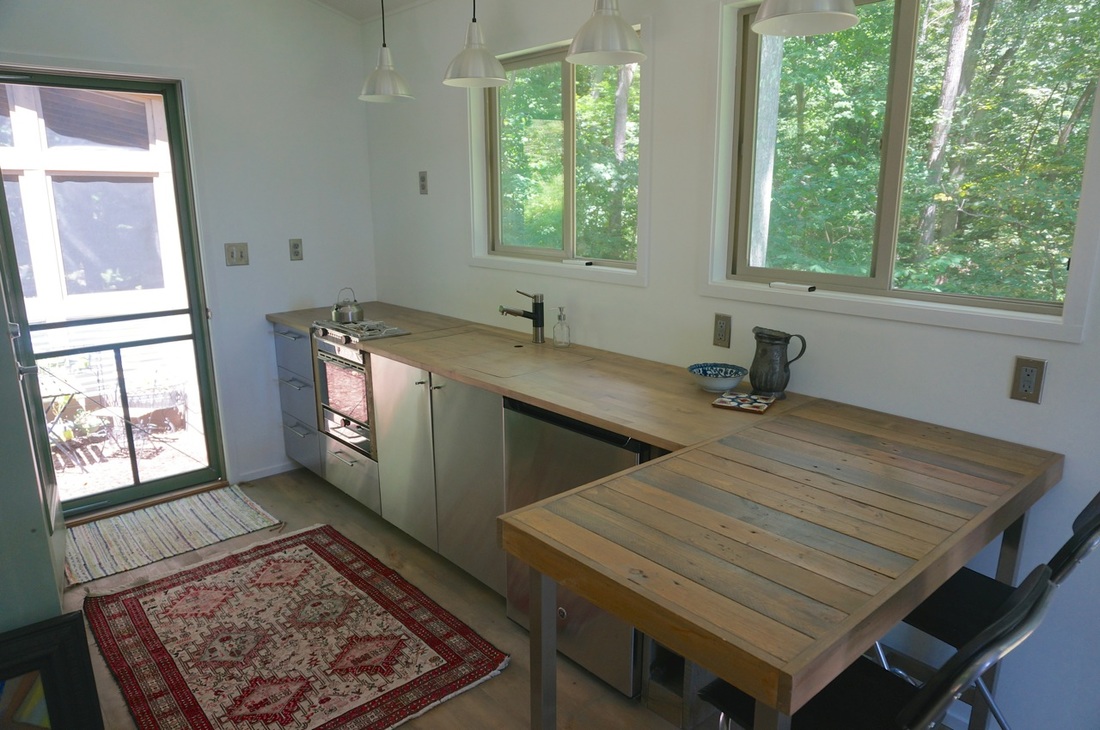
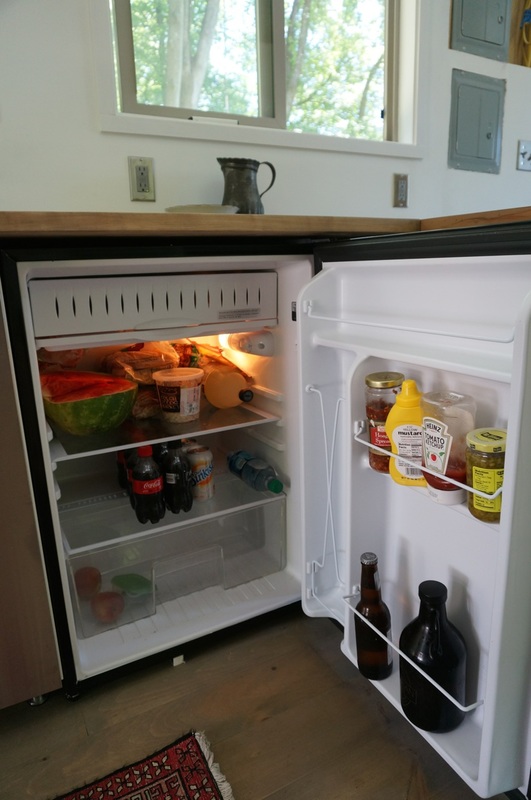
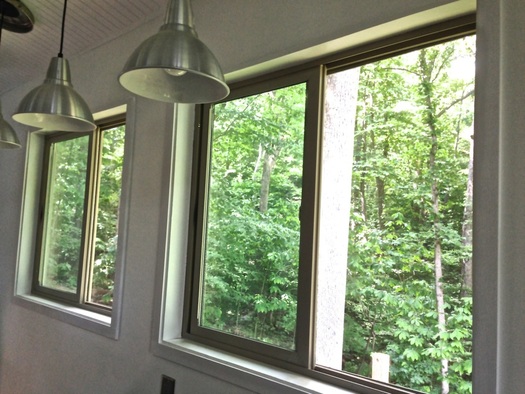
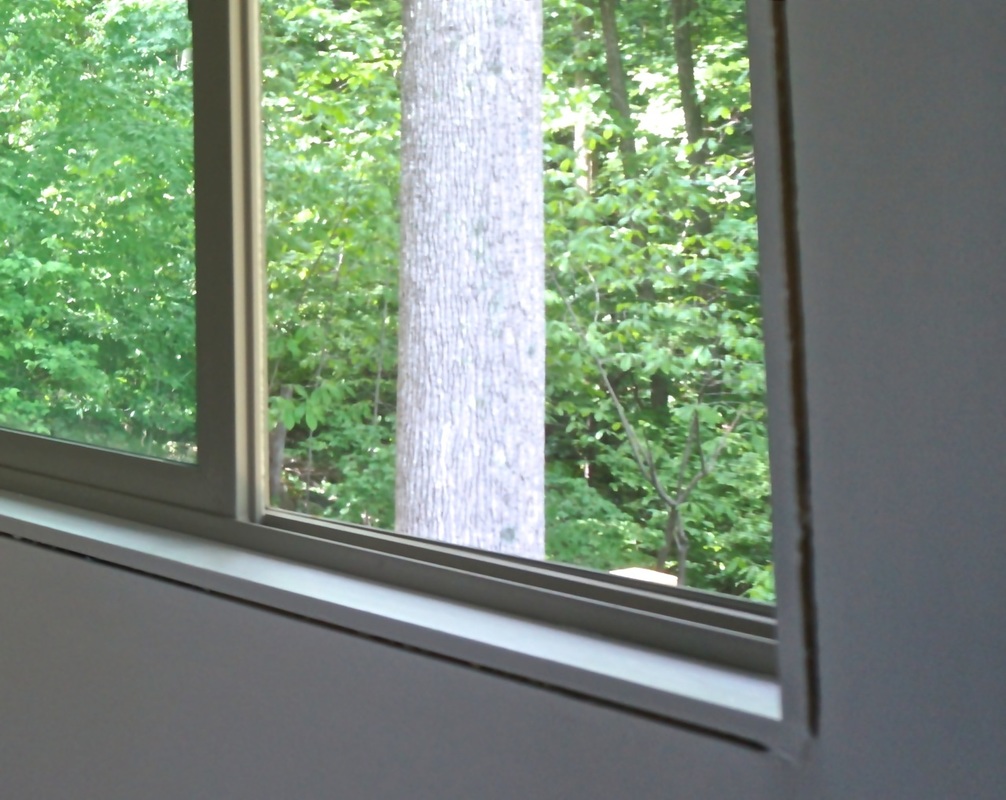
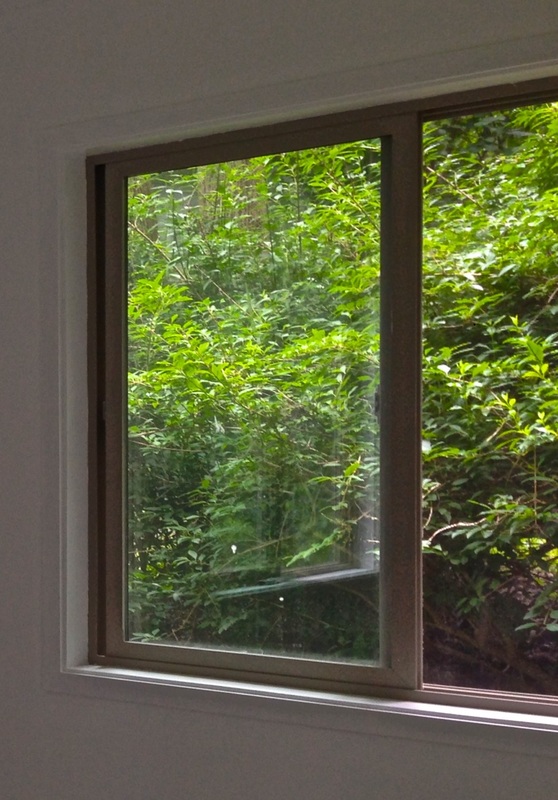
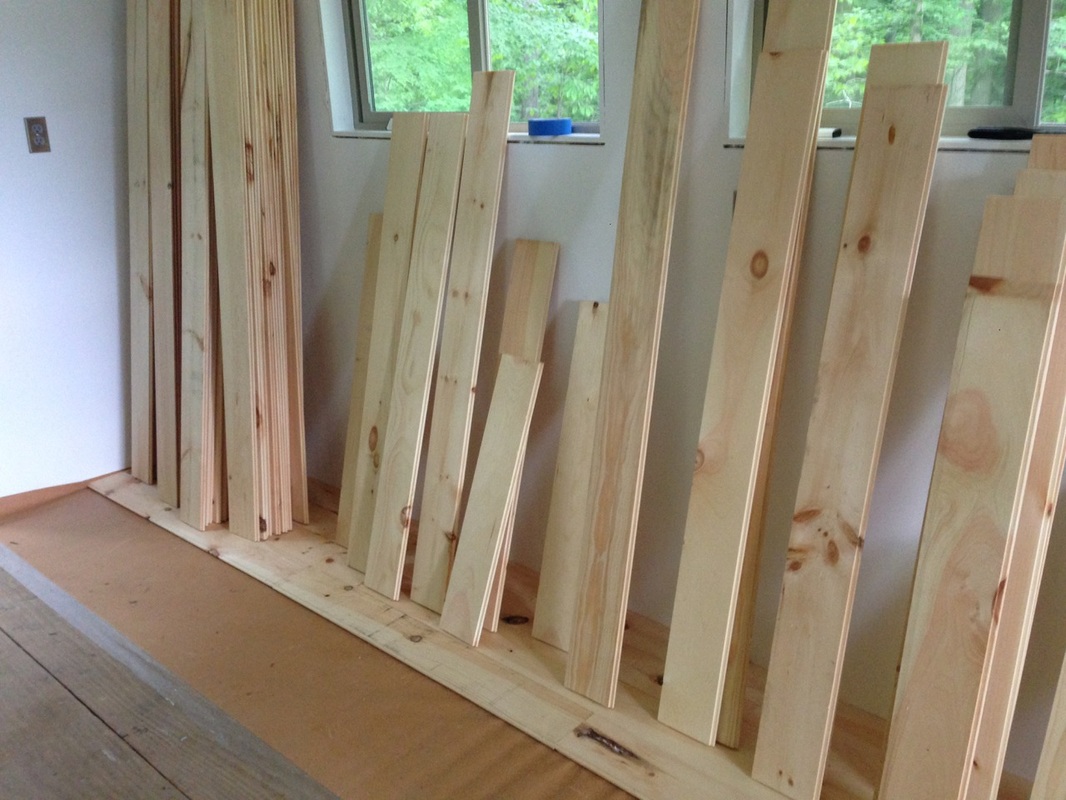
I would also argue that we don't feel "cramped" here. Having 11 windows and three glass doors helps make the space feel larger. So does having a deck wrap around three sides of the house. So does having a patio with chairs around a fire pit and a screen porch with room for dining and lounging. The truth is, we live in just 250 square feet on the coldest days of winter; the rest of the year we occupy about 1000 combined square feet of indoor/outdoor living spaces.

Three years ago, we finished our build. I would do it all over again.
0 Comments

Sweet (Tiny) Dreams

12/4/2017

3 Comments

 
Picture
Building this house was hard work--wonderful hard work involving structural considerations, design elements, troubleshooting, big dreams, hard realities, sudden inspirations and a lot of sweat equity. I look back on our year of building nostalgically now. We had a purpose then, and it was a giant leap forward for our shared dream to live more intentionally and sustainably.
 
More than two years have passed since we moved into our house. We love it here, but with each passing day, the itch to design and build another structure grows. It may be hard for some people to believe, but, at 250-square-feet, we know this house is a much larger space than what we could comfortably live in. Don't get me wrong: We are keeping this house, and we will continue to live here.

I want to puzzle out a smaller living space, and I want to learn a few new skills along the way. When finished, it could serve as a guest room, a writing studio, a rental or as temporary lodging for us somewhere down the road. (Our current house, with its wide profile and especially its wrap-around deck isn't going anywhere!)

For some reason, I got fixated on the teeny tiny house being 8' x 12'. At less than half the size of this house, that seemed as small as we might want to go. I drew up a number of floor plans—some with lofts, some with full bathrooms, some with dining tables and/or desks. No one plan seemed the right one.

I had to dream it up. Literally. I woke one morning having just taken a dream tour of our tiny house. I knew just about everything about it. Dimensions: 8 x 8. No loft. Solar power. No plumbing. Etc. I jumped up, got out the graph paper and started drawing.

Picture
Here's a rough sketch of the exterior. On the towing end of the house, a outside shed would hold batteries for the solar setup, water tanks, tools and anything we don't need inside the house on a regular basis. The roof of the house on this end is 7 feet and there's no window (to get broken by rocks or other debris on the road). The roof slopes up to eight feet on the kitchen end of the house.

Picture
Inside, the door faces a window for cross ventilation. Another window lets in light and air in the kitchenette. Seating is a sofa that converts into the bed. Even when pulled out in bed mode, there's still enough room to access the kitchen and "the loo." Beside the sofa are two narrow side tables on wheels at coffee table height. They can be pulled out to form a coffee table or for use at ottomans. They'll also be storage. There will be more storage over the sofa/bed on a high shelf and additional storage under it.

Picture
The kitchen area has a sink and counter space over cabinets and drawers for trash, silverware, dishes, pots, etc. Water comes from a mounted tank and grey water drains to a container below the house. Cooking is on alcohol burners (like the Origo model we use in this house.) The ice chest is a real dream item; I'm not sure it exists in the real world (but it should). About the size of an ice chest but front opening (not drawn correctly here), it runs off the 12-volt solar. The "loo" is a lined bucket with a toilet seat (a primitive variation of what we use here) that just gets pulled out for use, then cover is added and it gets pushed back into a cabinet. The idea is that showers and most loo trips are to public bathrooms or someone else's house (like ours, when it's parked here).

Picture
That's it. My dream house. This is the one I want to build. No doubt there will be tweaking along the way to take care of all the things that make sense in dream world but no so much when awake. First step: find a good deal on a solid trailer, whether new or used. In my dream, we used a lot of reclaimed materials. Collecting that is something to get started on, too. Time to dream on.

3 Comments

Tiny House Recap

11/21/2016

12 Comments

 
Picture
After living for years in traditionally scaled homes, we sold our last house and moved to an apartment to try  living in a smaller footprint. We didn't miss the space, we loved ditching our mortgage and we found ourselves firmly on the path to living more sustainably.

​We finished this house and moved in about 15 months ago. People late to our story have asked about our build, so I figure it's time for a retrospective.
 

Picture
Site prep. We were fortunate enough to have a friend invite us to build on a corner of her 5-acre property in the Blue Ridge mountains. We cleared and leveled (or partially leveled) a site for our house, with enough room to build a separate screen house which went up first. (More on the screen house here.) We scavenged old boards and used them to build a retaining wall, then reinforced the wall with stones from the woods.

Picture
​The trailer. Zoning doesn't allow a second foundation-built house on the property, so we built on a trailer. Ours is  on a 24-foot equipment trailer from Tiny House Builders of Georgia. Our design runs the full 24' of the trailer and extends over the bed two feet on both sides. We used 10" joists to raise the floor over the wheel wells; it also left us plenty of room for insulation). Bill drilled holes through the trailer to attach the joists and bottom layer of plywood with 6" lag screws.

Picture
​Framing. We went with a "stick built" house on 24" centers (sometimes referred to as advanced framing). The technique saved us a little money (by using less wood) and reduced the house's overall weight. We designed the framing in about 8-foot sections so that it would be easy for the two of us to lift pieces into place and attach them. We put up four 4x4" posts to carry the weight of the roof, since we decided to go with a split roof design that incorporated clerestory windows.

Picture
​Roof. After a couple months of tarping the build site for rain, we were thrilled to roof the house. We installed a beam and framing for the row of clerestory windows between our two rooflines, then hung rafters and screwed down plywood decking. On top of the plywood, we went with a layer of WeatherWatch instead of roof felt for more leak resistance. On top of that went panels of corrugated steel fastened using screws with rubber washers. Bill bent the flashing out of strips of galvanized steel.

Picture
Sheathing and house wrap. Plywood installed on the exterior studs made our build look more like a home. After cutting out the spaces for our windows and doors, we swathed the house with Dupont Tyvek HomeWrap. We'd talked about adding a rain screen which would leave a gap of air between the house wrap and the siding yet to come...but we forgot. Rainscreen helps control moisture. (You can read more about it here, for more information.) So far, so good here without the rainscreen.

Picture
​Windows and doors. We knew we wanted a lot of light and cross ventilation (no air conditioning) in our house. We looked at second-hand windows, but finally decided we didn't want to take the time to scavenge the exact sizes we wanted. The best deal we found was for Jeld Wen windows and doors at a local lumber yard. We made a last-minute decision to swap out one window for a third door when we thought about building a deck. So, 11 windows and three glass doors it was.

Picture
​Siding. We wanted to break up the sides of the house by using wood and metal siding. Our final choices: corrugated steel (same as the roof) and wood clapboard (stained the same color as the screen house). Snow came before we could finish the siding, and eventually our progress crawled to a stop. We took a few months off and finished the last side and the eaves of the house in the spring. We started the eaves with super light-weight panels, but switched to thicker plywood by the end. 

Picture
Wiring. Our electrical plan got a little complicated when we decided to go solar as much as we could afford. We found a solar generator (the SolMan classic by Sol Solutions), and Bill designed the wiring to go to two boxes. All the lights and most outlets are wired to a box powered by our generator. The hot water heater, water pump, microwave and back-up heater—all items that need surges of power—use grid power drawn from our friend's house.

Picture
Plumbing. A mountain spring feeds the cistern that supplies water to our friend's house. We tap into that supply. We went with PEX water pipes because PEX is flexible, inexpensive and easy to work with. Bill watched YouTube videos to figure out the little he didn't already know. As far as waste pipes go, we're careful about everything that goes down our drains so it can be piped to a mulch pit. We're not on septic, so urine also goes to its own pit. We deal with solid waste by composting it.

Picture
Insulation, walls and floor. With the electrical and plumbing installed, we insulated between the ceiling rafters with rigid foam and between the wall joists with EcoTouch Fiberglas. The walls went up fairly quickly with standard drywall; the ceiling is light-weight (too light-weight) beadboard panels. We painted the walls and ceiling white, knowing we would have dark wood floor and trim For the floors we found a good deal on pine boards at Lumber Liquidators, then stained them with the same color as the exterior house. 

Picture
Kitchen, bathroom and bedroom. We built interior walls to divide our space for a bathroom on one end of the house and sleeping space on the other. The interior bathroom wall also houses the water heater, plumbing, electrical, a medicine cabinet and the pantry. Both walls stop short of the ceiling for air flow and light. We went with a big sink, undercounter fridge, alcohol-burning stove, butcher block counters and IKEA cabinets in the kitchen. Besides the DIY composting toilet, the bathroom houses a mini sink and a metal-lined shower.

Picture
Deck. Most of the deck went up after we moved in. It wraps around three sides and makes it much easier to walk around the house, especially important given our sloped mountain site. The deck also gives us plenty of room for grilling and dining, growing herbs and having friends over. We've planted  grapes and hope they'll grow up the lattice that hides the trailer from view. Still to come: planters outside the big glass sliding door.

A year after we started our build, we  moved in. We finished the deck seven months after that. There's much I've skipped (the wood stove install, for example), so let us know if you have questions about the steps I've passed over here. (Or the steps I included!)
12 Comments

Trimming Down the To-Do List

10/27/2016

3 Comments

 
Picture
Recently I posted pictures of the barnwood wall behind our sofa and mentioned it was 90% complete. We ran out of steam before we got around to measuring, cutting and installing trim along the edges and top.

And there were the two posts that support the clerestory windows: they were also missing a decorative sheath.  Ditto for the bathroom doorway.

​I'm happy to report the trim is (finally!) in place. It's amazing how much more finished a look it gives our space.

(Now if I could only remember to install the two feet of missing floor trim—already painted and ready to go!—then I could say we've finished off our space.)


​Please click on the pictures below for more details.

3 Comments

Big Sink in a Tiny House

12/21/2015

9 Comments

 
Picture
Our square footage may feel limited to some, but the only question we get asked about the size of our sink is why it's so big. So, here are a few answers:
​
1. We have room to wash dishes on one side of the sink and fit a drying rack on the other side.
2. We can easily fill our bucket and watering can in the sink.
3. We don't have a washing machine in our house but, in between trips to our friend's house for laundry, we have plenty of room to wash out clothes in the sink. (We hang things in the shower to dry.)
4. We can hide away all the dirty dishes from a dinner party in the sink and not think about them till our guests are gone.
​5. Etc.

Just how big is the sink? We went with a 30x18-inch sink basin that's 10 inches deep. The Kraus model we picked came with a removable rack on the bottom, and I'd never want a sink without one now. Pots don't scrape the bottom of the sink. Not to mention that the rack makes a great, built-in drying rack. Our Kraus facet is high enough to slide buckets, growlers and the like under it to fill, plus it has a pull-out sprayer that lets us get water anywhere we need it in the sink.

Best of all, when Bill cut the butcher block countertop, he was careful to preserve the full section of wood he cut out. We drilled a finger hold in the middle, then split the piece in two. Now we can cover one or both sides of the sink when we need more counter space or want to hide away unwashed dishes. When we want the sink open, the wood sections fit in the space behind our stove where we store pans and our pizza peel.

9 Comments

Side by Side

11/8/2015

0 Comments

 
Picture
We had finished three sides of our tiny house when winter hit hard last year. The final side was a challenge even in fair weather. The ground drops away on that side of the house, and balancing on extension ladders to nail boards and screw in metal panels proved difficult and downright dangerous with snow on the ground. We decided we'd wait to finish the siding until we built a deck, which would give us a stable platform. For months, we did our best to ignore the Tyvek house wrap still exposed on that side of the house.
 
Other things took priority. Wiring the house. Plumbing for sinks and the shower. Walls. Ceiling fans and lights. Finally, this September (more than a year after the start of our build) we turned our attention to the exterior of the house again. Bill designed a deck we could build in pieces and take apart, if that ever became a necessity. As soon as we had the platform in place—even before the boards were screwed in place or the railing built—we installed the rest of the house siding (no more Tyvek!) and finished the eaves. Now it feels as though the house is complete.
 
From our first sketches, we had corrugated metal and pine boards in mind for siding. We like the mix of "industrial modern" and "rural rustic" for our mountain setting. The materials echo the construction of many of the farm buildings in the area—plank barns and metal sheds. They have the added advantage of being affordable choices. Sheets of metal run around $20; eight-foot shiplap boards cost less than $10 each.
 
Mixing the two materials helped break up the 24-foot-long sides of the house. And it made it possible to give each side a distinctive look. One side, the side that faces the home of our friend/generous landlady, has only wood because she's not a fan of the metal. Two sides have their own pop of color—green and blue doors.
 
Form follows function in our design. We wanted a home flooded with natural light, so we worked a total of 11 windows and three glass doors into the design of our 250-square-foot house. Putting windows at the same height and keeping their proportions similar hopefully gives the house a sense of balance even though there's a lot of asymmetry going on.
 
Now that our house has four finished sides, we're working full time on getting the deck finished—more on that later.
 
Please click on the images below for more details.

0 Comments

Kitchen Bliss

8/29/2015

5 Comments

 
Picture
We prepared food in our tiny kitchen for more than 20 people this week after inviting friends and family to tour our almost-complete home. The kitchen makes food prep and entertaining guests a breeze. The two of us can work in the space without bumping elbows, and more than once we've been told, "The kitchen feels so big."

Some kitchen specs:

Our butcher block counter top runs 9 feet, but feels as though it extends another two feet because our counter-height table sits at the end. If we need even more counter space, we have inserts that fit over the  sink. We cut the counter to build in our oven/stove, and we can lift out the section behind the stove to store pans, racks and the sink inserts when not in use. The counter is IKEA's birch Hammarp, sanded down so that we could stain it to match our other wood. 

The sink is a whopping 32" undermount model from Kraus. We don't have a bathtub, so we wanted a sink big enough to wash out anything that needs cleaning. It's also big enough that we can leave our dish drainer in the sink and still wash dishes beside it. We put in one or both butcher block inserts if we need more counter space and less sink. The faucet is a pull-out, single-lever model from Kraus. Hot water is courtesy of our Bosch mini-tank. More on that here.

The stove/oven is an alcohol-burning Origo 6000 from Dometic. Find more on the stove here.

Our refrigerator is a 5.6-cubic-foot Energy Star GE model. It was hard to find an affordable fridge of this size made to fit under a counter. There's only a tiny freezer, but we have access to a full-size freezer in our friend's house just a short walk away. (One example of many compromises weighed to make the most of our compact space.)

As far as storage goes, our pantry is the workhorse. Six sliding shelves hold everything from dishes to food to cleaning supplies. The top, fixed shelf has room for the toaster, food processor, big pot, colander, water bottles and more. We also built shelves that fit over the microwave and across the top of the window. The long, high shelf is great for extra china and decorative pieces that wouldn't fit in the tiny house otherwise. An IKEA magnetic bar holds our knives and a couple Grundtal racks hold spices, wooden spoons, pots and more.

Our base cabinets come from (where else?) IKEA. We had plans to build our own cabinets and drew  initial sketches. We went to IKEA to get ideas and came home, instead, with cabinets.  We realized they were the perfect size, design and price point--so why reinvent the wheel? We spent extra to go stainless on the doors and drawers, but it was a splurge we both wanted.

The wine rack was a leftover-pallet-wood inspiration because we wanted a finished side on the refrigerator that made use of the six inches left at the end of the cabinets and fridge. Beside the wine rack, our counter-height table features a DIY pallet-wood top with a steel IKEA table base. It's the same dimensions a second table we made, so we can fit them together if we ever want to host a big feast. The folding chairs are also IKEA.

Four pendant lights keep things bright with LED bulbs. To cover the holes in the ceiling, we came up with the idea of using old kitchen tins sourced at an annual flea market that raises money for the hospital. (The fish mold on the wall came from the same sale.) At this point, you've probably already guessed that the lights came from IKEA.

We like our modern conveniences here, so a pint-sized LG microwave sits atop the counter. It's big enough to fit a dinner plate, but small enough to be energy efficient. 

We don't have to but we choose to filter our drinking and cooking water. That's where our beautiful Berkey comes in. In the tiny house, we have the "Travel" model; in the screen house, we use the "Royal" model so we have enough water to wash dishes in our makeshift sink. Here in the house, we installed a shelf so that the Berkey didn't have to take up counter space. The spot beneath it makes a great home for our compost bucket.

That's all I can think of for now....Please ask questions about anything I've left out.

Please click on the pictures below for more details.

5 Comments

It's (Almost) a Kitchen!

7/24/2015

4 Comments

 
Picture
We have food cooling in the refrigerator, a kettle warming on the stove, a gigantic sink, a table to eat at, silverware organized in a drawer.... Still to come in the kitchen are shelves, backsplash, pot racks, slide-out drawers in the half-finished pantry and, most critically, running water. 

Happily, the plumbing is progressing and we should have our wee-sized, point-of-use water heater hooked up before too long.

Kitchen specifics:
  • Stove/oven: Our Origo 6000 is an alcohol-burning marine stove. Cooking would quickly draw down our solar-fueled batteries and we don't want to use propane for eco reasons. So, we've gone with clean-burning, renewable alcohol for cooking. It's tiny--but so far, so good.
  • Refrigerator: Our Energy Star GE fridge is efficient enough that solar has no problem powering it. Yes, it's summer, and the sun is producing more energy now than it will in the winter, but Bill has us wired so the the highest energy users (hot water and refrigerator) can be plugged into the grid if needed. The 5.6 cubic feet of space seems plenty big enough for the two of us.
  • Sink: We don't have a bathtub, so we wanted a large sink for anything big we'll want to wash. Our 32x19x10-inch Kraus sink takes up a lot of counter space, so we have inserts that drop in to cover the sink when we want to spread out in the kitchen.
  • Counter-height table: The stainless base is from IKEA, intended for a stainless top but sold separately. We made our table top from sanded, stained pallet wood. Its the same dimensions as the table we assembled for the screen house, so we can put them together when we have more people over. The black/stainless stools are also from IKEA.
  • Wine rack: Another pallet wood project. More on it here.
  • Cabinets: We thought we'd need to build our own cabinets to get things just the way we wanted them (sink centered on the window; oven built-in, etc). Then we looked at an IKEA catalog and realized they had pieces that would fit perfectly and save us loads of time. We could have kept costs down by going with all-white doors and drawers, but we decided to splurge on stainless. The drawers are full pull-outs, and, by leaving two drawers off one unit, we were were able to build in our Origo stove/oven and even leave room for storage behind it.
  • Pantry: Eventually the pantry space will have six pull-out shelves and one fixed shelf (on the top). It's our main kitchen storage and will hold glasses, dishes and appliances, as well as food. Shelf slides are from Home Depot. The three bottom sliding shelves will house antique wood boxes with some of our bigger kitchen items; the top three sliders will have pallet-wood rims to keep things in place.

Though our kitchen footprint isn't large, the space feels big to us. Maybe it's all the light, maybe the high ceilings, maybe the open floor plan...or maybe we've just adjusted our spatial perceptions!

4 Comments

Trimming Out the Tiny House

6/21/2015

0 Comments

 
Picture
Our trim is just a subtle 2-inch strip of wood painted white, but we've been impressed by what a difference it makes. The ceiling went from having gaps and sagging panels to snugging up neatly against the rafters. The windows and doors looked unfinished until molding bridged the black gap between the frames and wall board. 

Trim is a style statement. Some traditional houses call for intricate window molding--complete with frieze boards, mitered returns, crown molding and caps (see This Old House for an illustration)--but it wouldn't work in our setting. Narrow, flat trim suits the scale and style of our tiny house. We figured this out by buying small pieces of a number of options and looking at them in place: along the ceiling, around the windows and doors, and edging the floor. Style-wise and (not unimportantly) finance-wise, the simplest trim was the best fit.

And now...we're on to building the bathroom walls and tackling the plumbing...

0 Comments

We Are Floored

6/6/2015

0 Comments

 
Picture
Three days of installing boards, two days of sanding, two more of staining...and we have floors in the tiny house.

The biggest challenge was working around  cracks, missing knots and other blemishes on the white pine boards. Saying they were "rough" is an understatement, but we managed to find enough good boards, or at least good sections of boards, for the most-seen areas and to hide less-desirable pieces where the closet, cabinets and bed will go. What little wood was left over will make great  fuel for the grill.

Now that the floors are in place, we can't put off figuring out the plumbing any longer. Or...maybe we'll do that after we trim out the windows and doors?

0 Comments
<<Previous

    Categories

    All
    Bathroom
    Bedroom
    Ceiling
    Ceiling Fan
    Composting Toilet
    Cooking
    Deck
    Design
    Doors
    Electrical
    Energy
    Flooring
    Floor Plan
    Framing
    Gutters
    Heating
    House Wrap
    Insulation
    Kitchen
    Making Furniture
    Materials
    Plumbing
    Rain Barrels
    Roofing
    Screen Porch
    Shower
    Siding
    Solar
    Stairs
    Storage
    Tiny House
    Trailer
    Ventilation
    Walls
    Windows
    Winterizing
    Wiring
    Wood Stove

    RSS Feed

Powered by Create your own unique website with customizable templates.