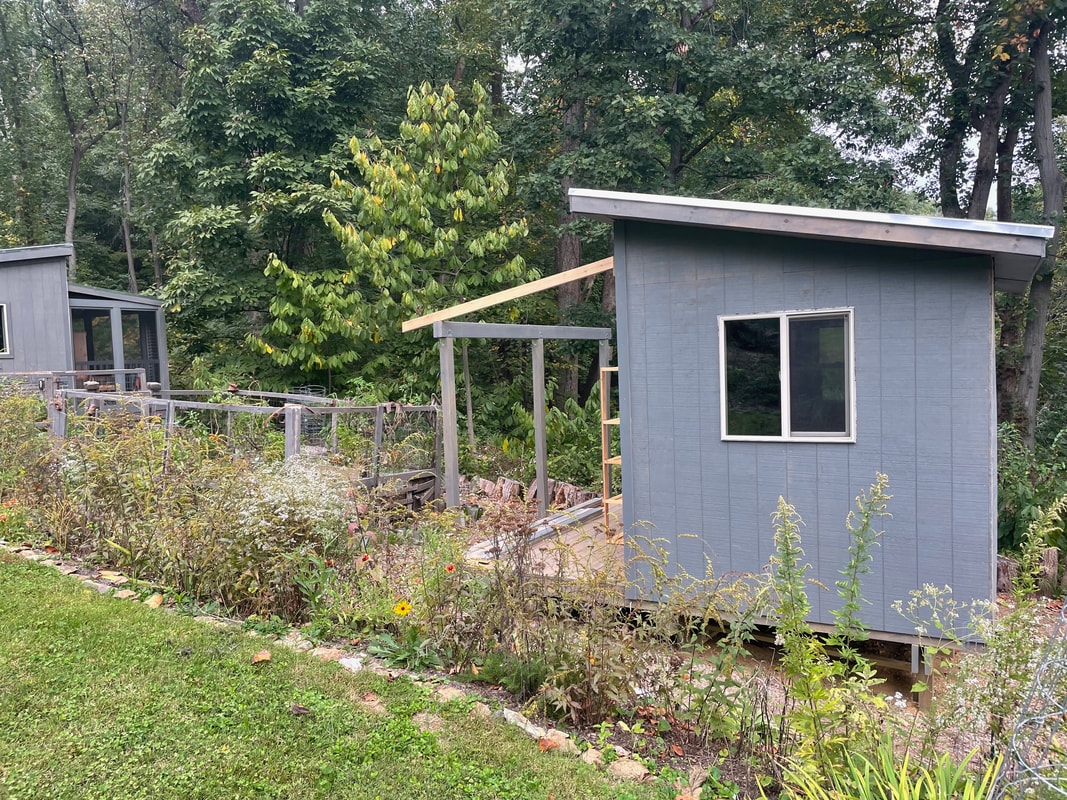
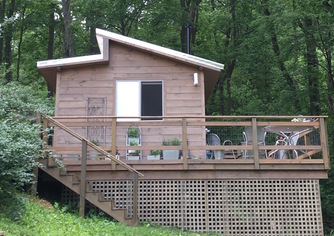
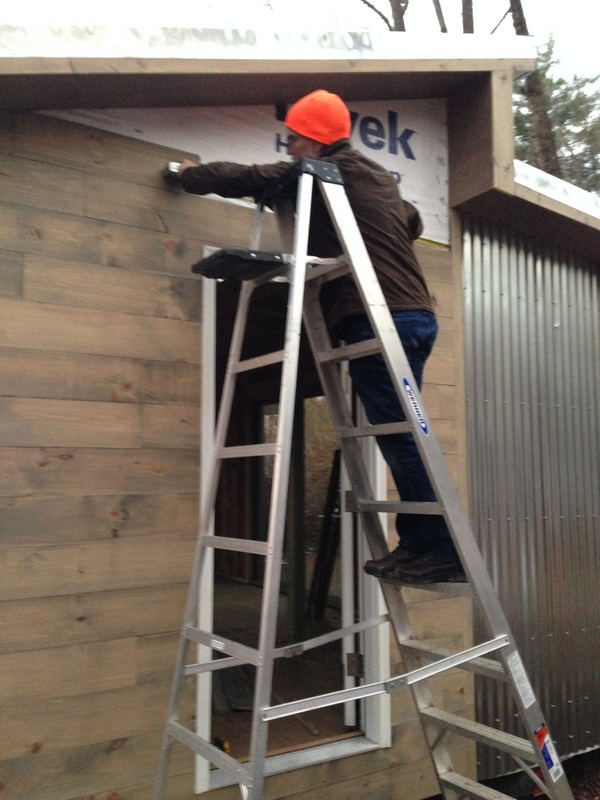
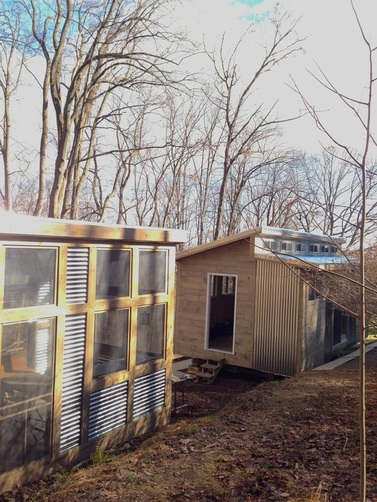
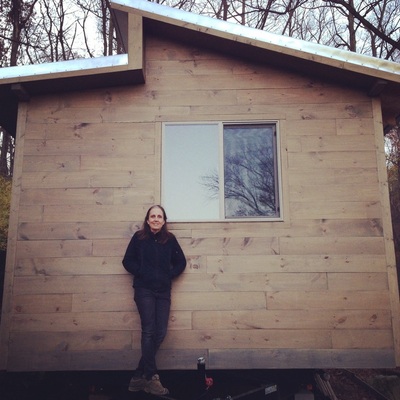
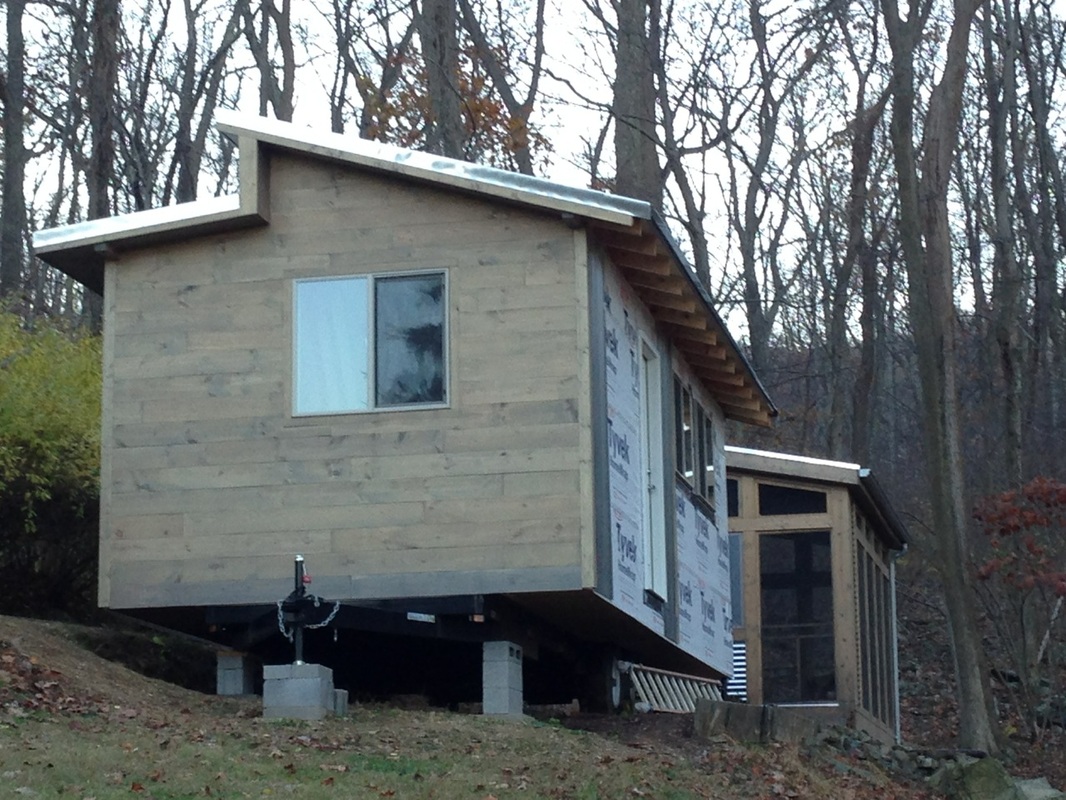
The building continues. This time it's the shed we talked about building for quite some time, until the last project morphed into the Clubhouse. The shed design evolved over time...smaller, then bigger, then smaller; more windows, then less; garage door, then standard glass door.
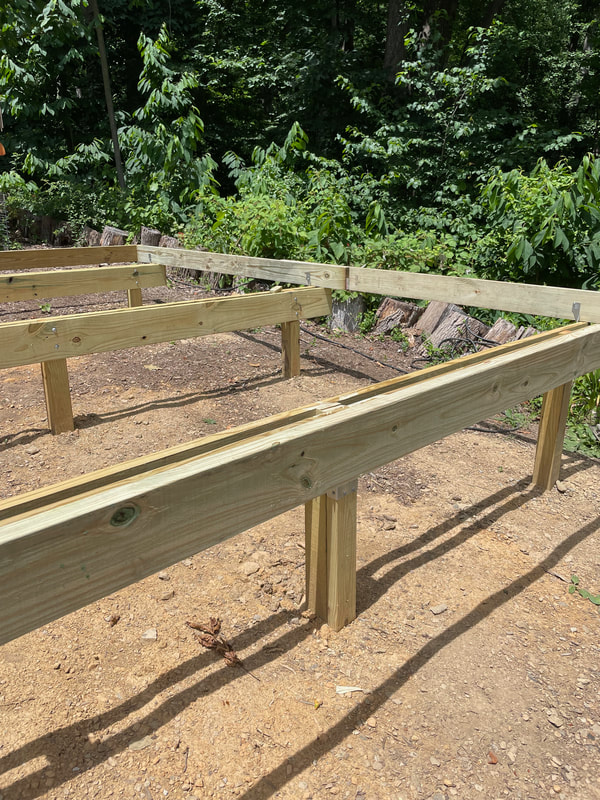
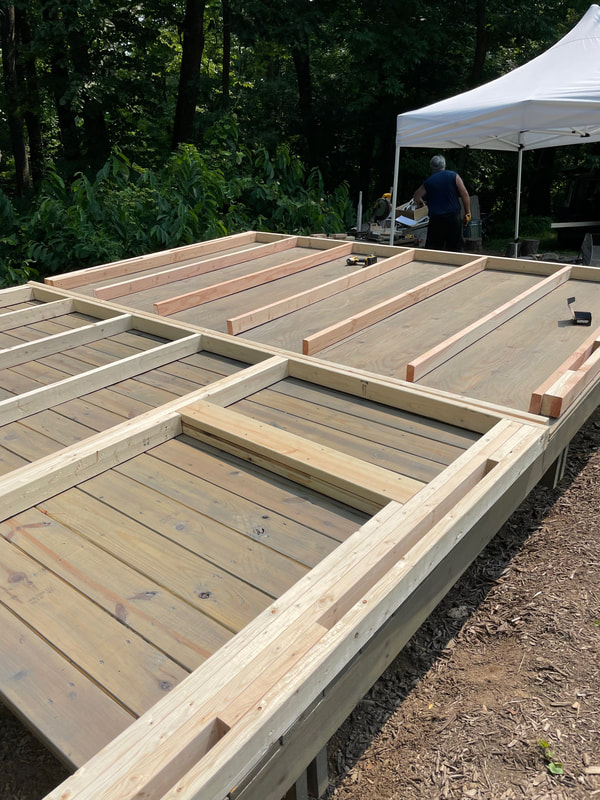
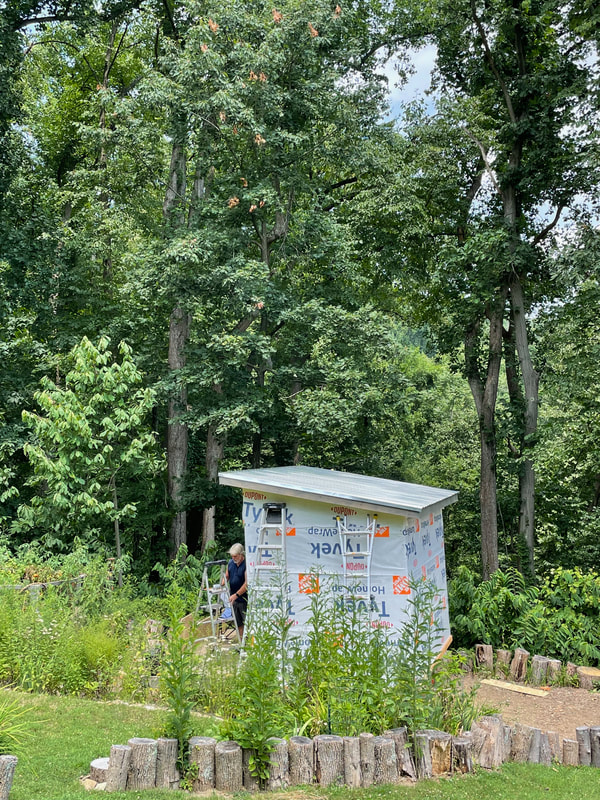
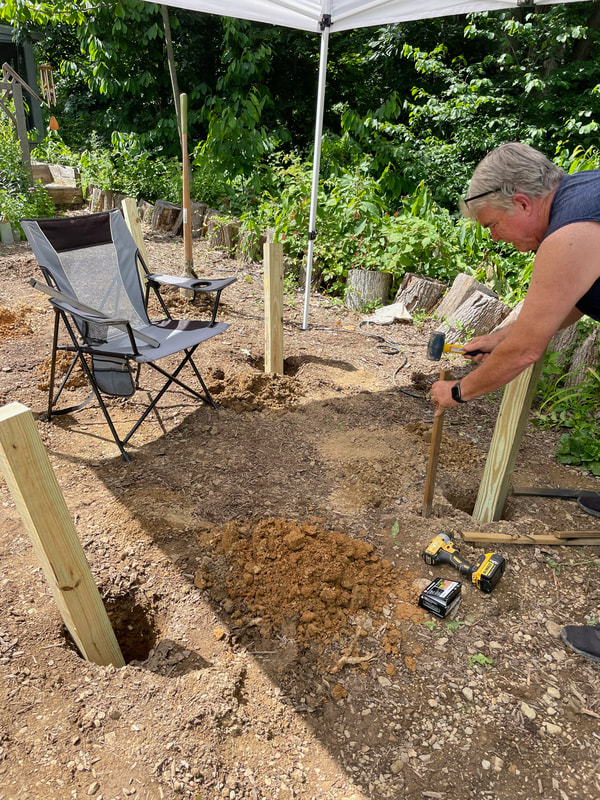
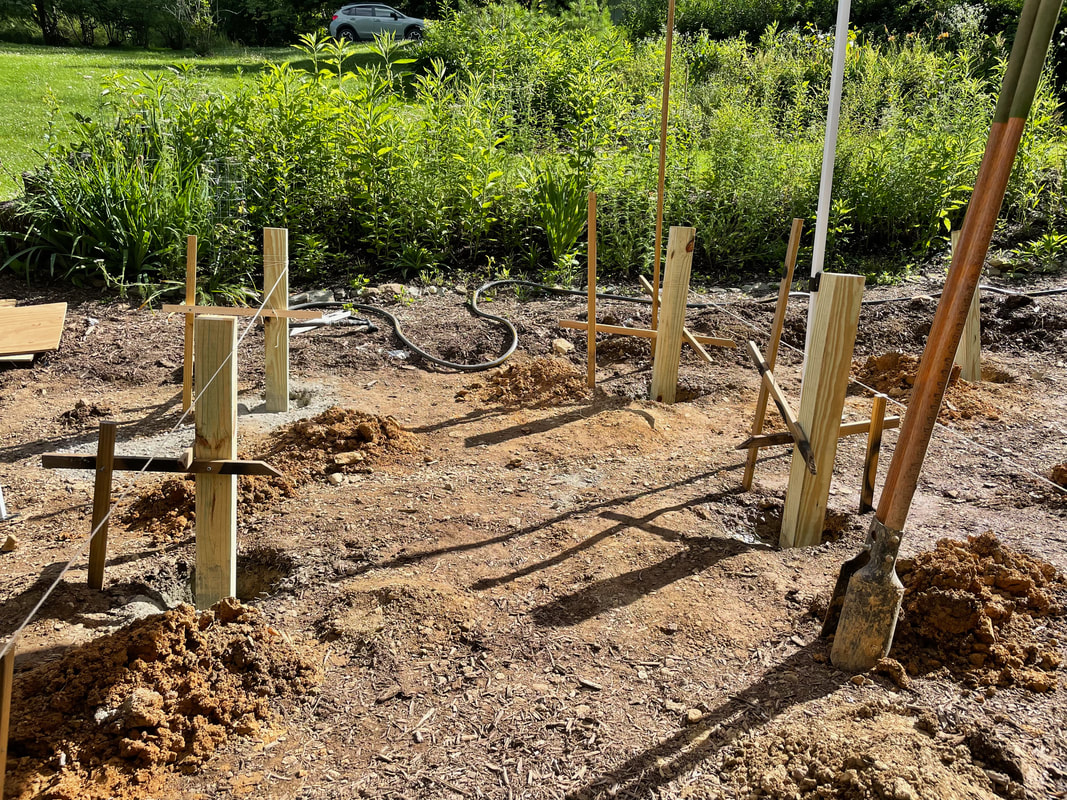
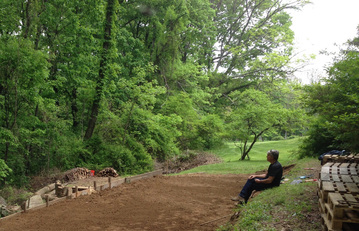
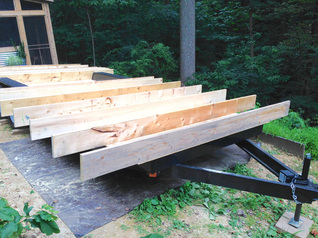
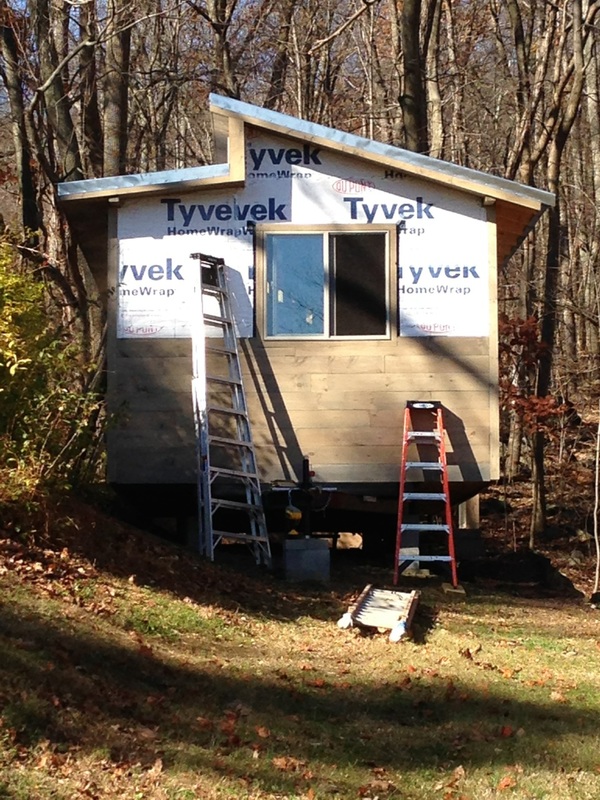
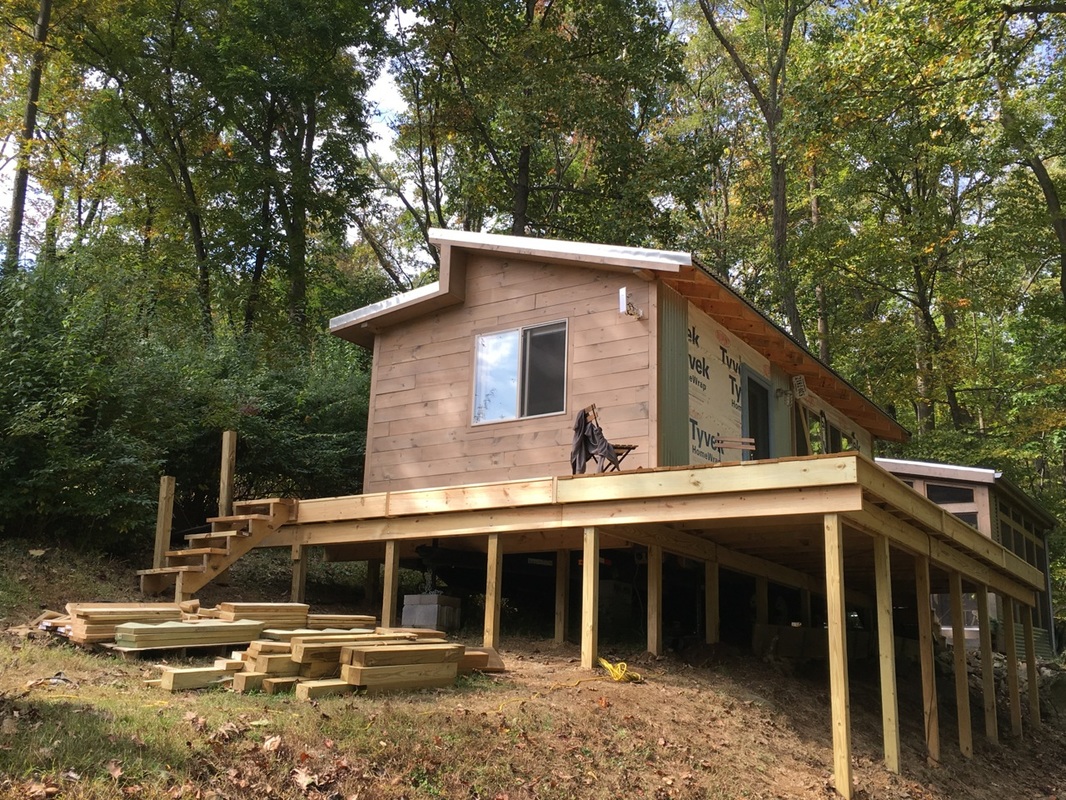
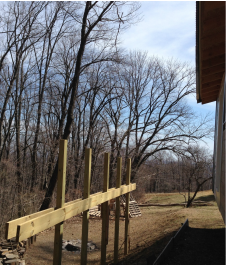
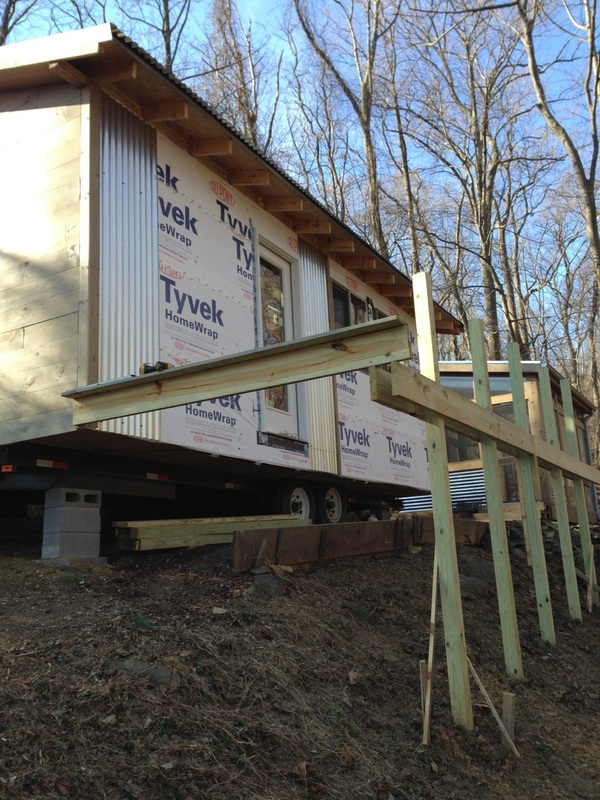
Once we settled on the design (with room for last-minute tweeks, of course), we moved on to leveling the site somewhat. (When you live on the side of the mountain, moving dirt around is pretty much a given.) Then on to digging postholes and cementing the posts in place for the foundation—basically a deck built on 2x6-foot treated floor joists atop 2x8-foot beams.
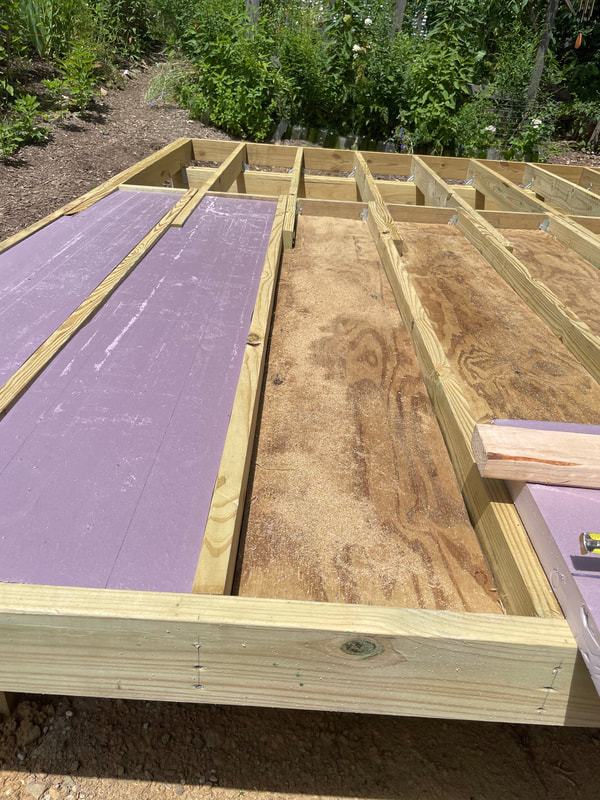
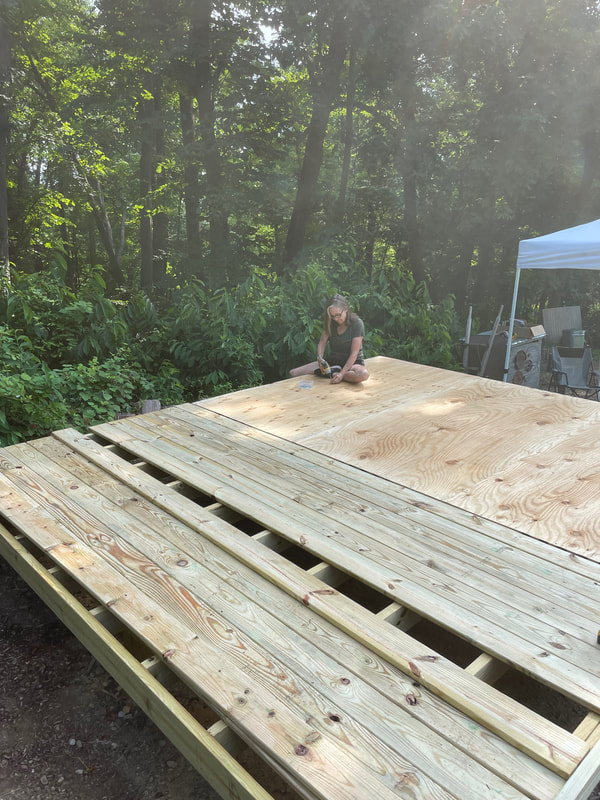
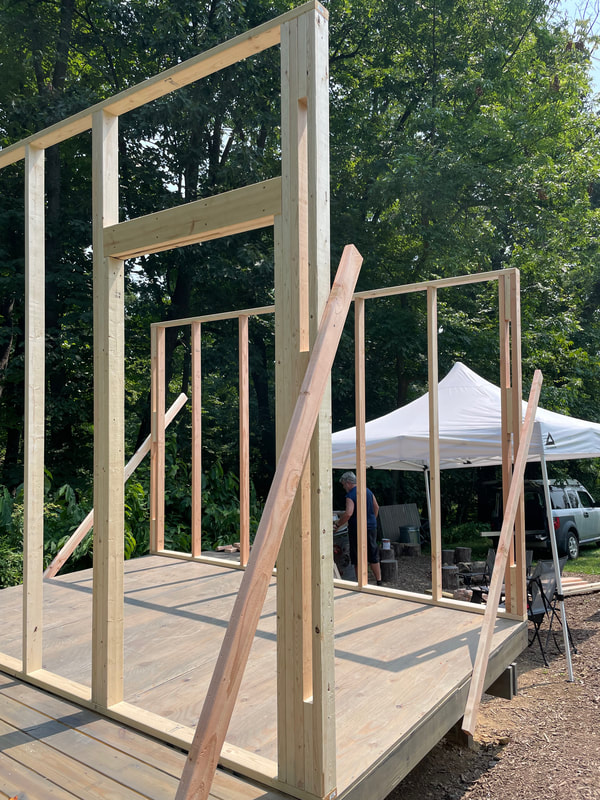
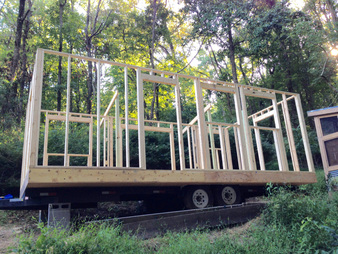
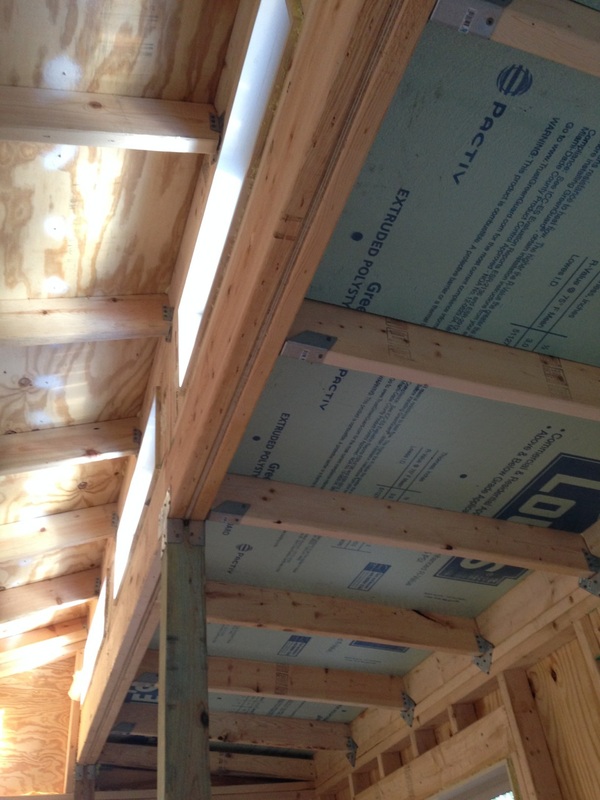
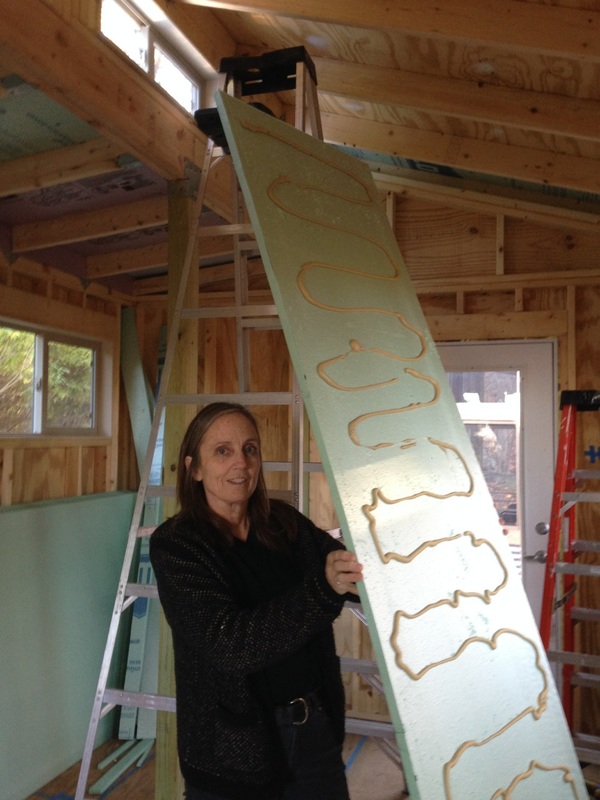
Eight feet of the decking got plywood sheets between the floor joists, with rigid foam insulation installed over the bottom plywood, before another sheet of plywood for the flooring. We covered the other six feet of the foundation with deck boards. Eventually it will be a covered porch.
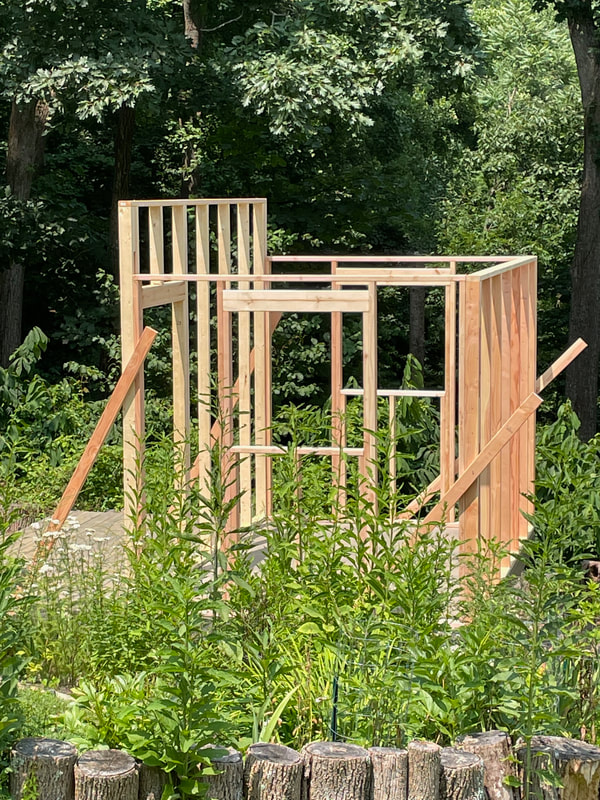
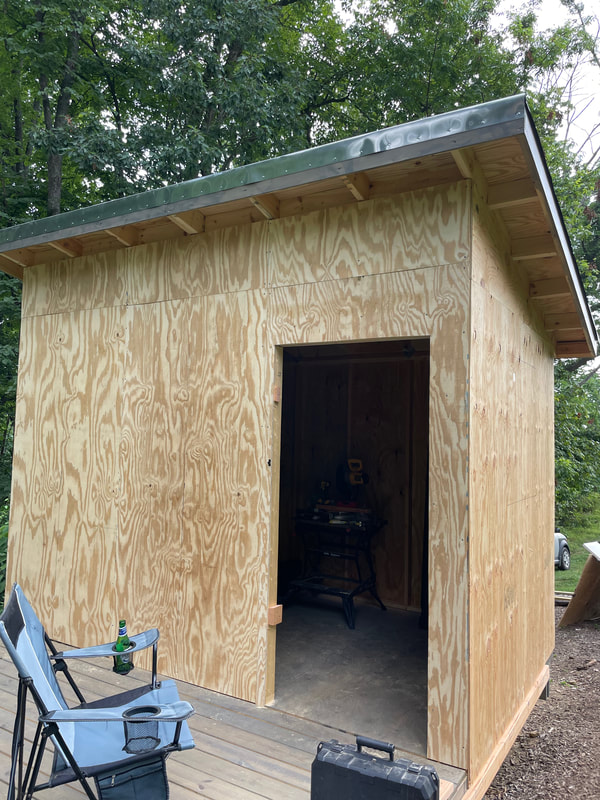
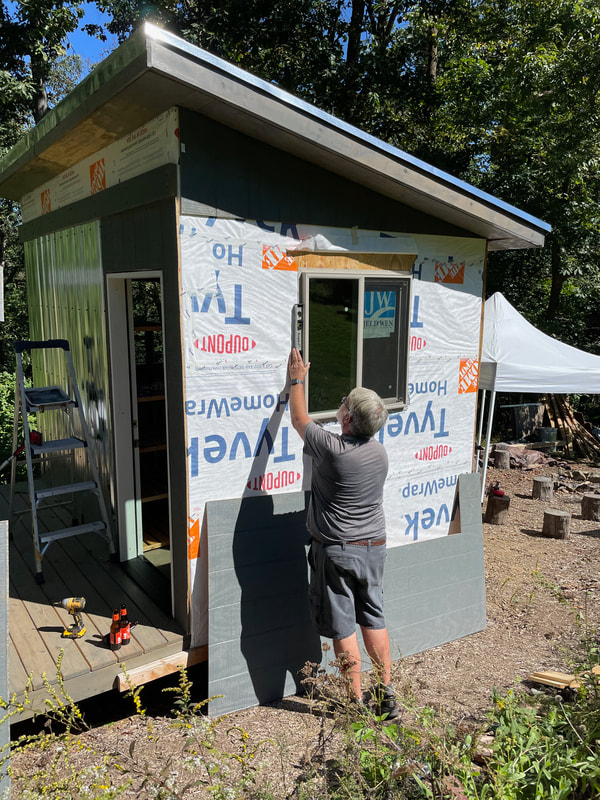
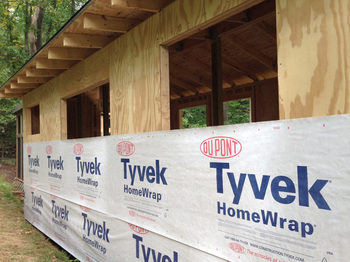
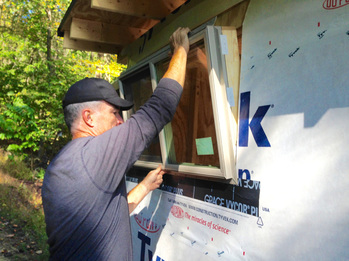
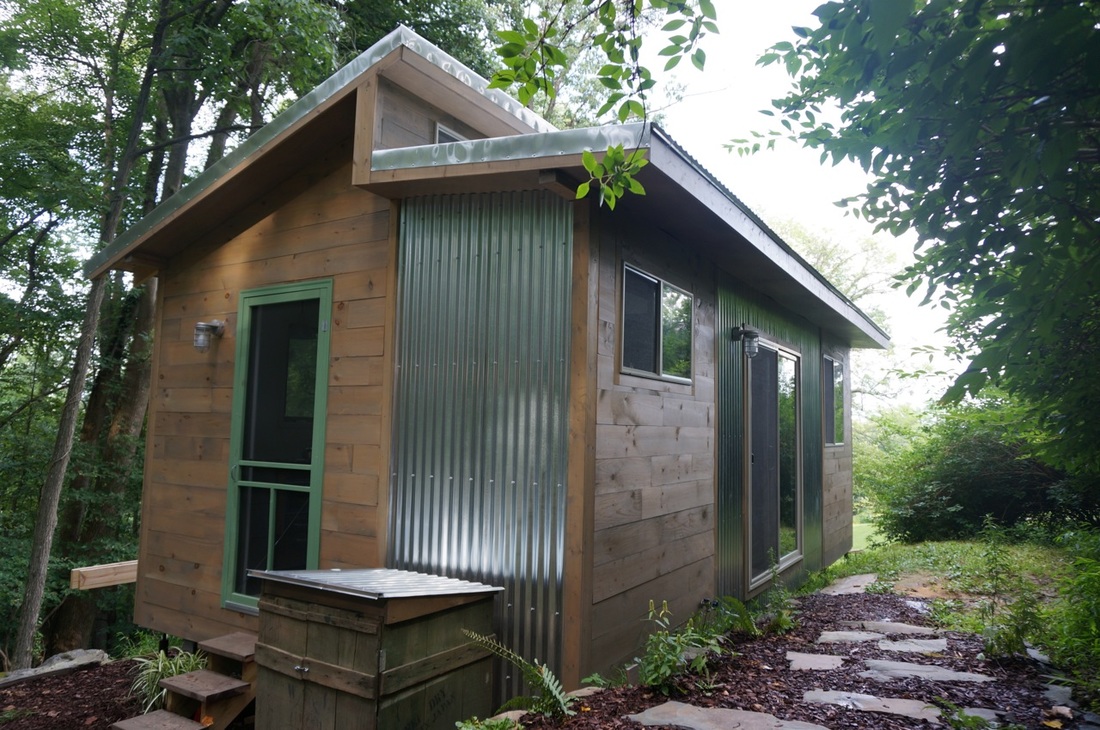
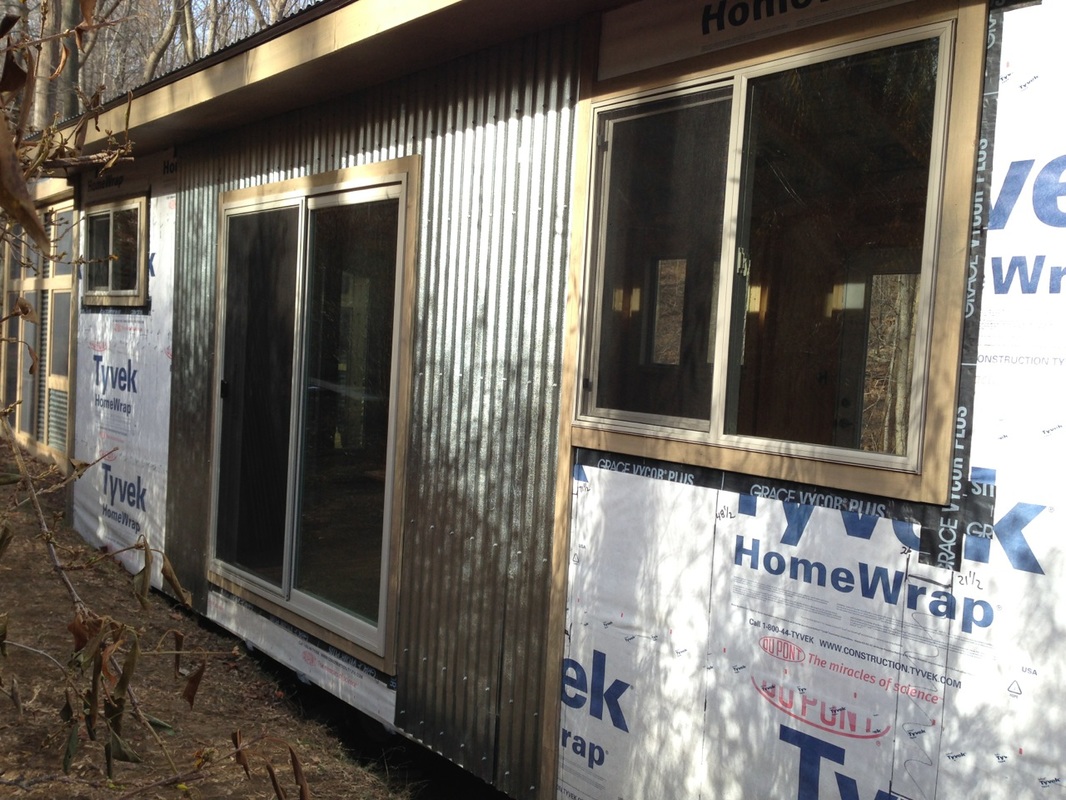
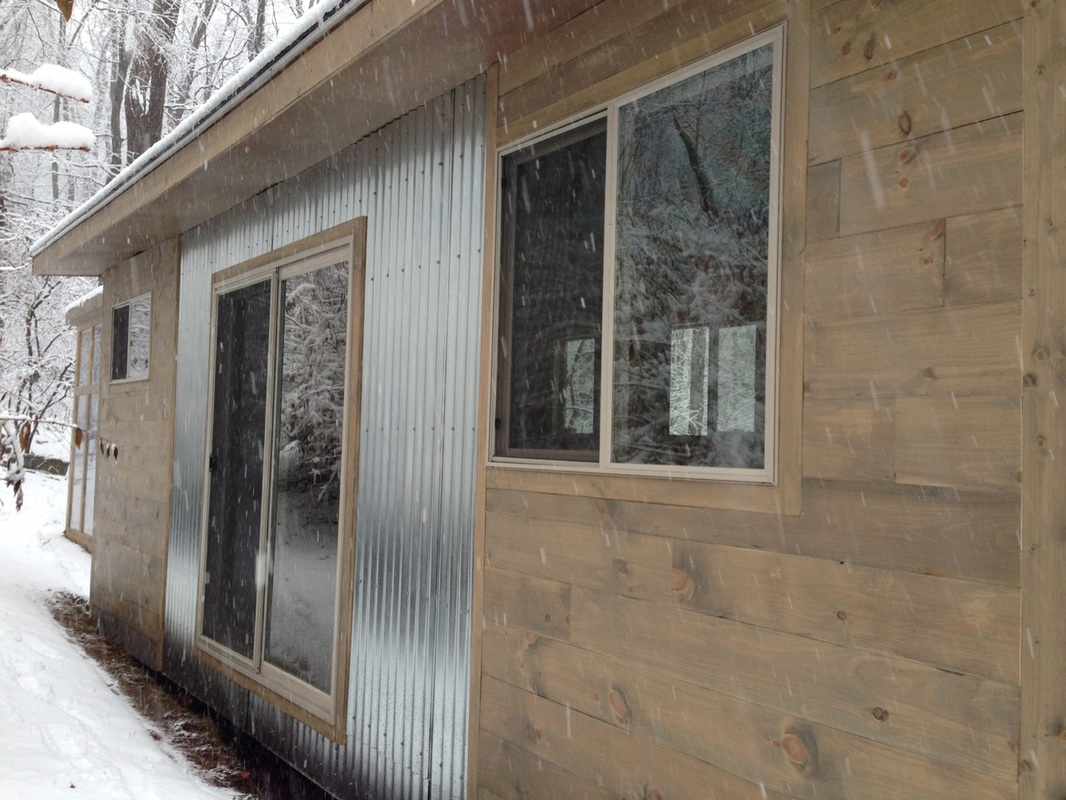
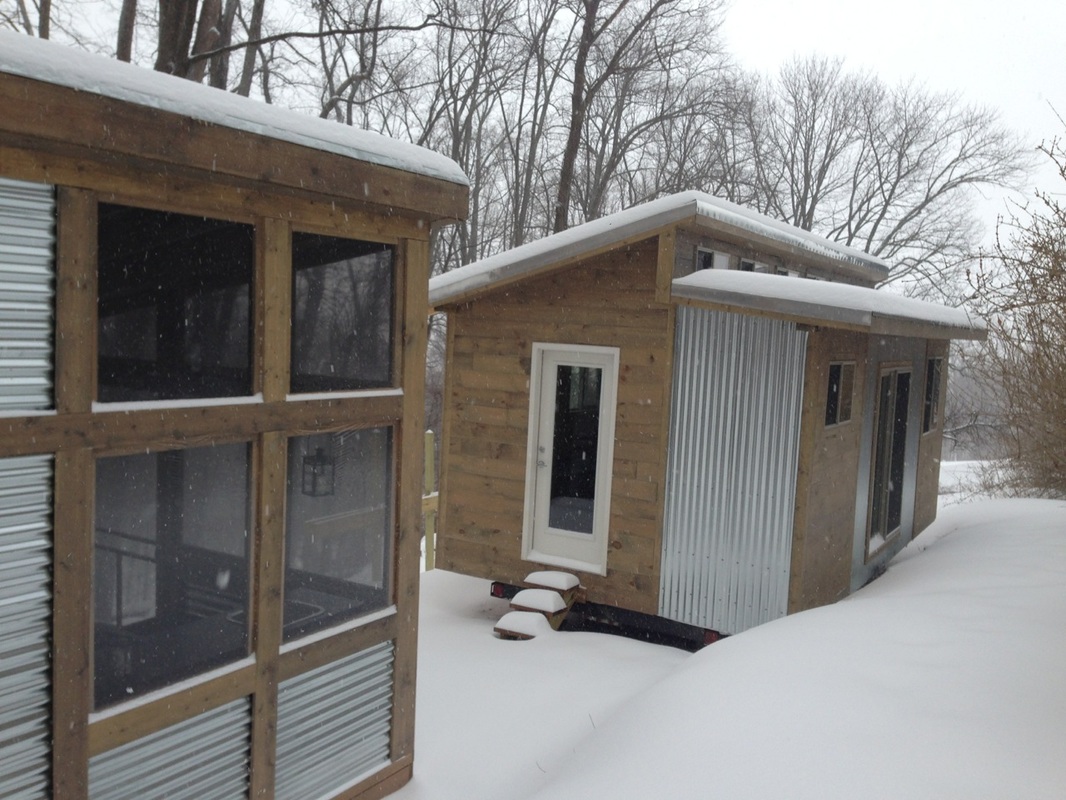
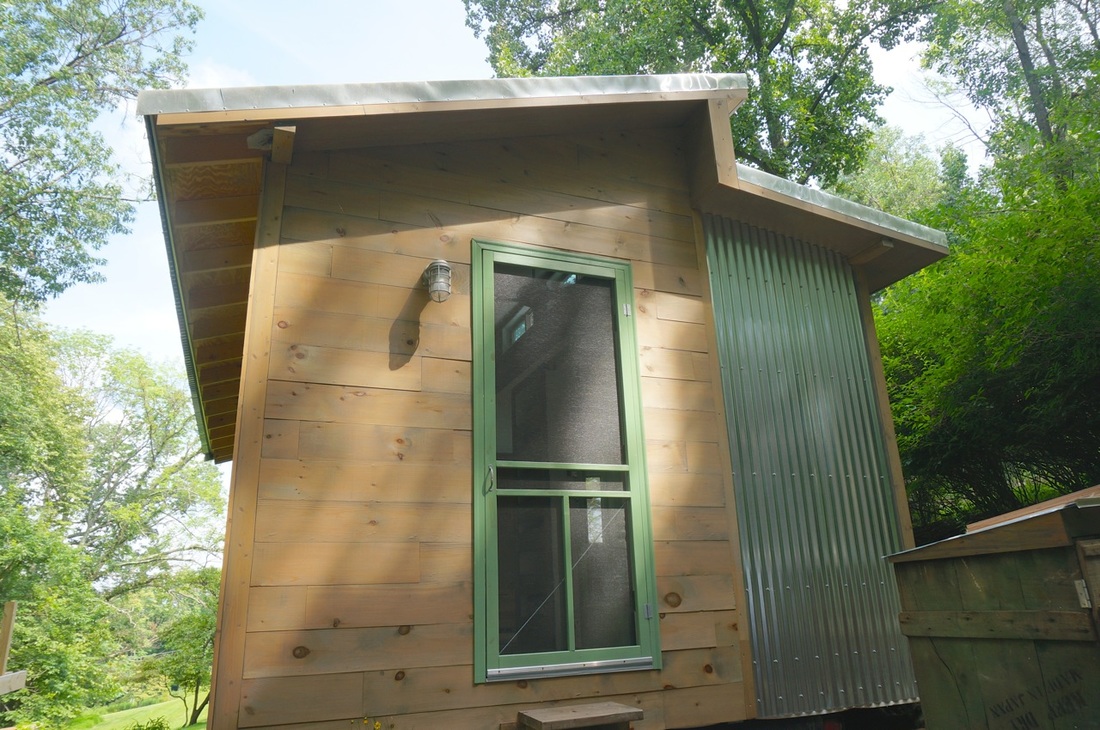
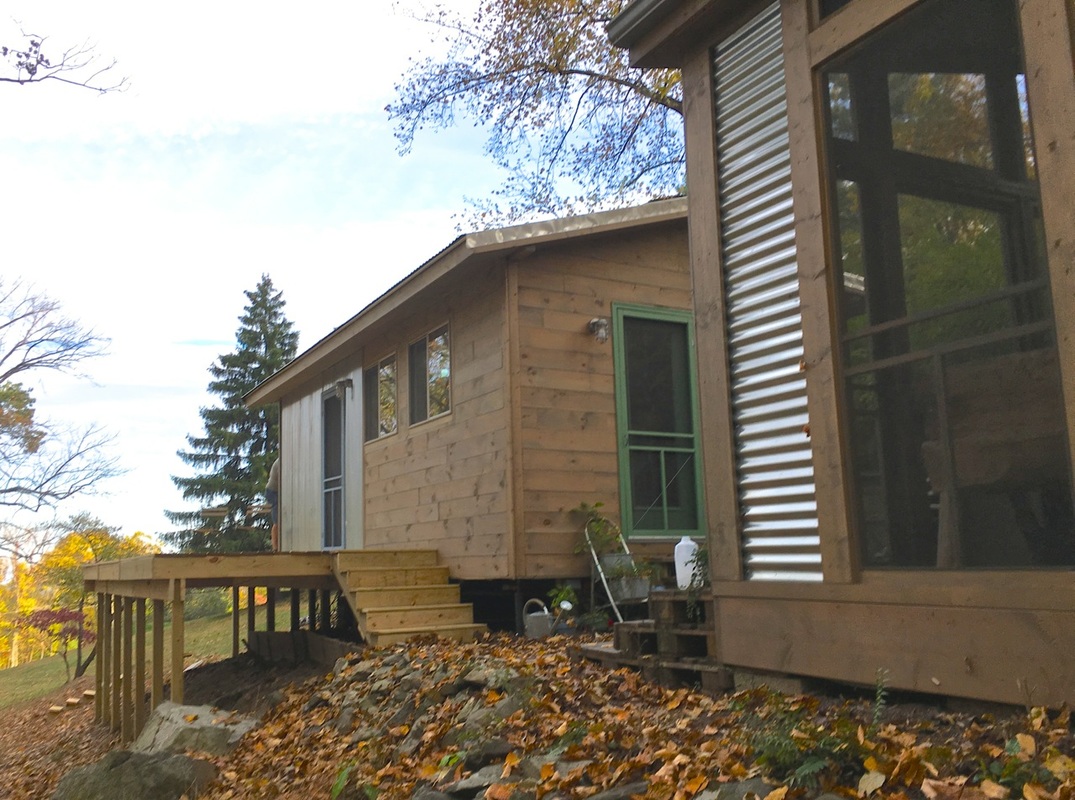
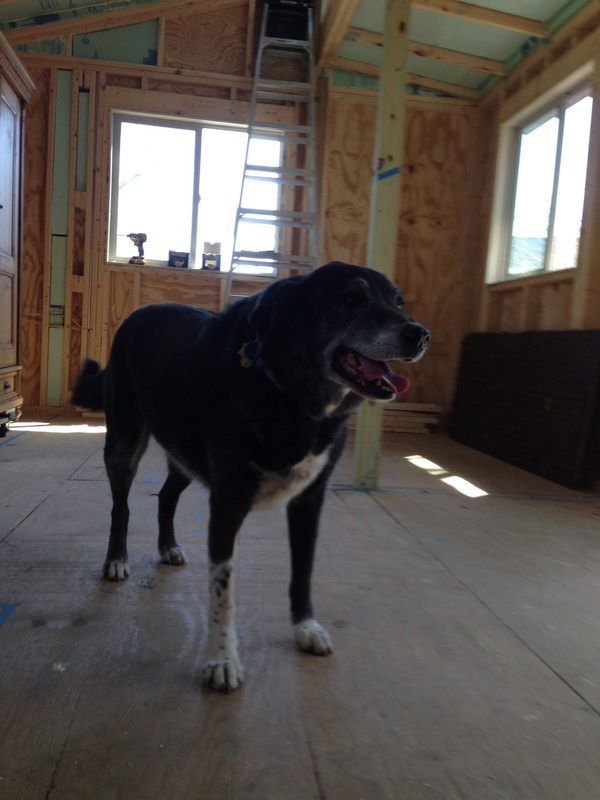
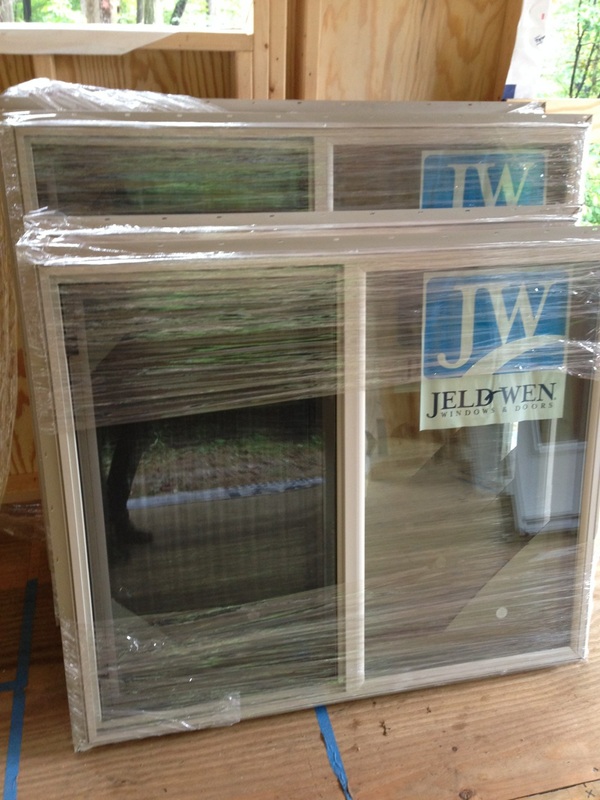
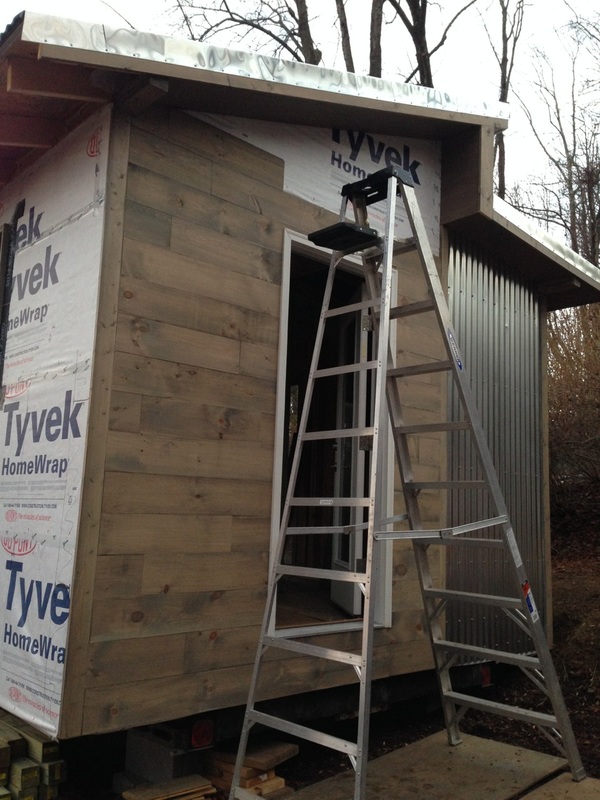
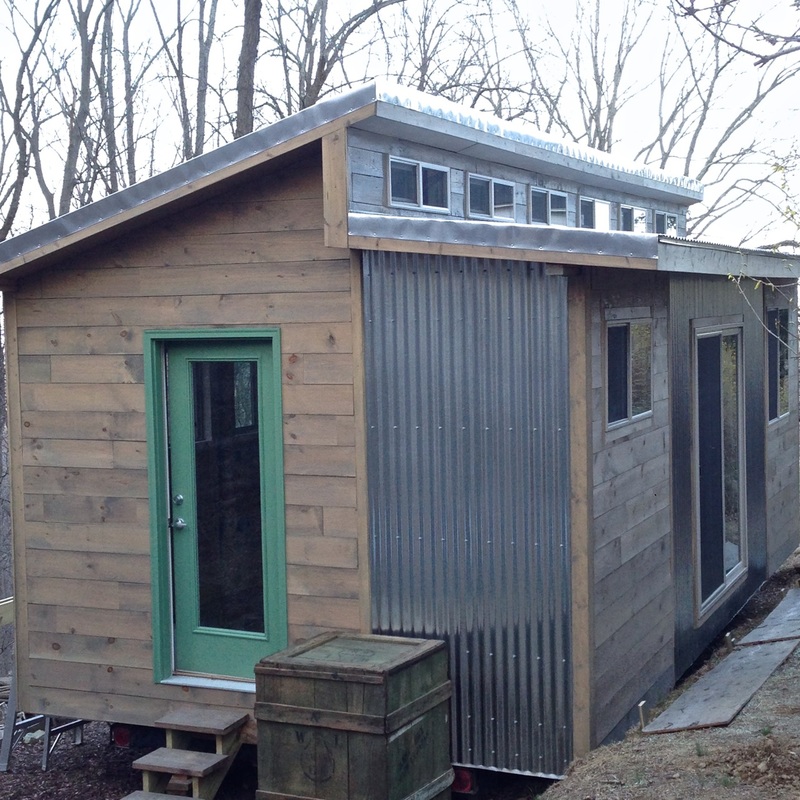
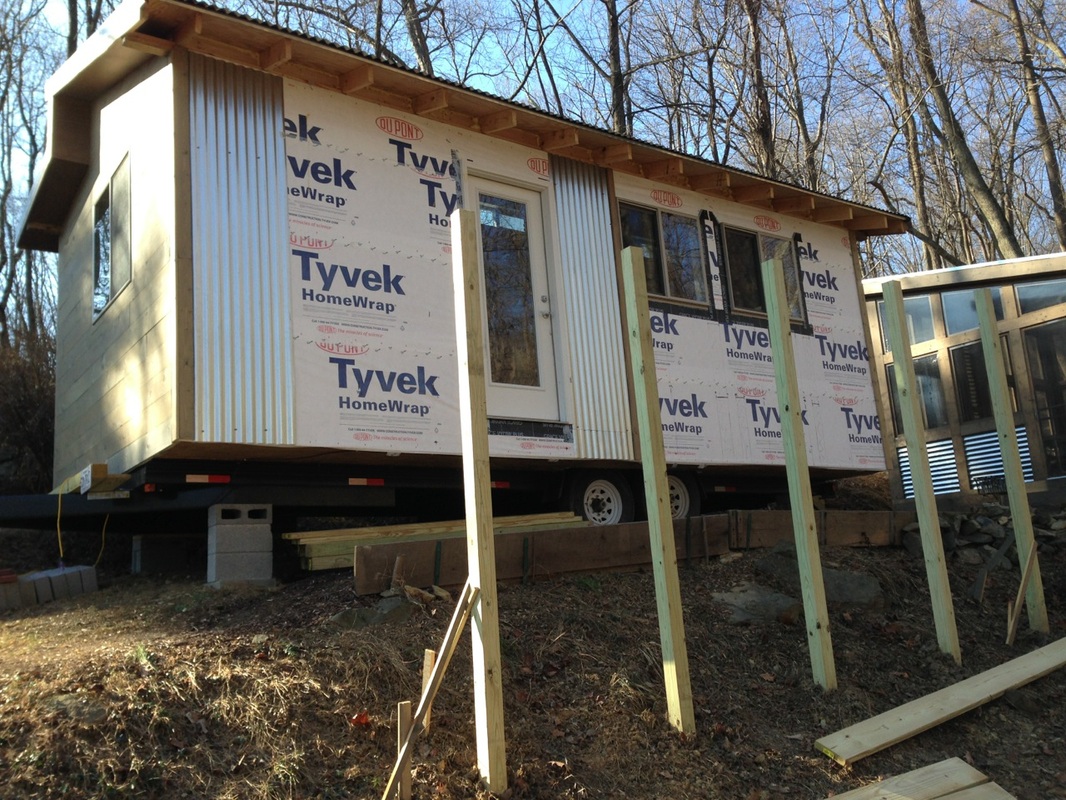
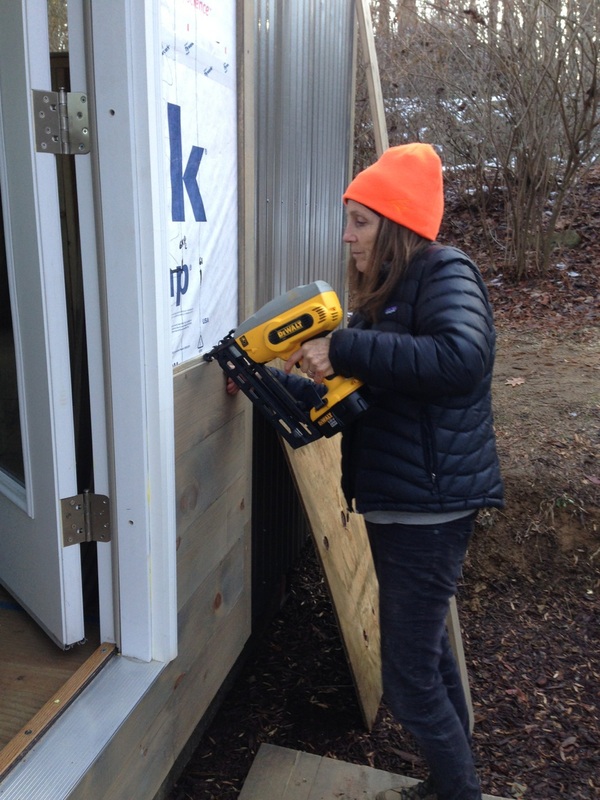
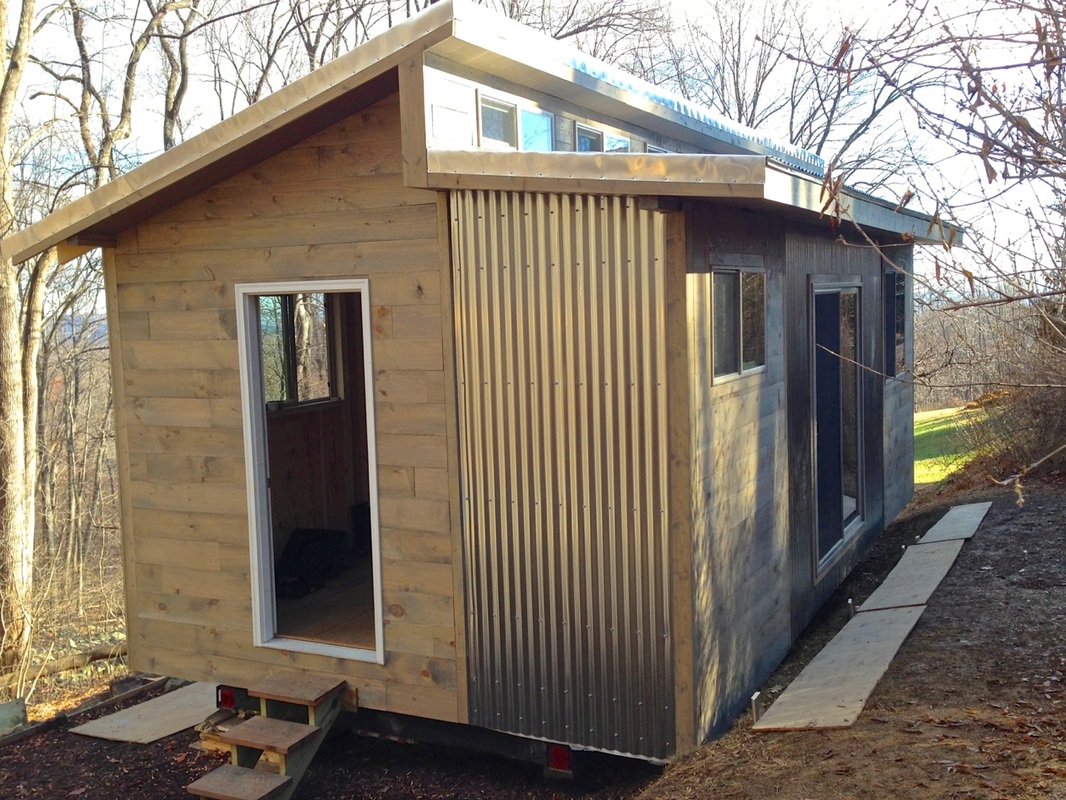
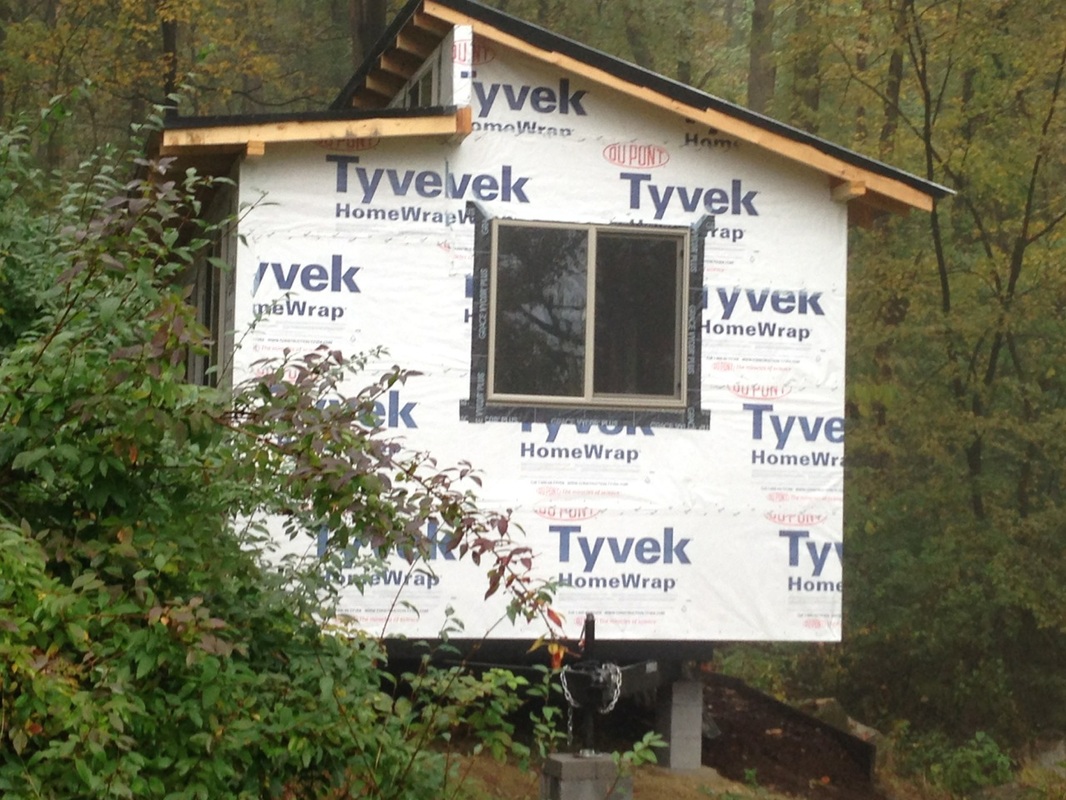
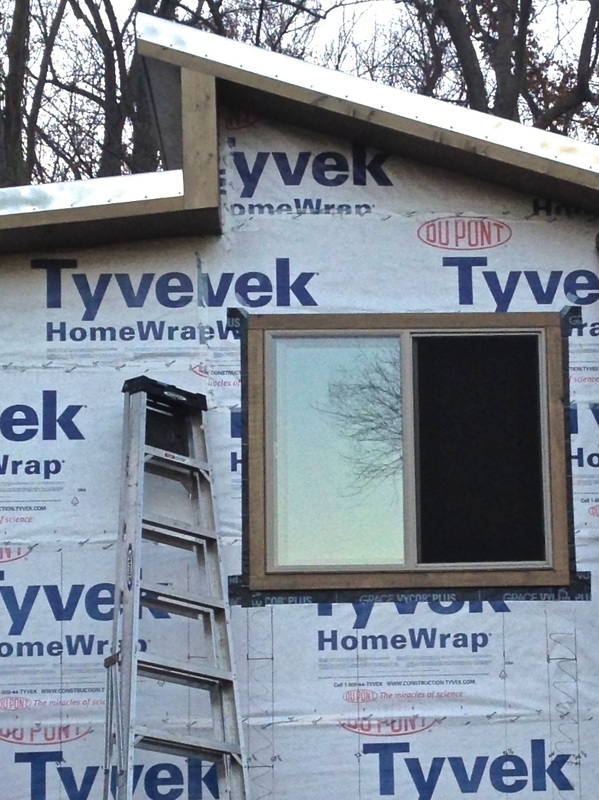
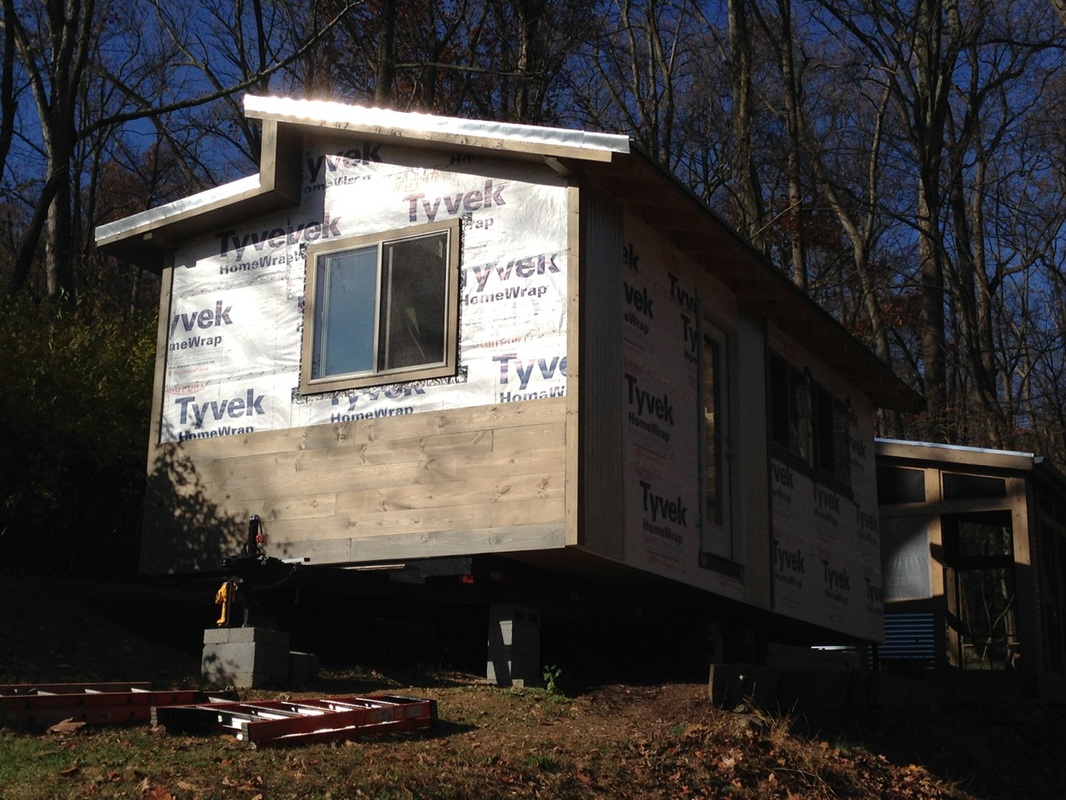
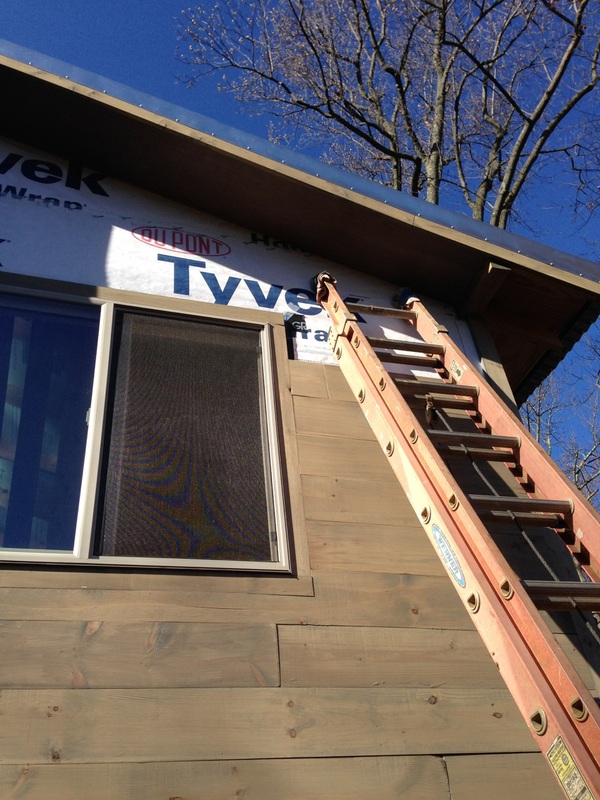
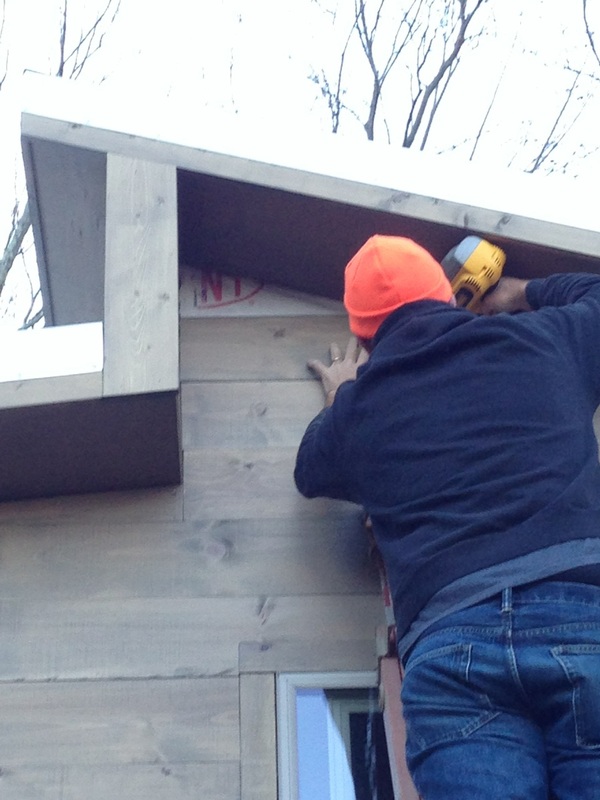
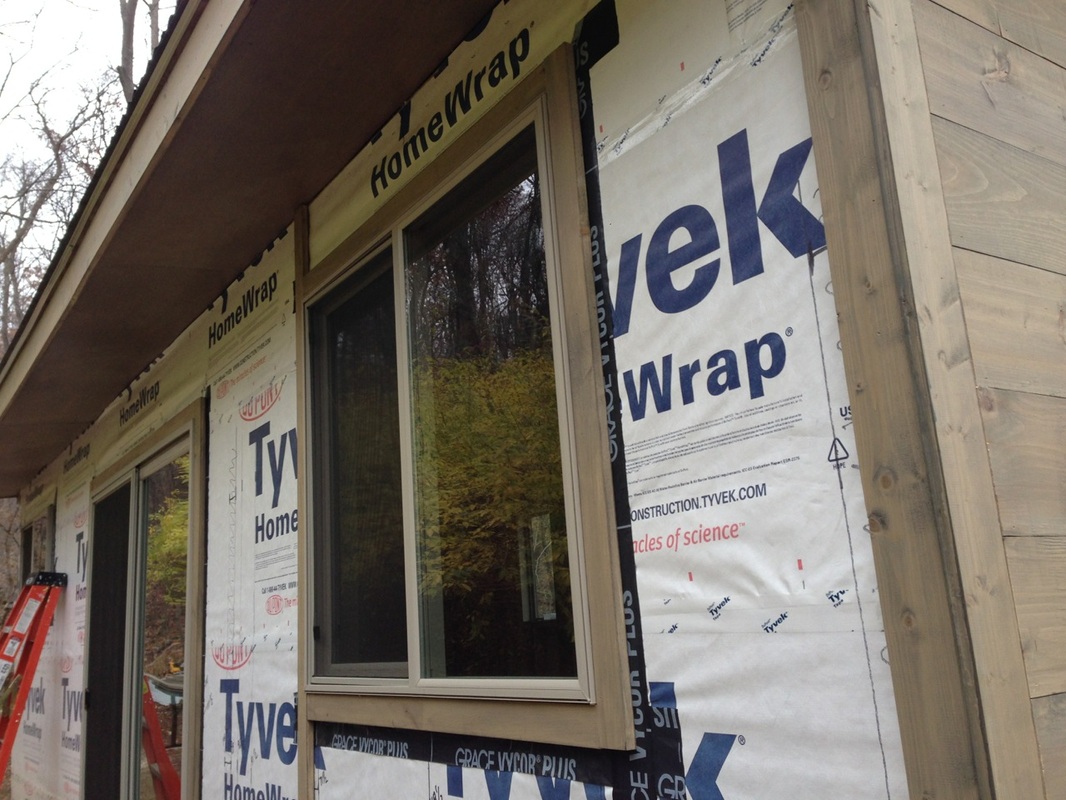
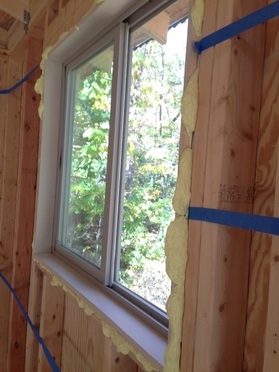
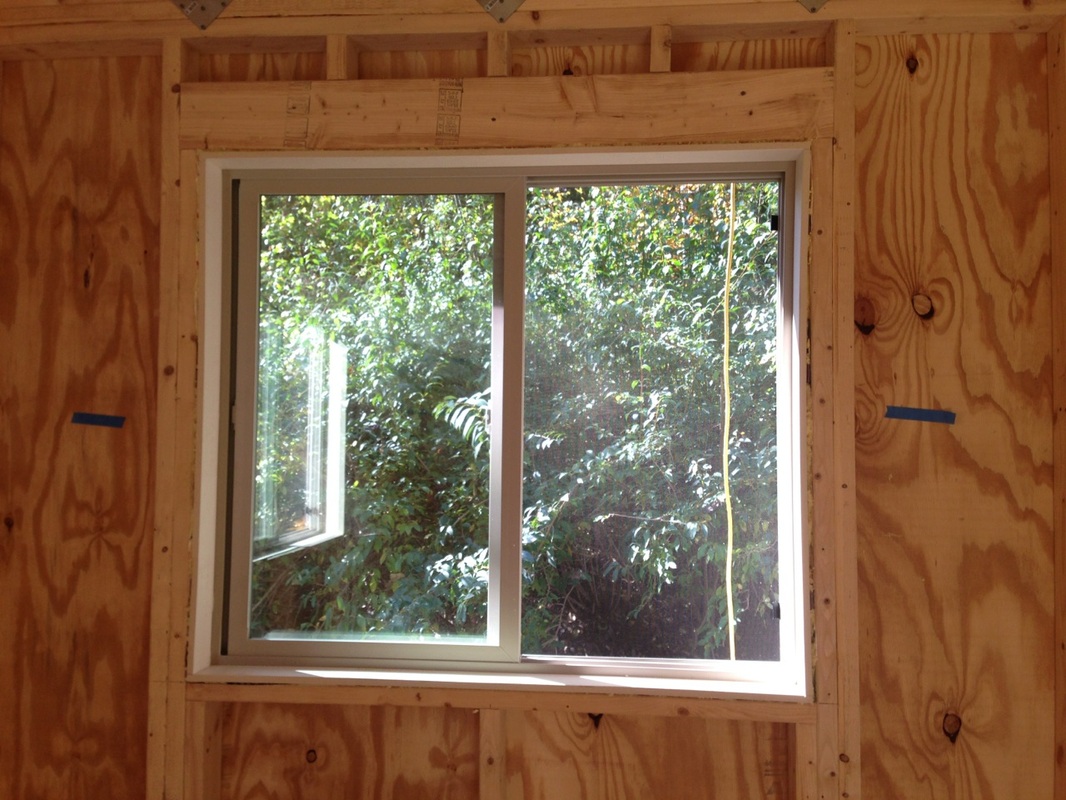
On to the framing: We built the walls laying flat on the deck, then stood them up. We want to maximize storage, so we decided to minimize windows, with just one on either end for cross ventilation. The door is glass, to let in additional light, and eventually a screen door will let more air move around.
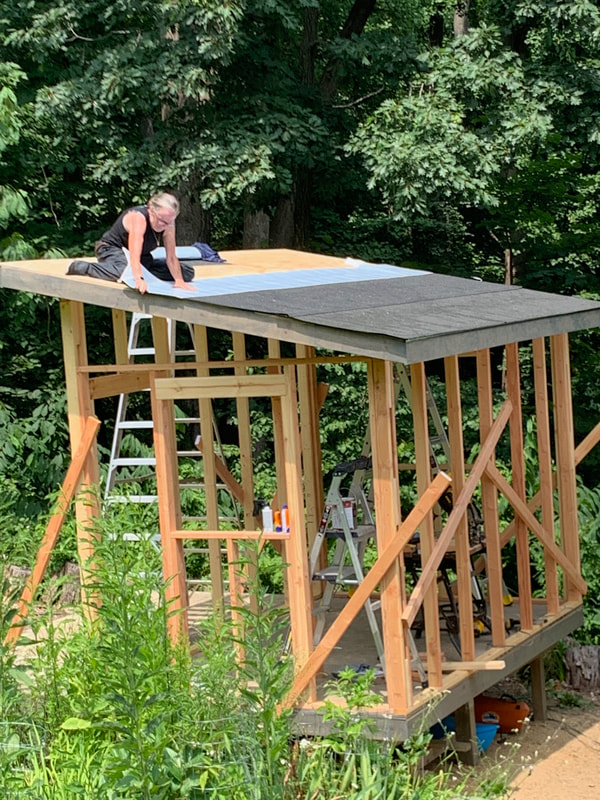
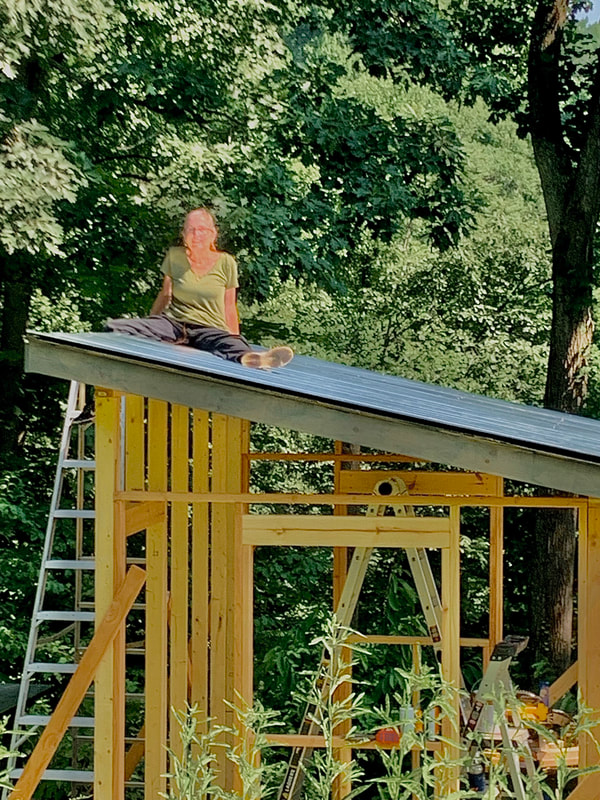
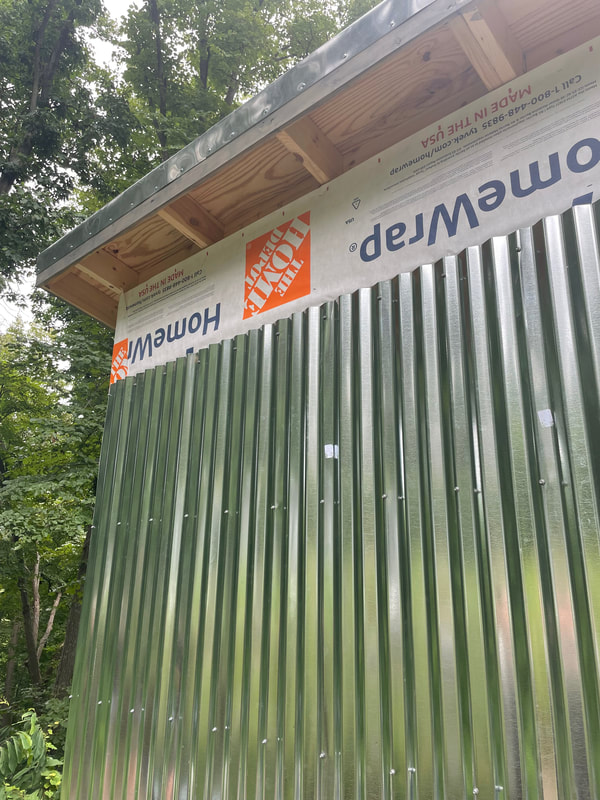
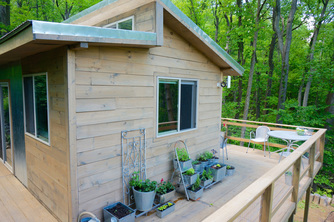
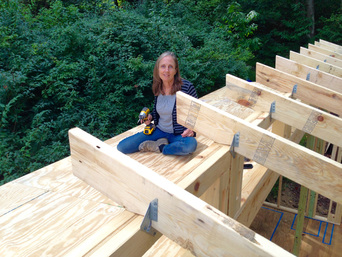
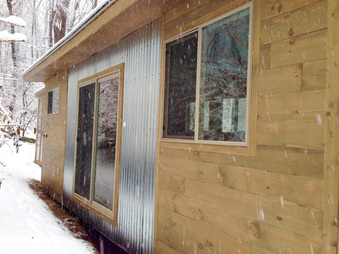
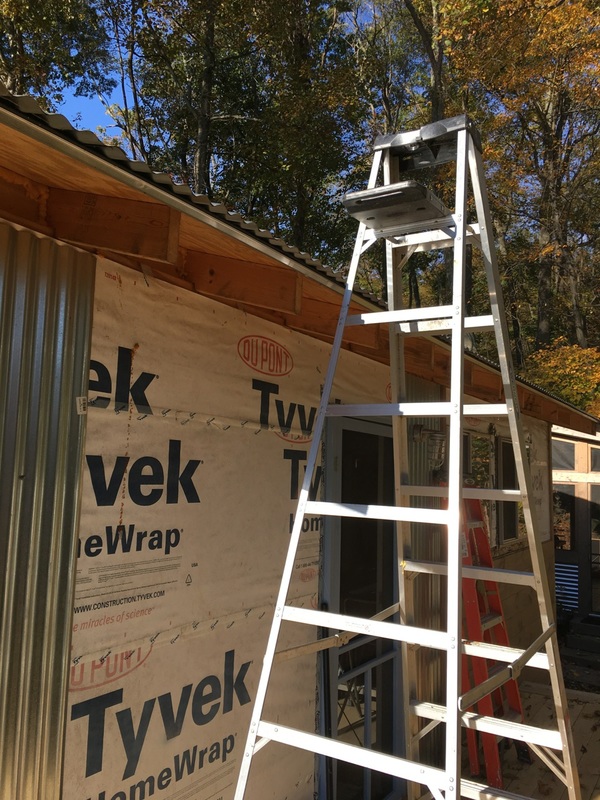
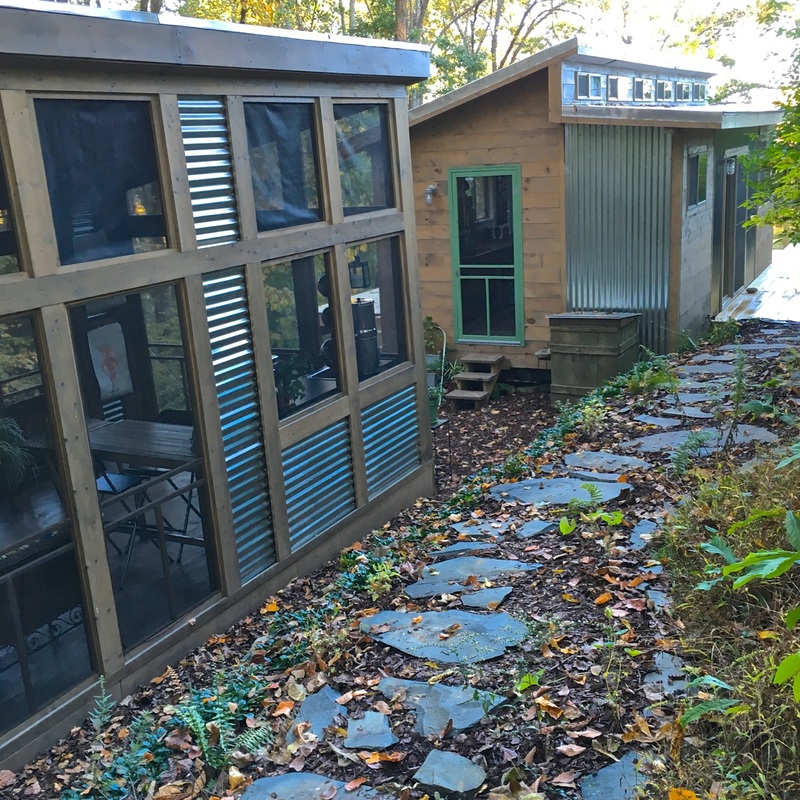
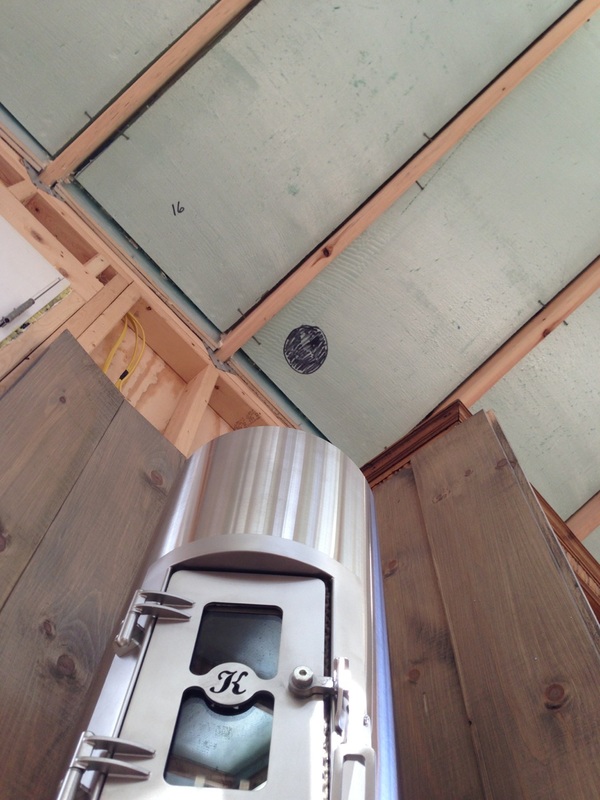
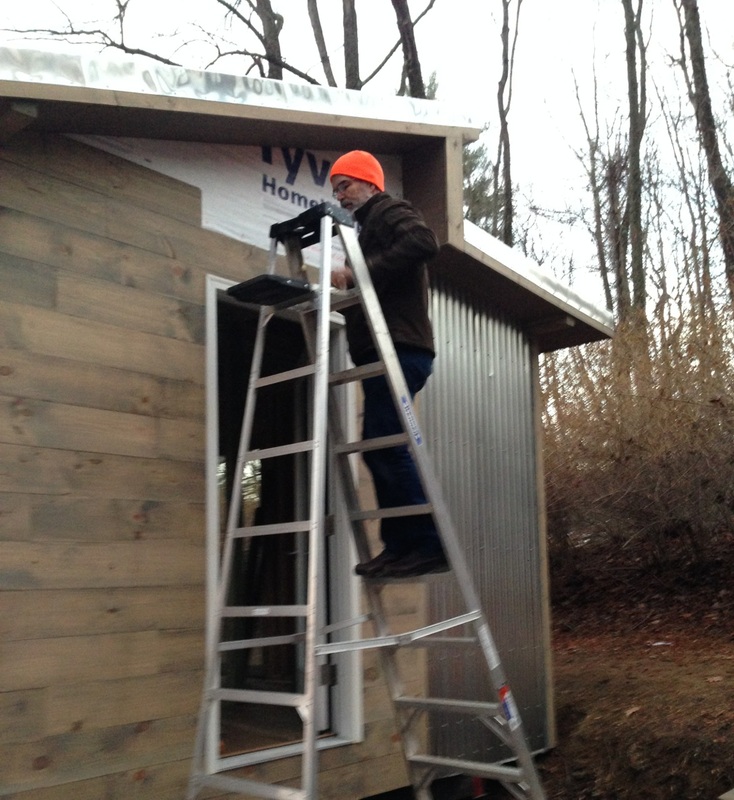
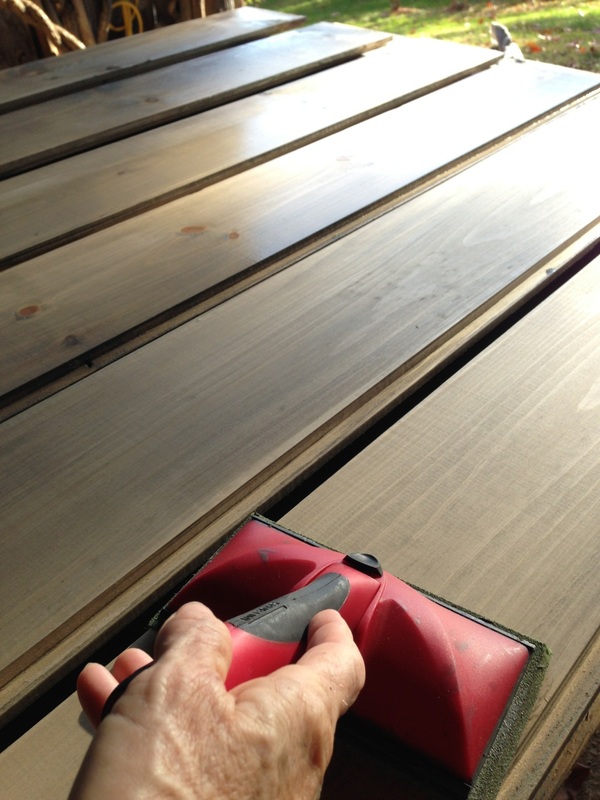
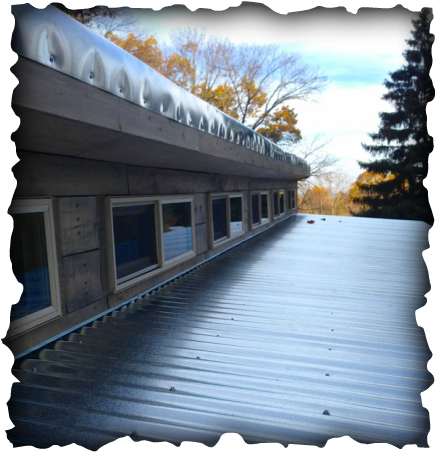
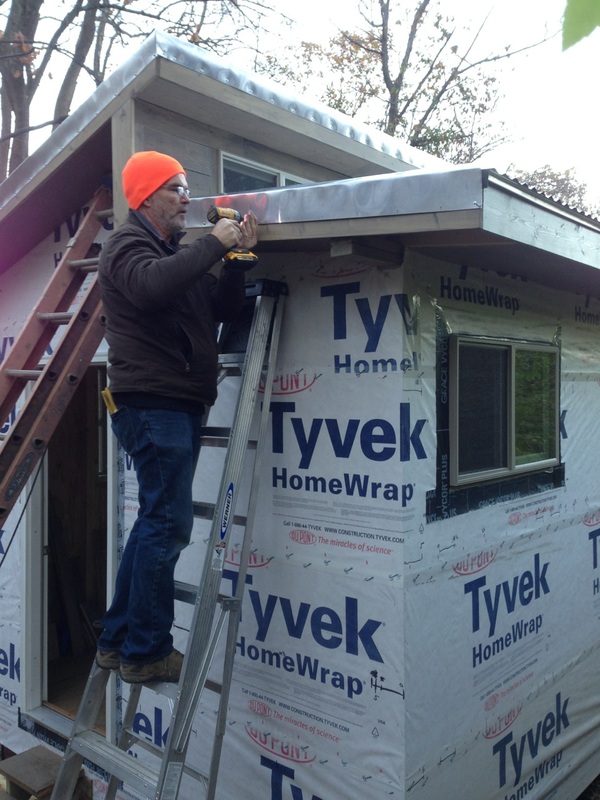
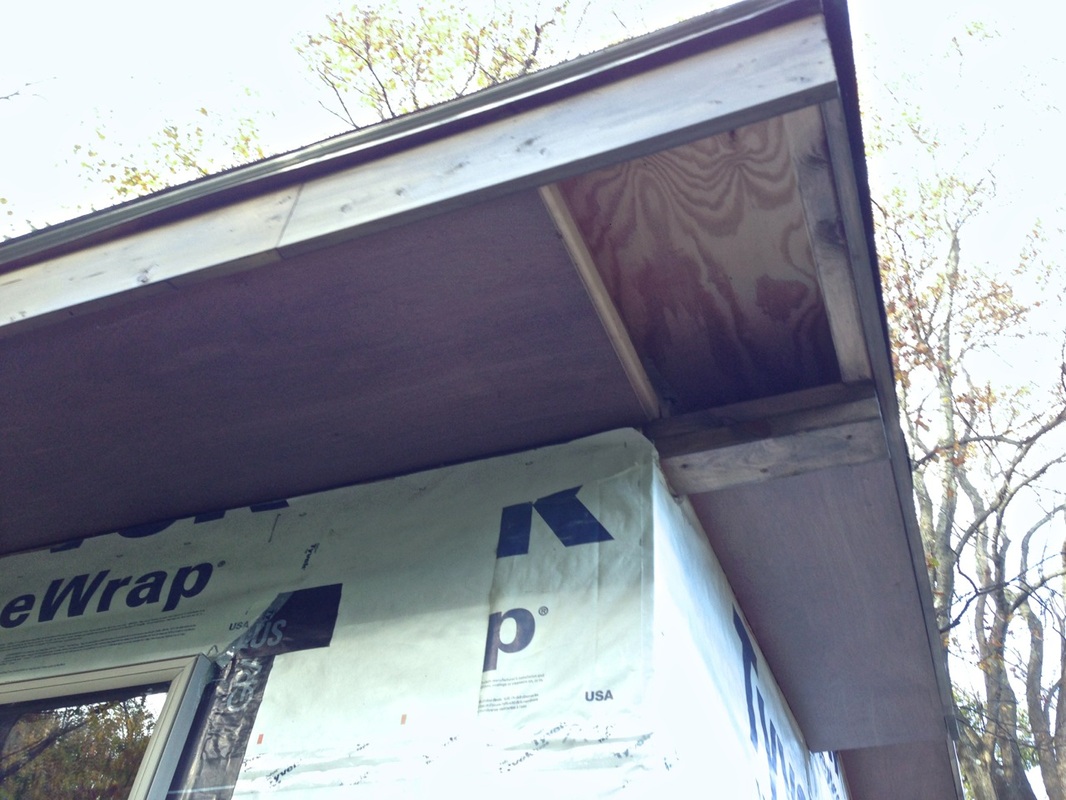
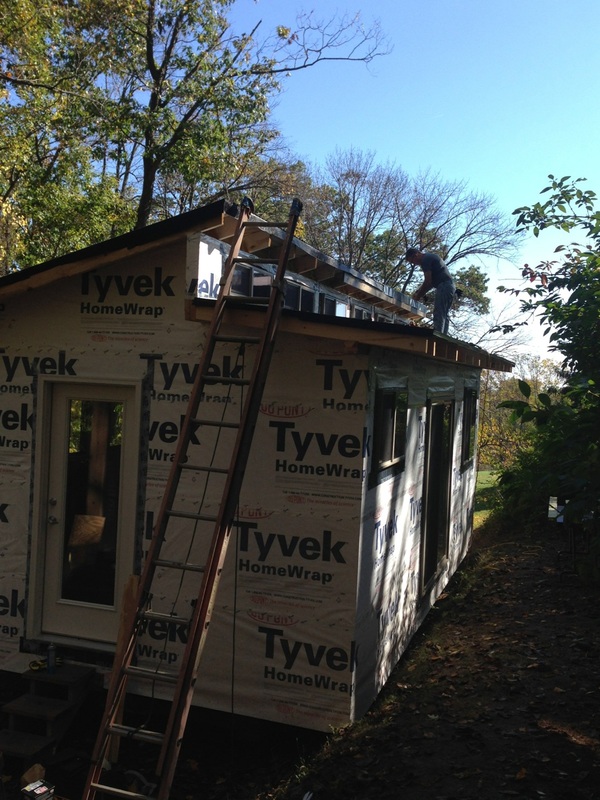
Siding is a mix of corrugated metal and stained T1-11 boards—similar to the Clubhouse. And then the roof: plywood topped with Weather Watch and then corrugated metal. Same as the other builds.
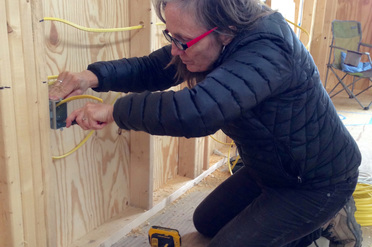
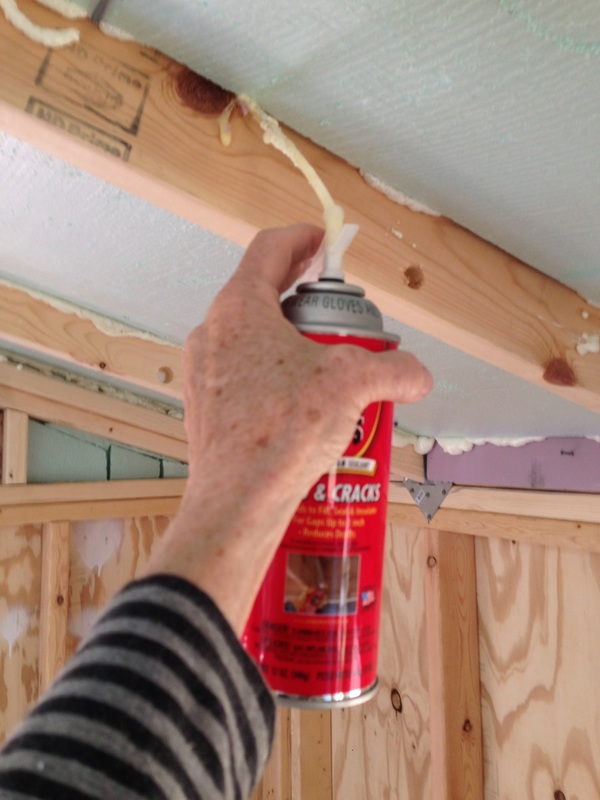
Still to go: a roof for the open air deck and the interior!
Once we settled on the design (with room for last-minute tweeks, of course), we moved on to leveling the site somewhat. (When you live on the side of the mountain, moving dirt around is pretty much a given.) Then on to digging postholes and cementing the posts in place for the foundation—basically a deck built on 2x6-foot treated floor joists atop 2x8-foot beams.
Eight feet of the decking got plywood sheets between the floor joists, with rigid foam insulation installed over the bottom plywood, before another sheet of plywood for the flooring. We covered the other six feet of the foundation with deck boards. Eventually it will be a covered porch.
On to the framing: We built the walls laying flat on the deck, then stood them up. We want to maximize storage, so we decided to minimize windows, with just one on either end for cross ventilation. The door is glass, to let in additional light, and eventually a screen door will let more air move around.
Siding is a mix of corrugated metal and stained T1-11 boards—similar to the Clubhouse. And then the roof: plywood topped with Weather Watch and then corrugated metal. Same as the other builds.
Still to go: a roof for the open air deck and the interior!


 RSS Feed
