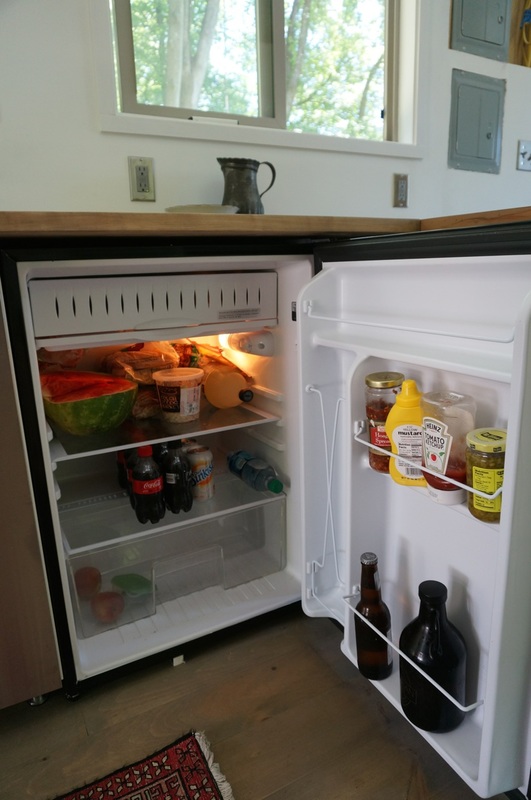
We have food cooling in the refrigerator, a kettle warming on the stove, a gigantic sink, a table to eat at, silverware organized in a drawer.... Still to come in the kitchen are shelves, backsplash, pot racks, slide-out drawers in the half-finished pantry and, most critically, running water.
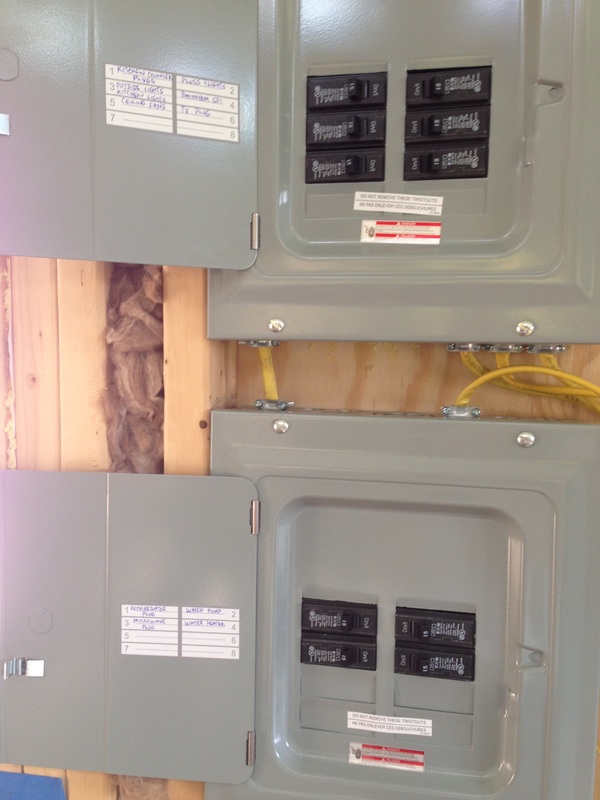
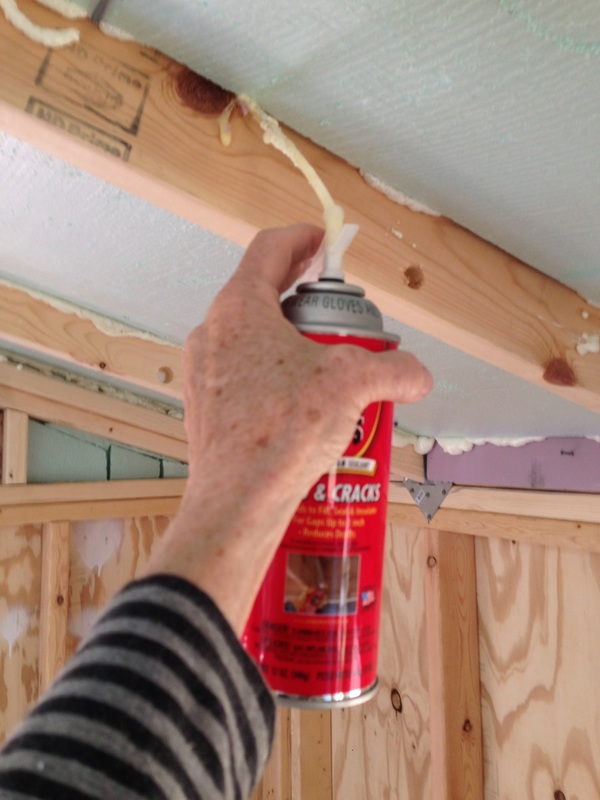
Happily, the plumbing is progressing and we should have our wee-sized, point-of-use water heater hooked up before too long.
Kitchen specifics:
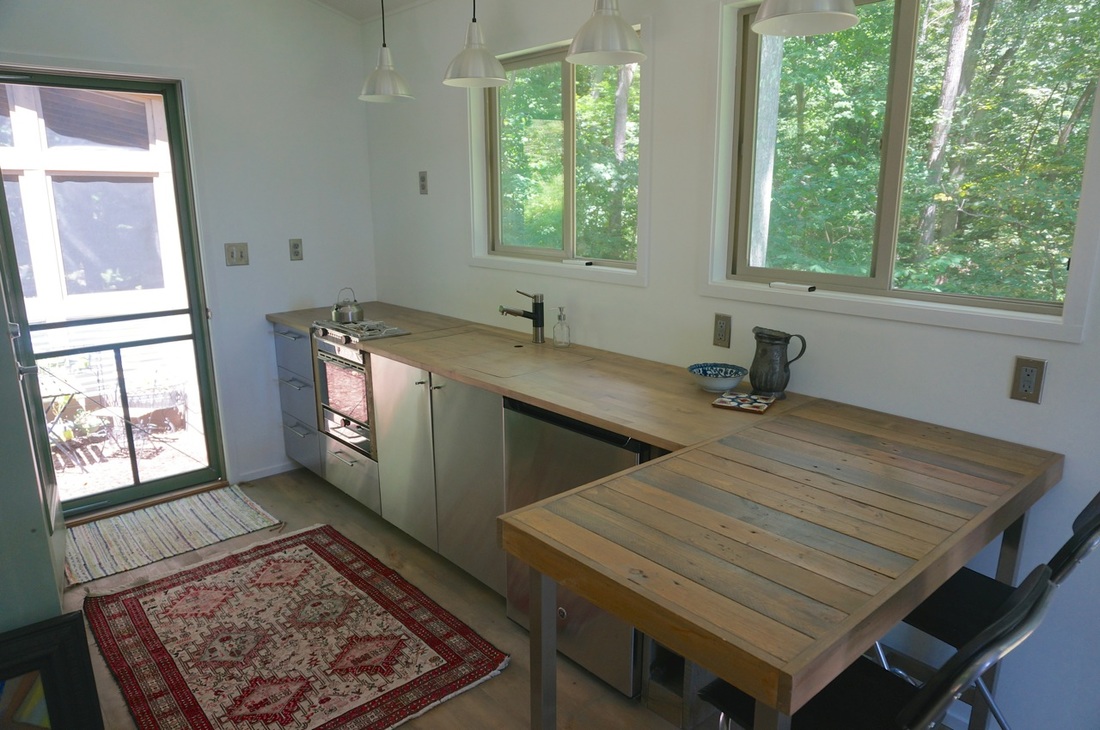
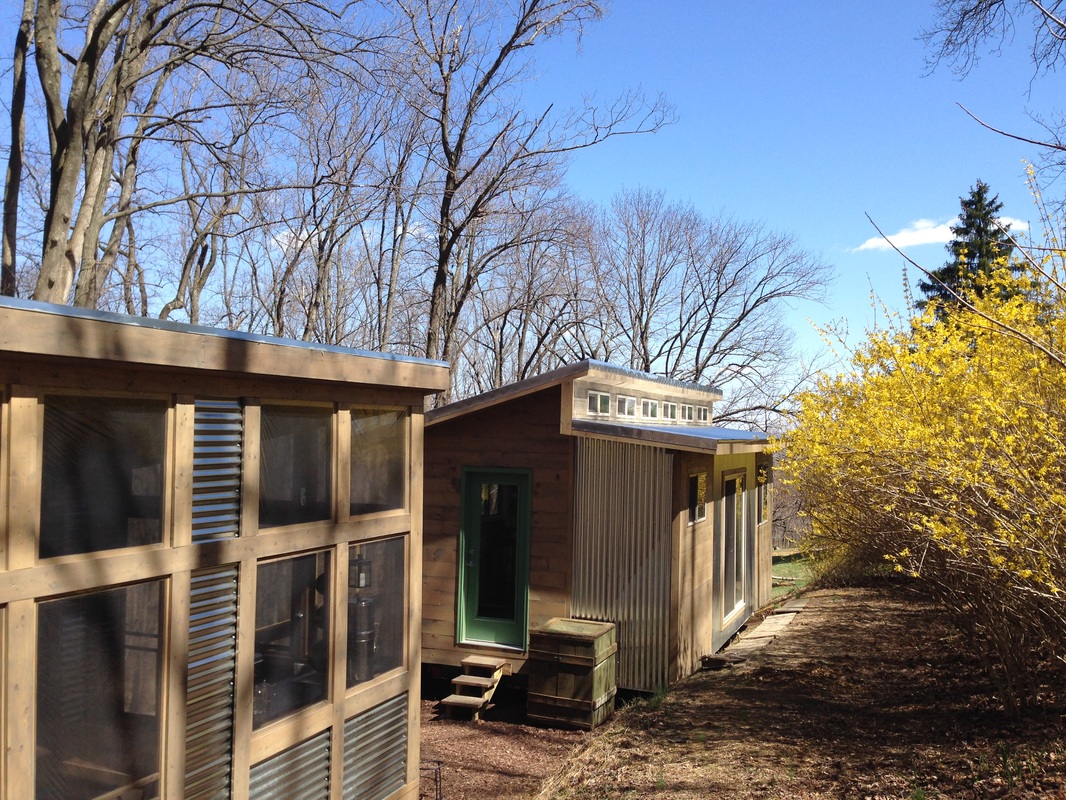
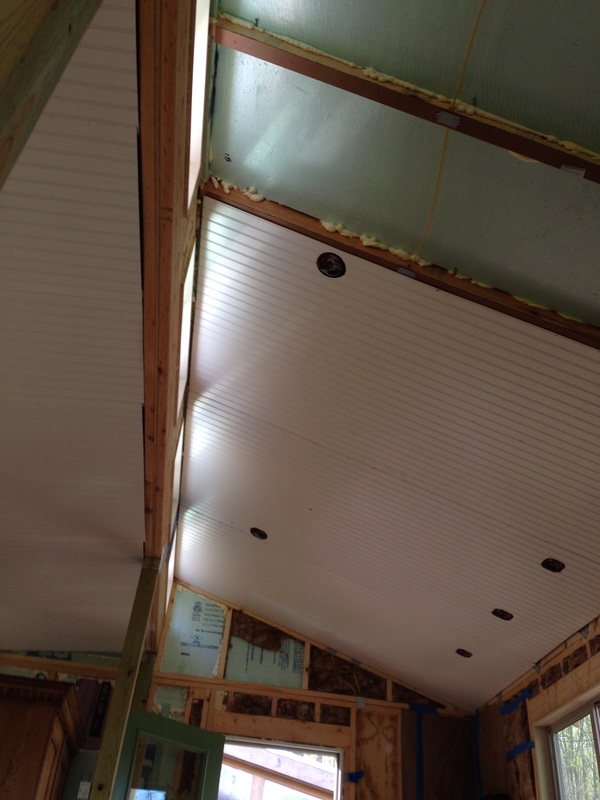
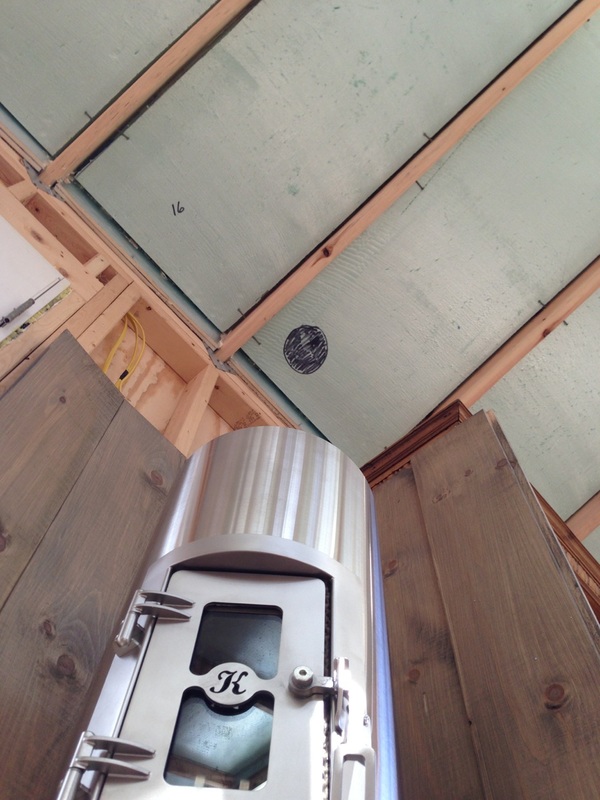
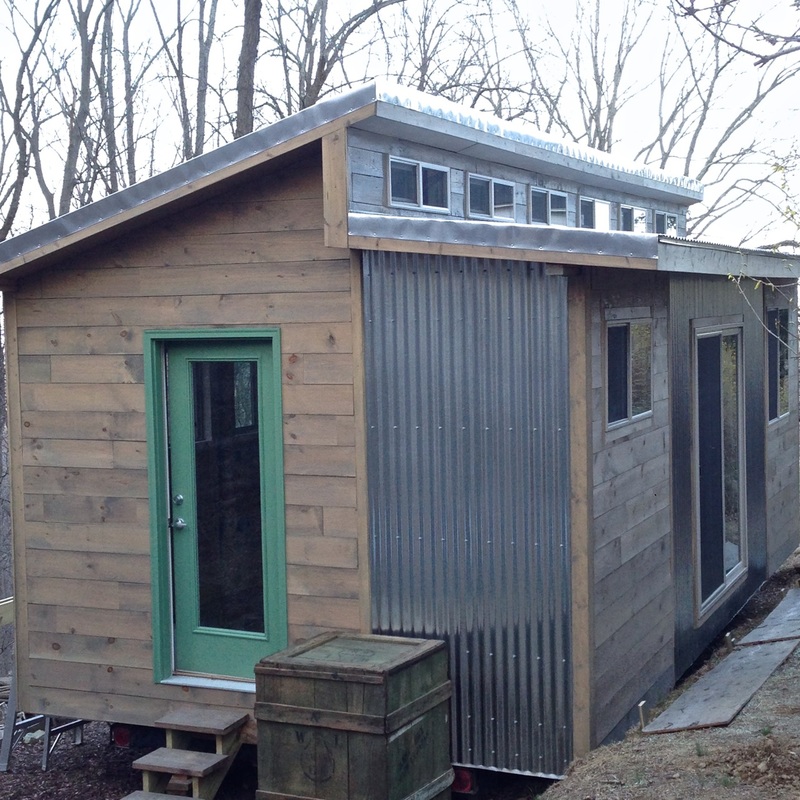
Though our kitchen footprint isn't large, the space feels big to us. Maybe it's all the light, maybe the high ceilings, maybe the open floor plan...or maybe we've just adjusted our spatial perceptions!
Happily, the plumbing is progressing and we should have our wee-sized, point-of-use water heater hooked up before too long.
Kitchen specifics:
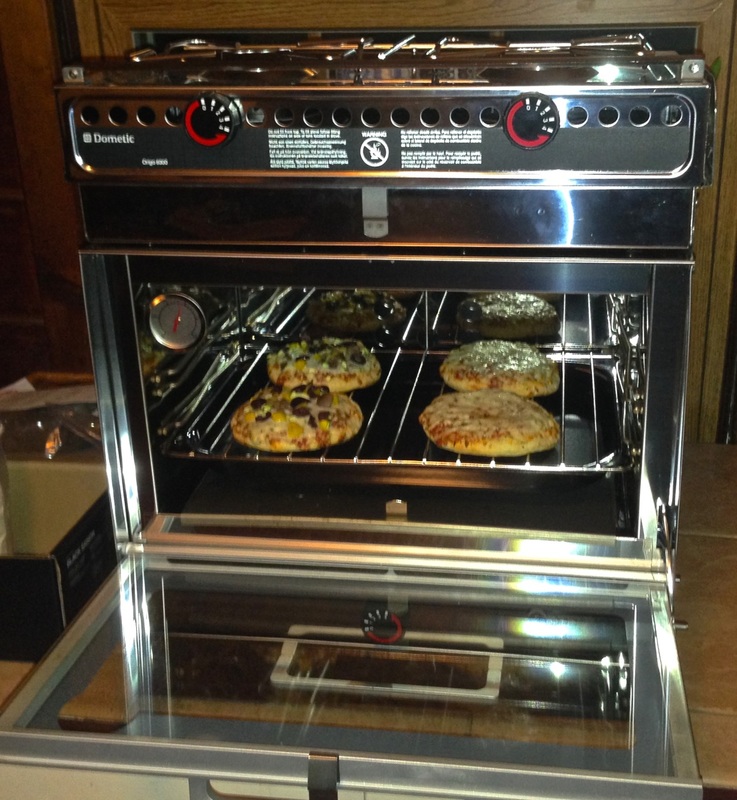
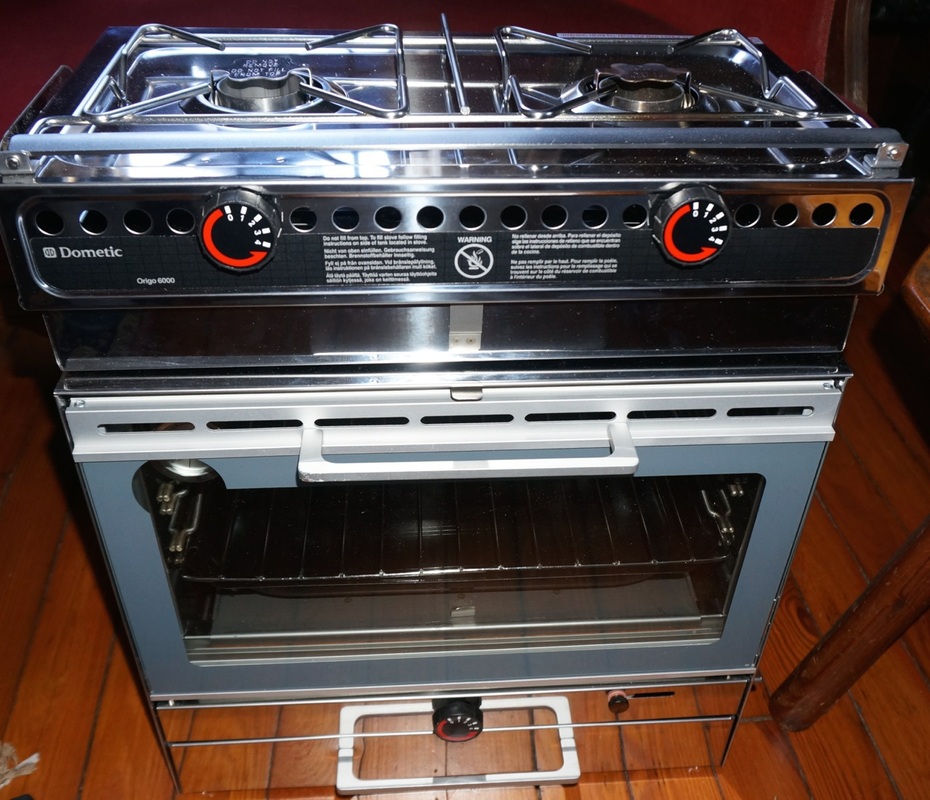
- Stove/oven: Our Origo 6000 is an alcohol-burning marine stove. Cooking would quickly draw down our solar-fueled batteries and we don't want to use propane for eco reasons. So, we've gone with clean-burning, renewable alcohol for cooking. It's tiny--but so far, so good.
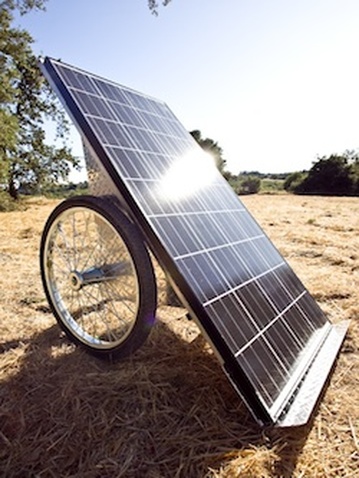
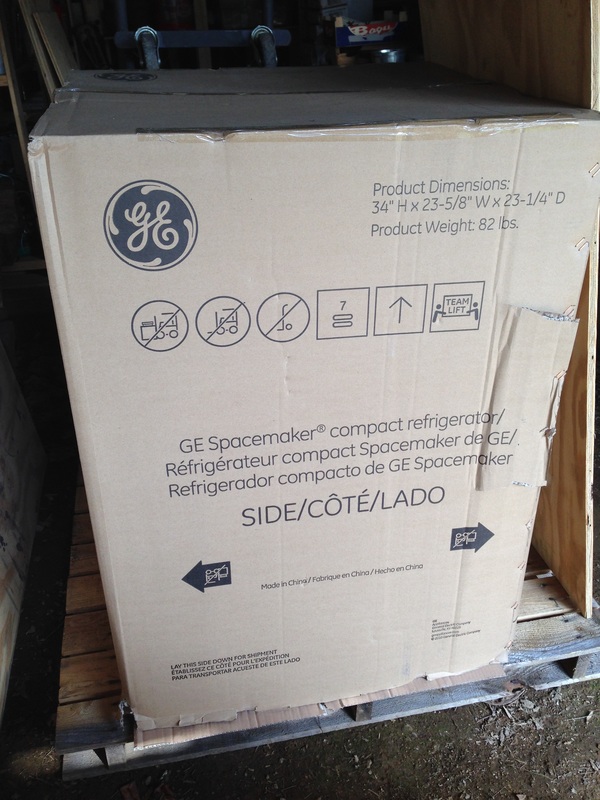
- Refrigerator: Our Energy Star GE fridge is efficient enough that solar has no problem powering it. Yes, it's summer, and the sun is producing more energy now than it will in the winter, but Bill has us wired so the the highest energy users (hot water and refrigerator) can be plugged into the grid if needed. The 5.6 cubic feet of space seems plenty big enough for the two of us.
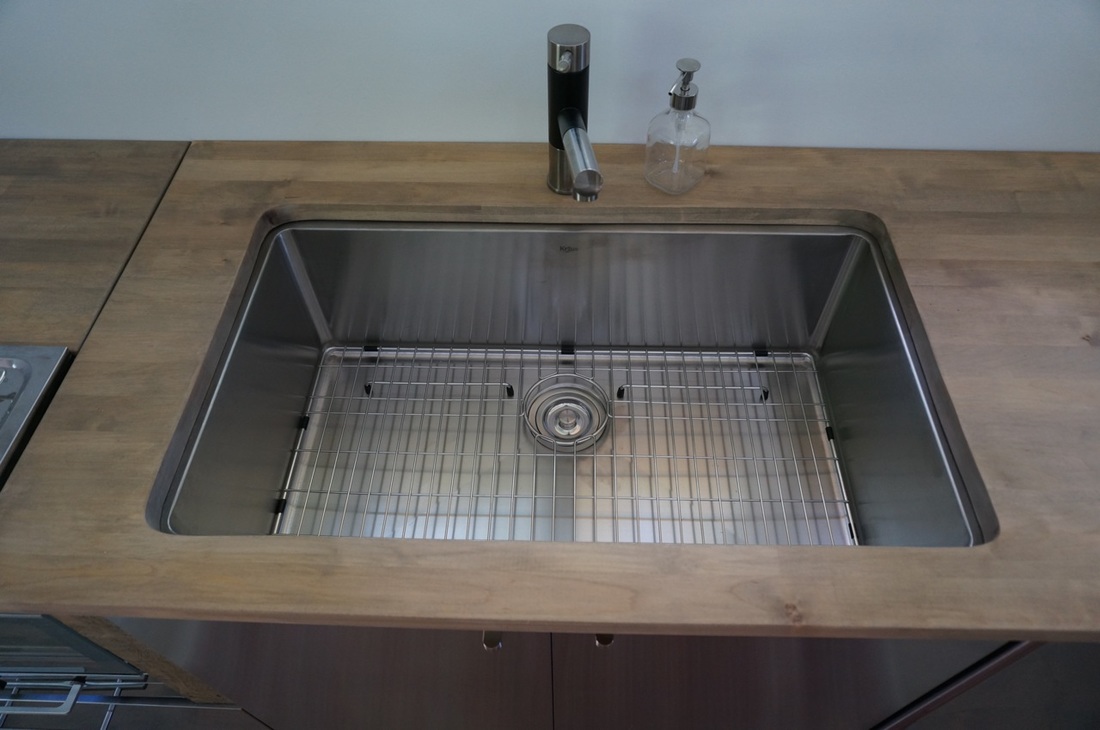
- Sink: We don't have a bathtub, so we wanted a large sink for anything big we'll want to wash. Our 32x19x10-inch Kraus sink takes up a lot of counter space, so we have inserts that drop in to cover the sink when we want to spread out in the kitchen.
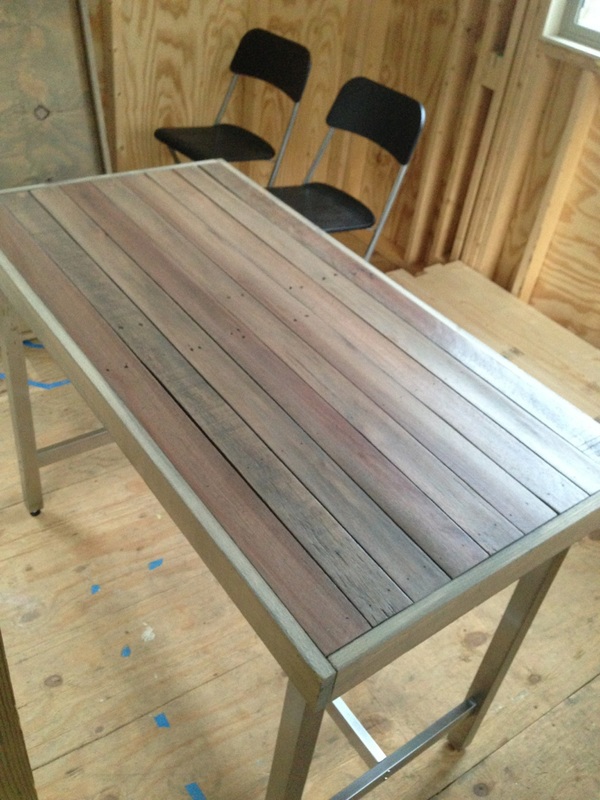
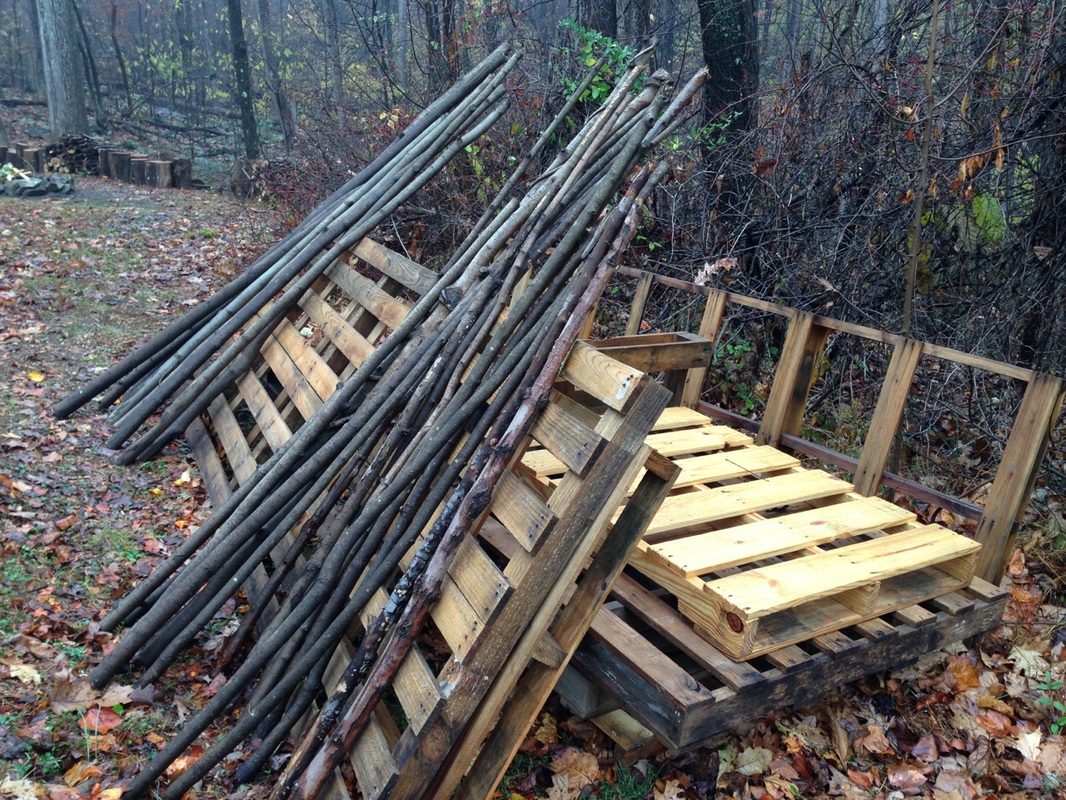
- Counter-height table: The stainless base is from IKEA, intended for a stainless top but sold separately. We made our table top from sanded, stained pallet wood. Its the same dimensions as the table we assembled for the screen house, so we can put them together when we have more people over. The black/stainless stools are also from IKEA.
- Wine rack: Another pallet wood project. More on it here.
- Cabinets: We thought we'd need to build our own cabinets to get things just the way we wanted them (sink centered on the window; oven built-in, etc). Then we looked at an IKEA catalog and realized they had pieces that would fit perfectly and save us loads of time. We could have kept costs down by going with all-white doors and drawers, but we decided to splurge on stainless. The drawers are full pull-outs, and, by leaving two drawers off one unit, we were were able to build in our Origo stove/oven and even leave room for storage behind it.
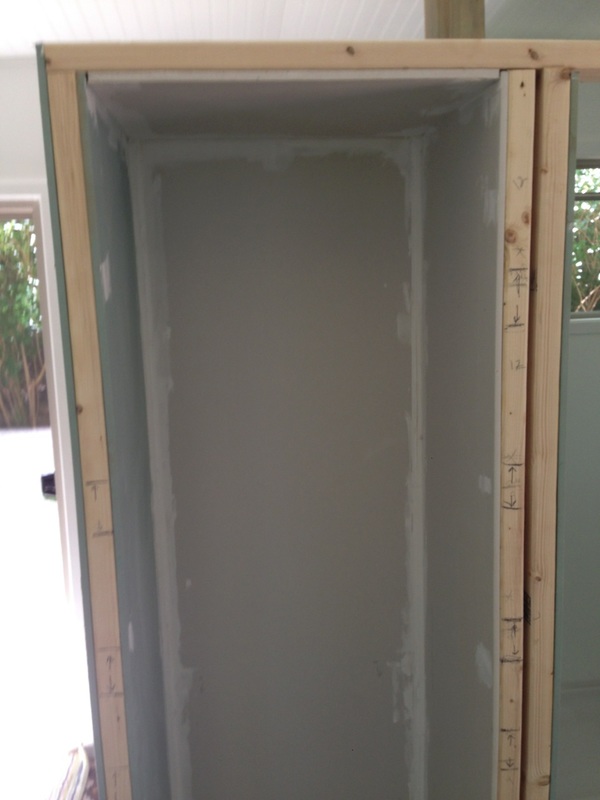
- Pantry: Eventually the pantry space will have six pull-out shelves and one fixed shelf (on the top). It's our main kitchen storage and will hold glasses, dishes and appliances, as well as food. Shelf slides are from Home Depot. The three bottom sliding shelves will house antique wood boxes with some of our bigger kitchen items; the top three sliders will have pallet-wood rims to keep things in place.
Though our kitchen footprint isn't large, the space feels big to us. Maybe it's all the light, maybe the high ceilings, maybe the open floor plan...or maybe we've just adjusted our spatial perceptions!


 RSS Feed
