About a month ago, I brainstormed a list of what I love about our house. I promised to come up with another list, one that addresses what we would have done differently (and/or simply remembered to do). Here goes:
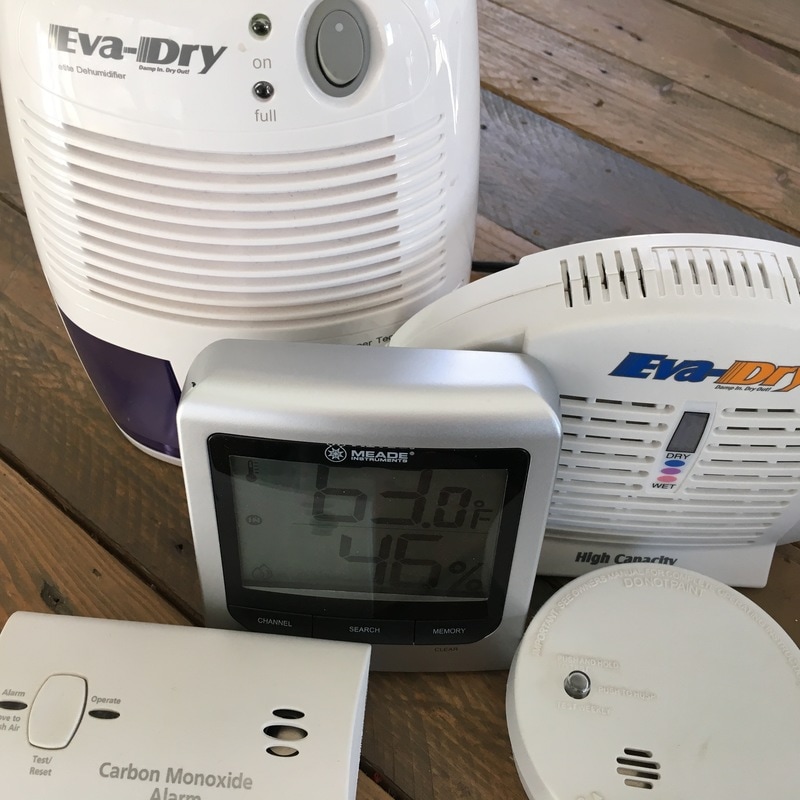
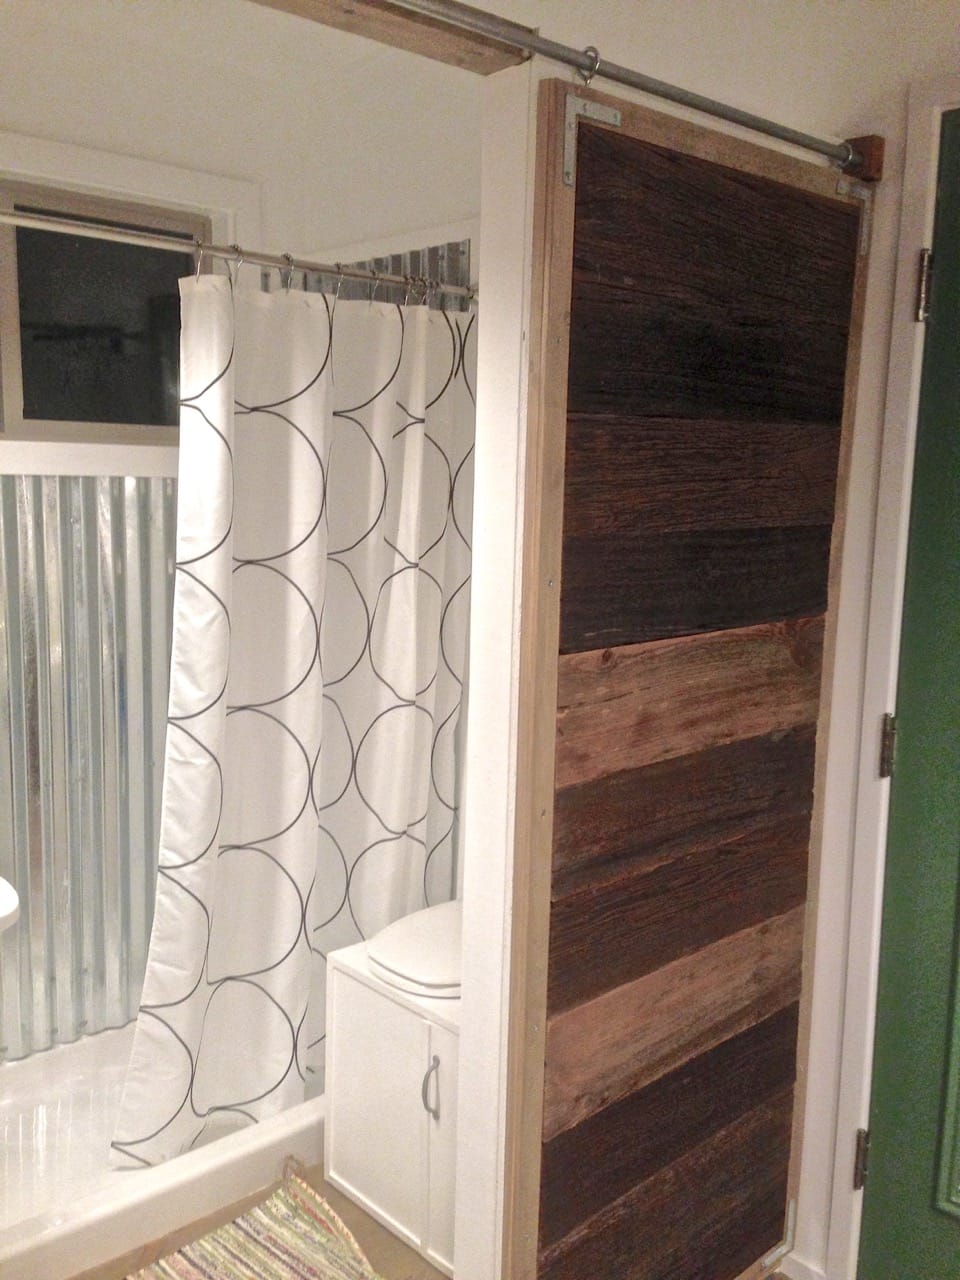
1. Venting. Air exchange keeps moisture and carbon monoxide levels down, especially important in a well-insulated tiny house with draft-free windows. We didn't start looking at ventilation systems until we started building; then, we looked at a few units that were too pricey, too big or too something else. We just kept building, and stopped trying to figure out how air was going to move in and out of our house in winter. We have no exhaust fan in the bathroom for shower moisture, no hood to vent when cooking and, most critically, no air exchange unit for the winter when all the windows are shut. Don't do what we did! When our CO detector goes off (and it does periodically), we have to open windows and doors, no matter how cold it is, to vent the house. We're finally getting around to a retrofit, and just had an EVR air exchanger (a Vents TwinFresh Comfo "single-room reversible energy regeneration ventilator") shipped to us. We'll let you know how that goes in another blog.
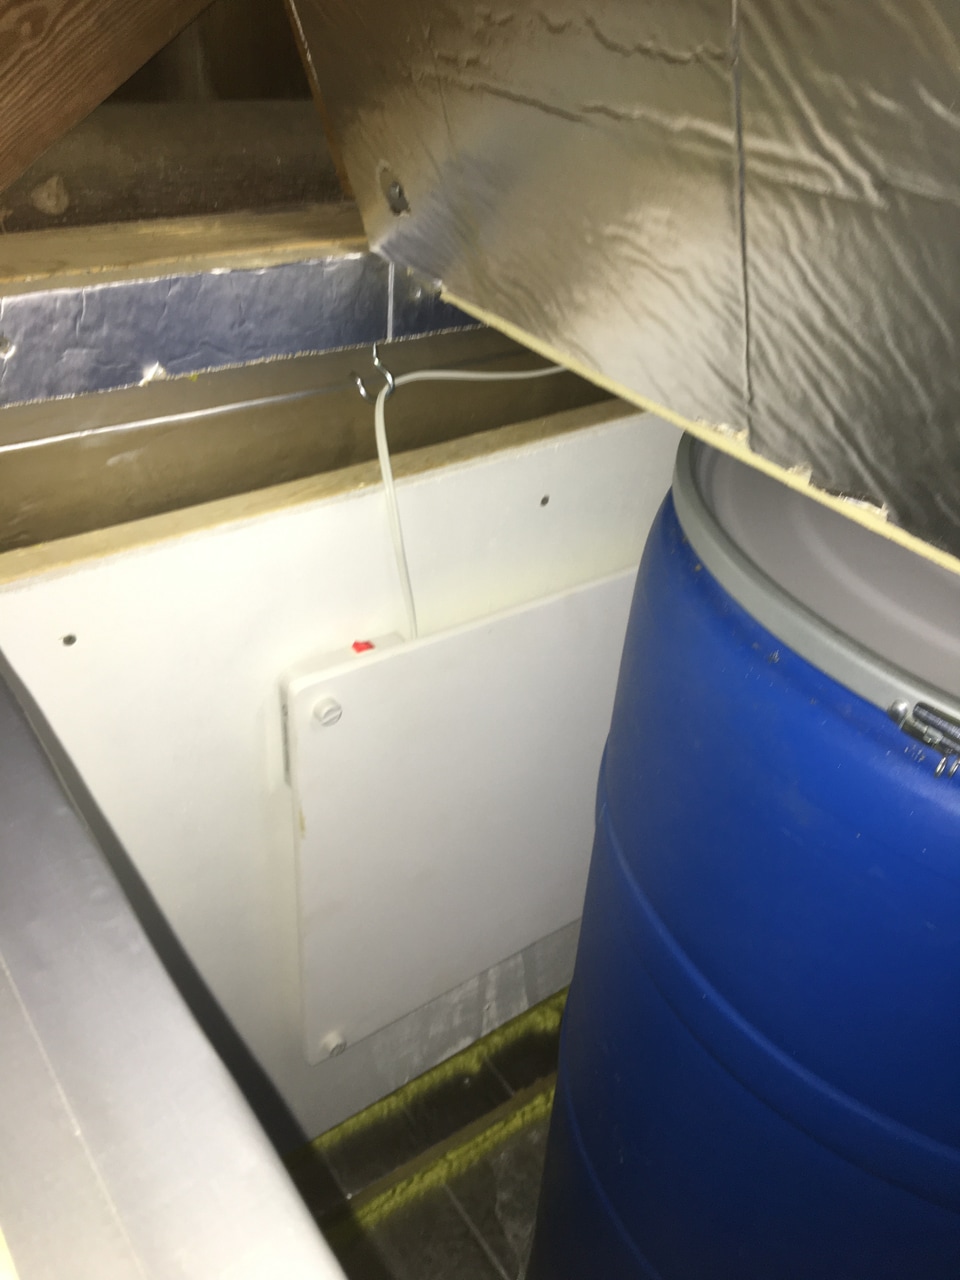
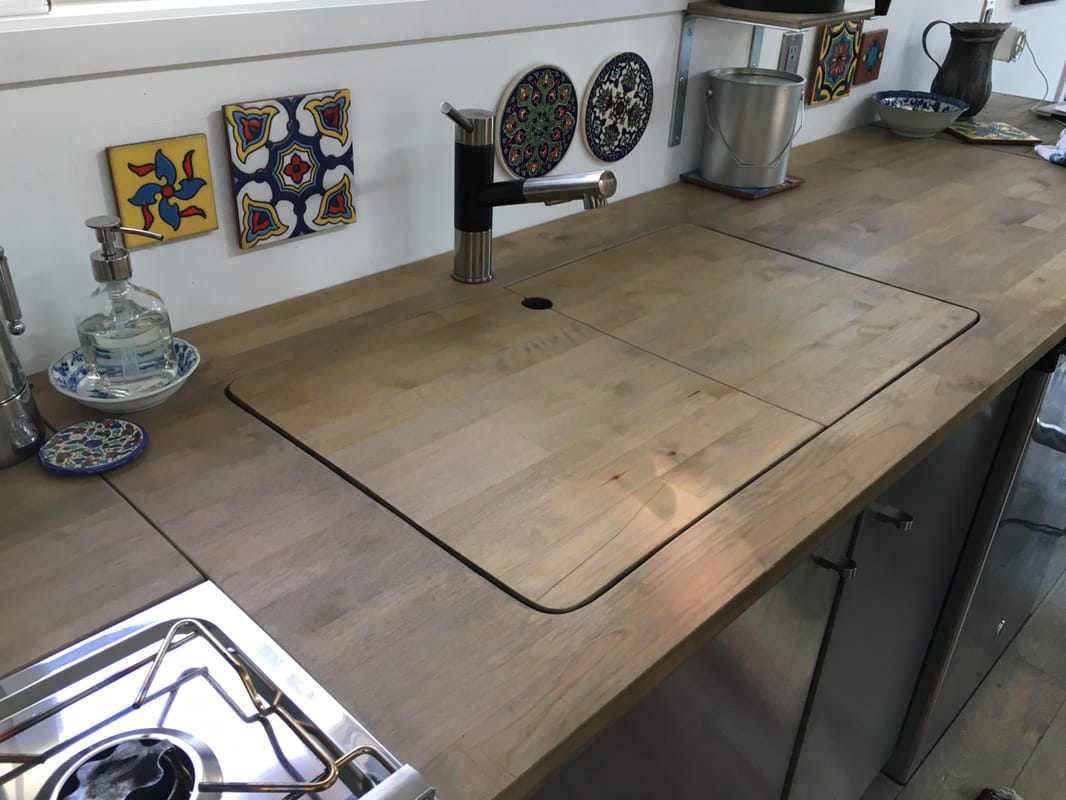
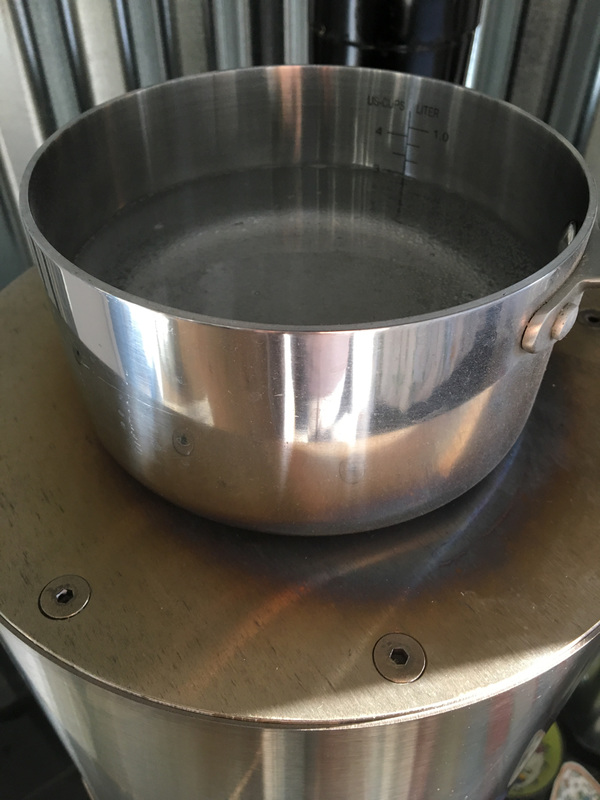
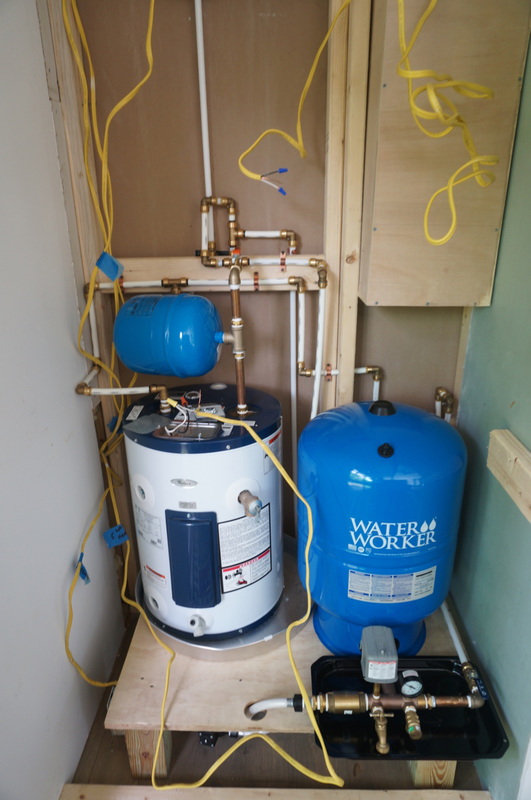
2. Winter-proofing our water supply. Last winter, we blogged about our "water woes." We never got around to undergrounding the water hose running from our neighbor's house, and we hadn't insulated the faucet where the water comes into our house or the pipe that runs water under the floor to the kitchen. The result? No running water once the freeze set in. One winter of hauling in water was enough to get our attention. Don't do what we did! (I'm repeating myself). First off, we know now that the pipe running to the kitchen could have easily been a heated potable water hose in place of the pipe. End of story. And we'll do that eventually, but for now we better insulated the pipe and put a light bulb in the channel where it runs to add a little heat. As for the rest of our water setup, we installed three 78-gallon barrels inside an insulated, heated box, which get filled from our friends spring fed water supply through a hose, as needed. That water runs to our house through an insulated, underground hose. Where the hose comes out of the ground, we wrapped heat tape to keep it from freezing. The faucet now has an insulated box, too. The result? Running water, even on the 8 degree day last month.
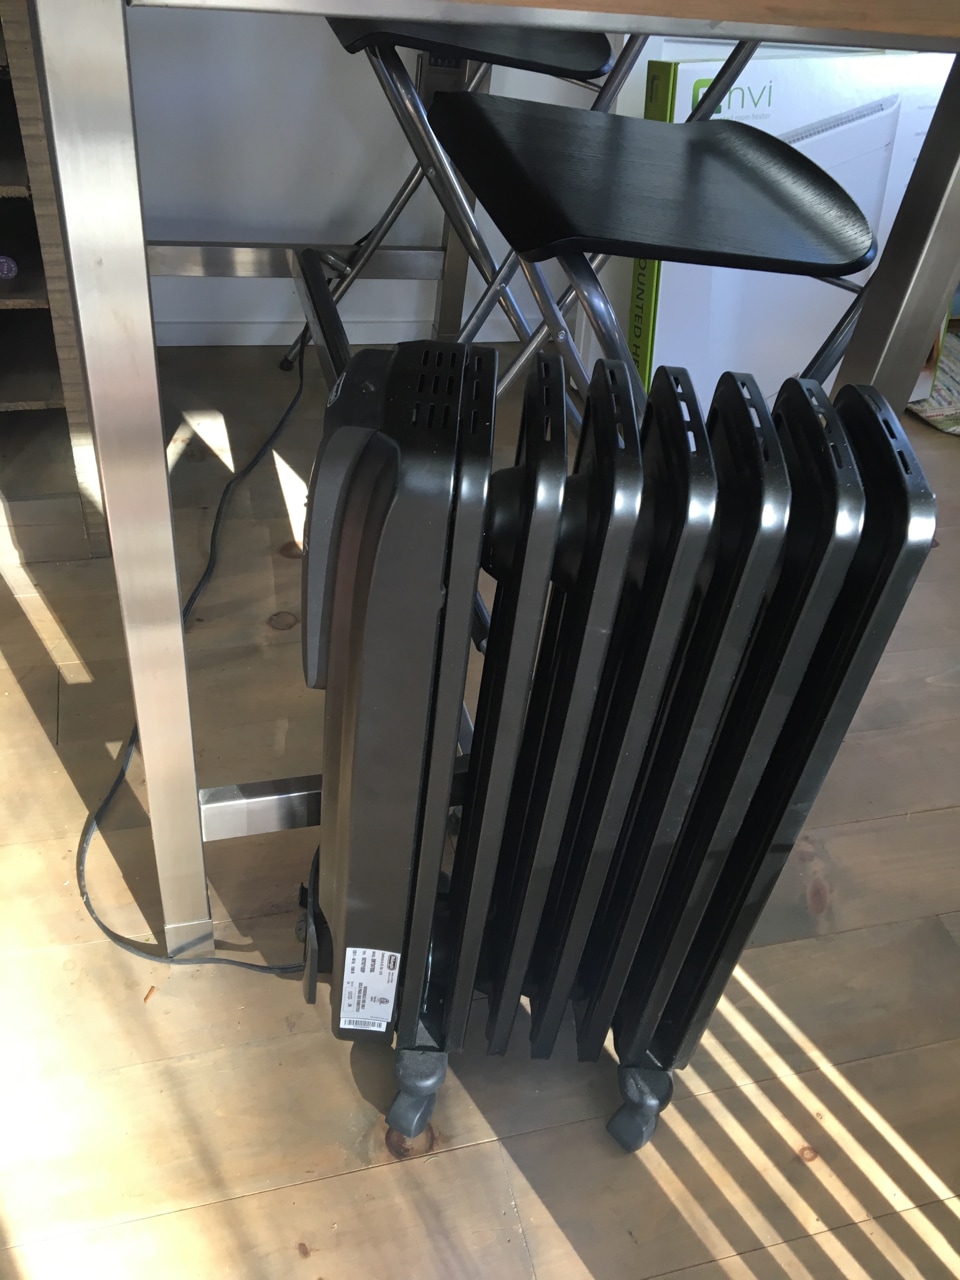
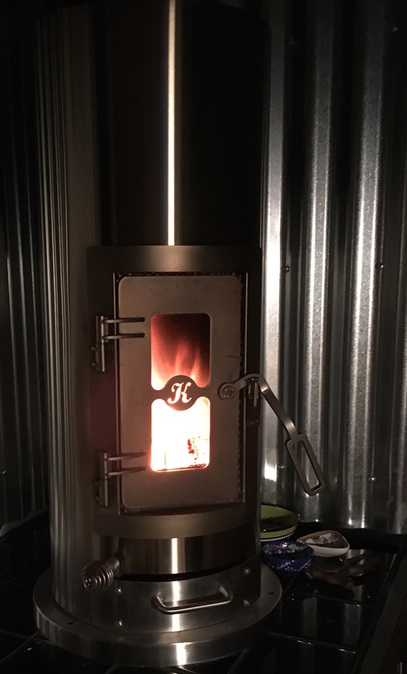
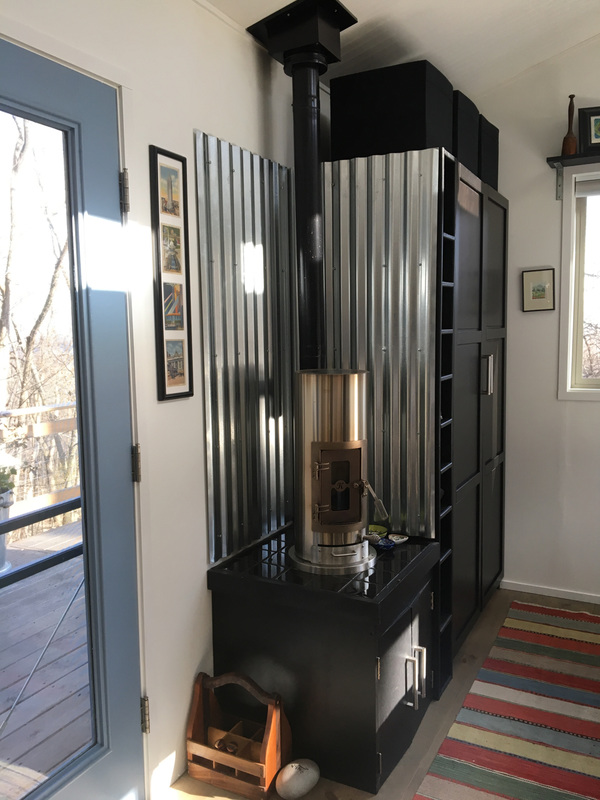
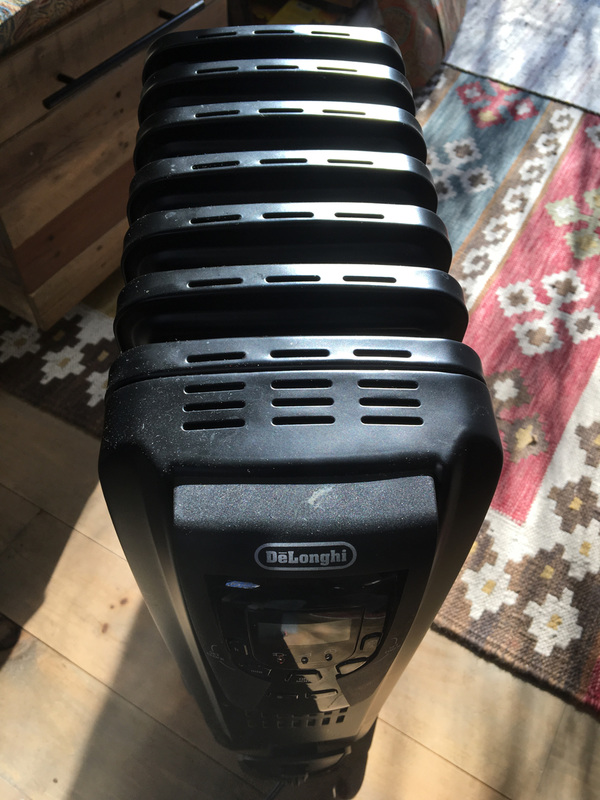
3. Heating. We were so excited about buying our beautiful Kimberly wood stove that we neglected to give much thought to heating. Were we really going to keep the stove burning 24/7 through the winter? Nope. So, we plugged in a space heater and set it at a base temperature, using the wood stove when we were here to bring up the temperature. But one heater didn't do the trick. So we plugged in another at the other end of the house. They suck electricity and they take up floor space--not exactly an elegant solution for heating a tiny house. With a little research, we realized we could save both energy and floor space with a wall-mounted convection heater. So far, we've installed one Envi heater in our bathroom, and we love it. Time to order a second one and get rid of the last space heater. Finding wall space and retrofitting the wiring is a lot harder than it would have been to plan for them from the start.
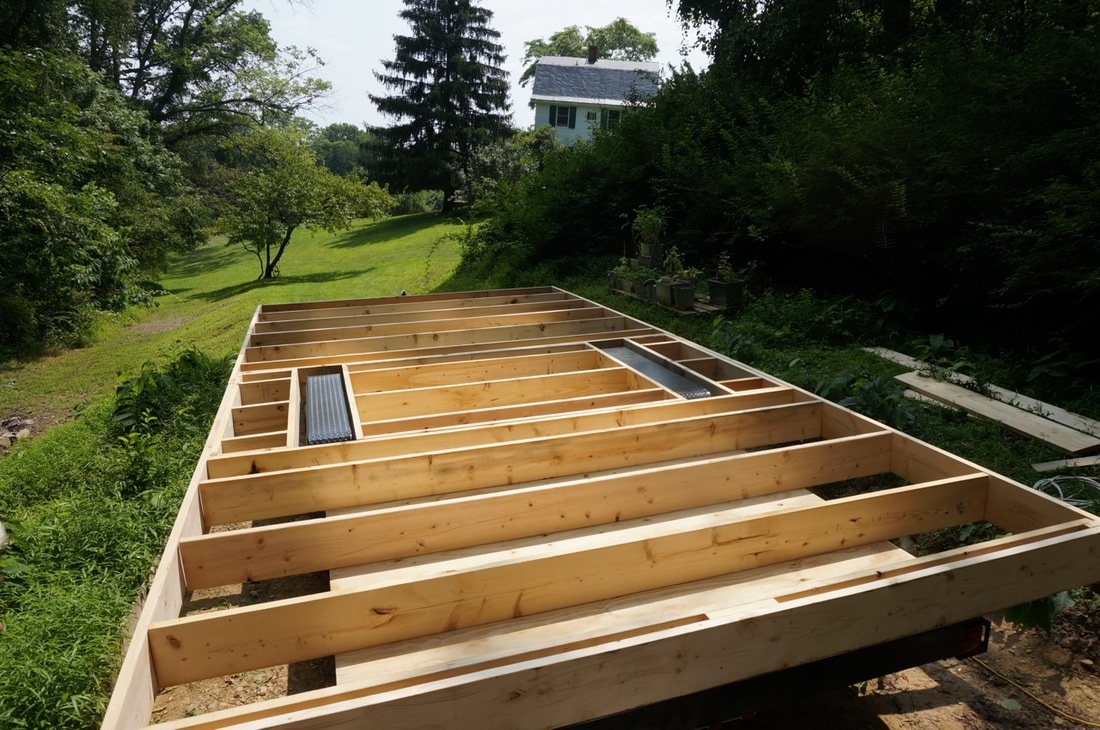
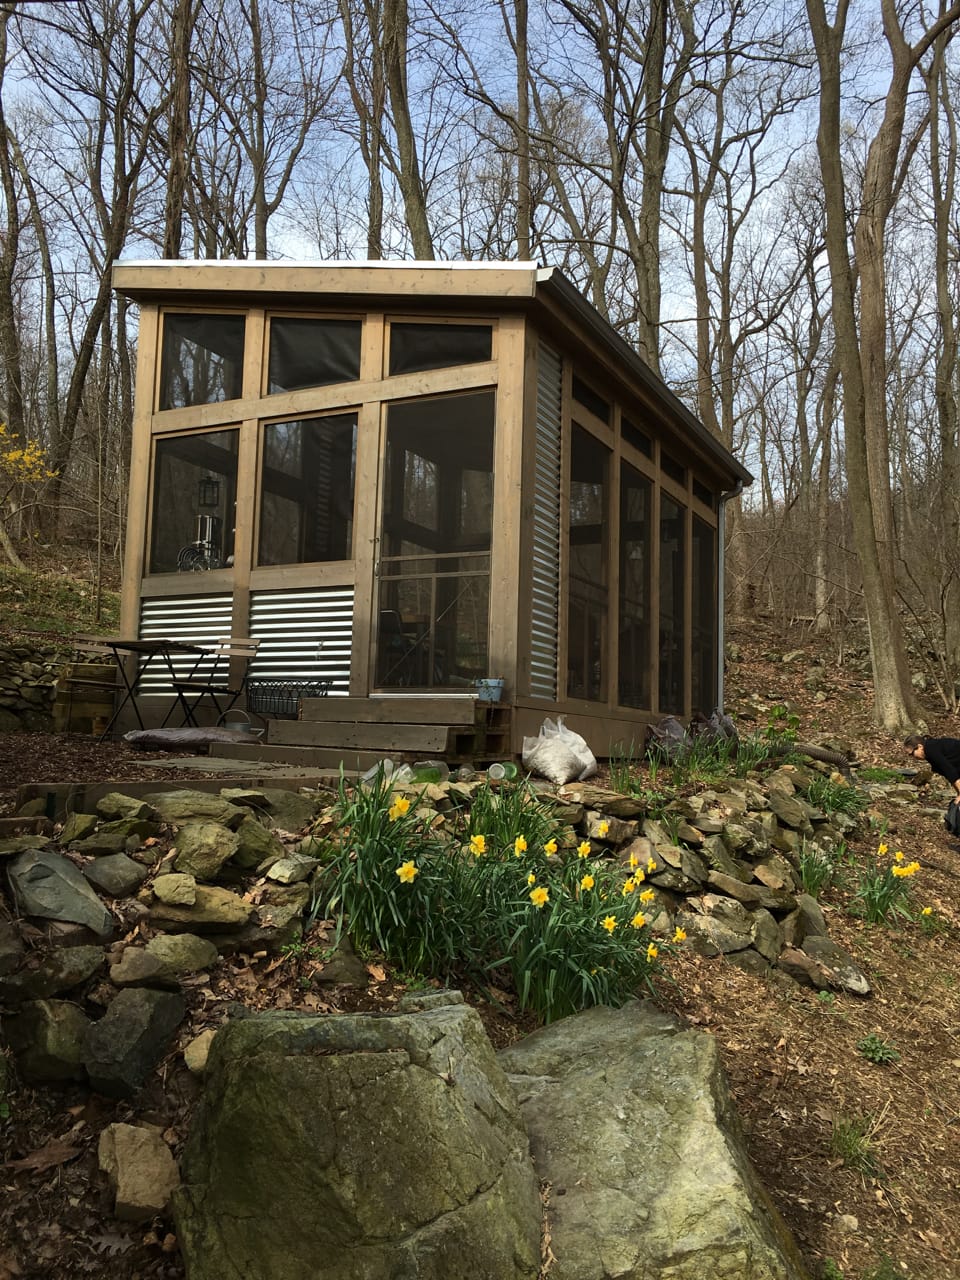
4. Undercoating/flashing. Because we didn't plan on moving our house, we decided not to pay for underside metal flashing. Instead we brushed Thompson's water seal on plywood to have a waterproof base to the house. On top of that went the floor joists. Though we haven't had moisture issues in the house (knock on wood), I've heard enough sad stories about mold that on a do-over we would do a lot more to create a moisture barrier under the house. (For example, Ryan Mitchell of The Tiny Life, put a lot more thought into moisture issues from the start of his build.) At this point, with the house seated inside a wrap-around deck, our options are limited. Current plan for the spring: 1. Put some gravel down and cover it with tarps/plastic. The idea here is to prevent moisture from coming up out of the ground and to give any ground water a place to run under the tarp. 2. Re-seal the plywood (and the trailer metal) with either Flex Seal, more Thomson's or....(We're still researching this.)
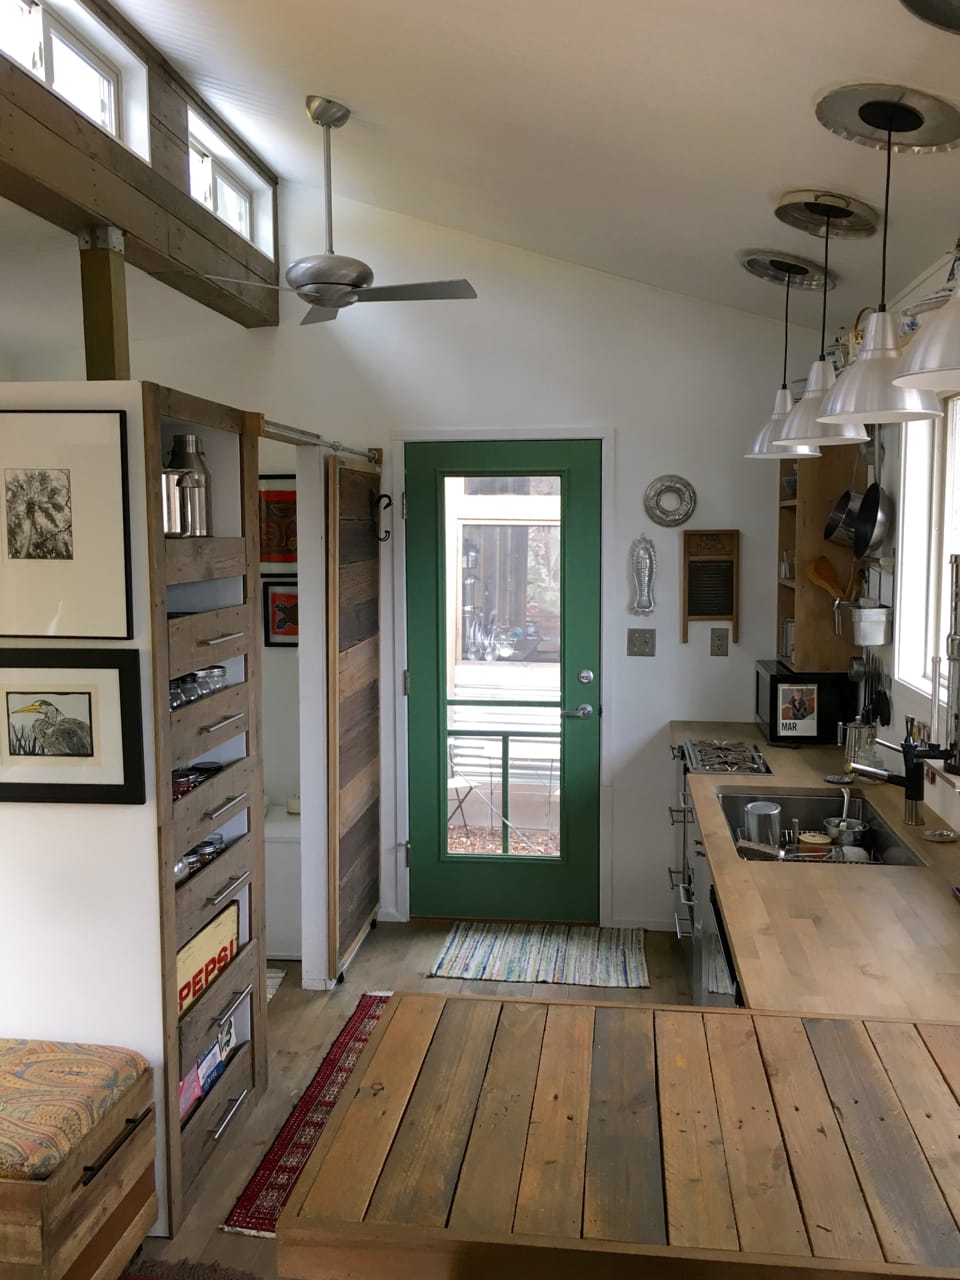
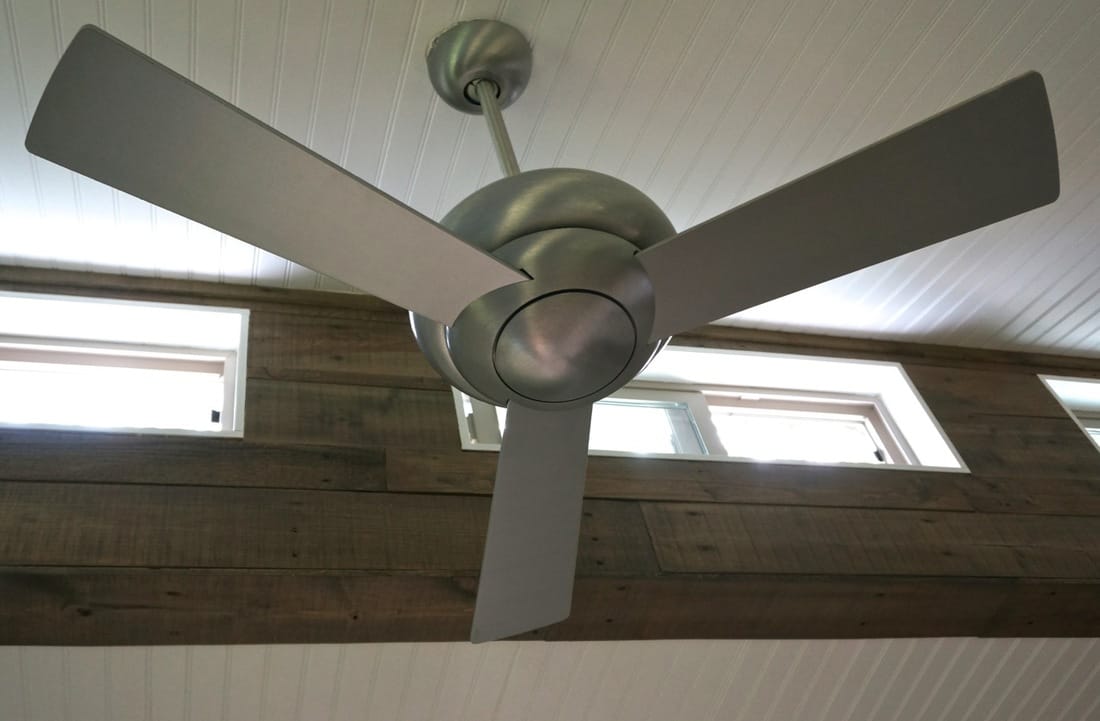
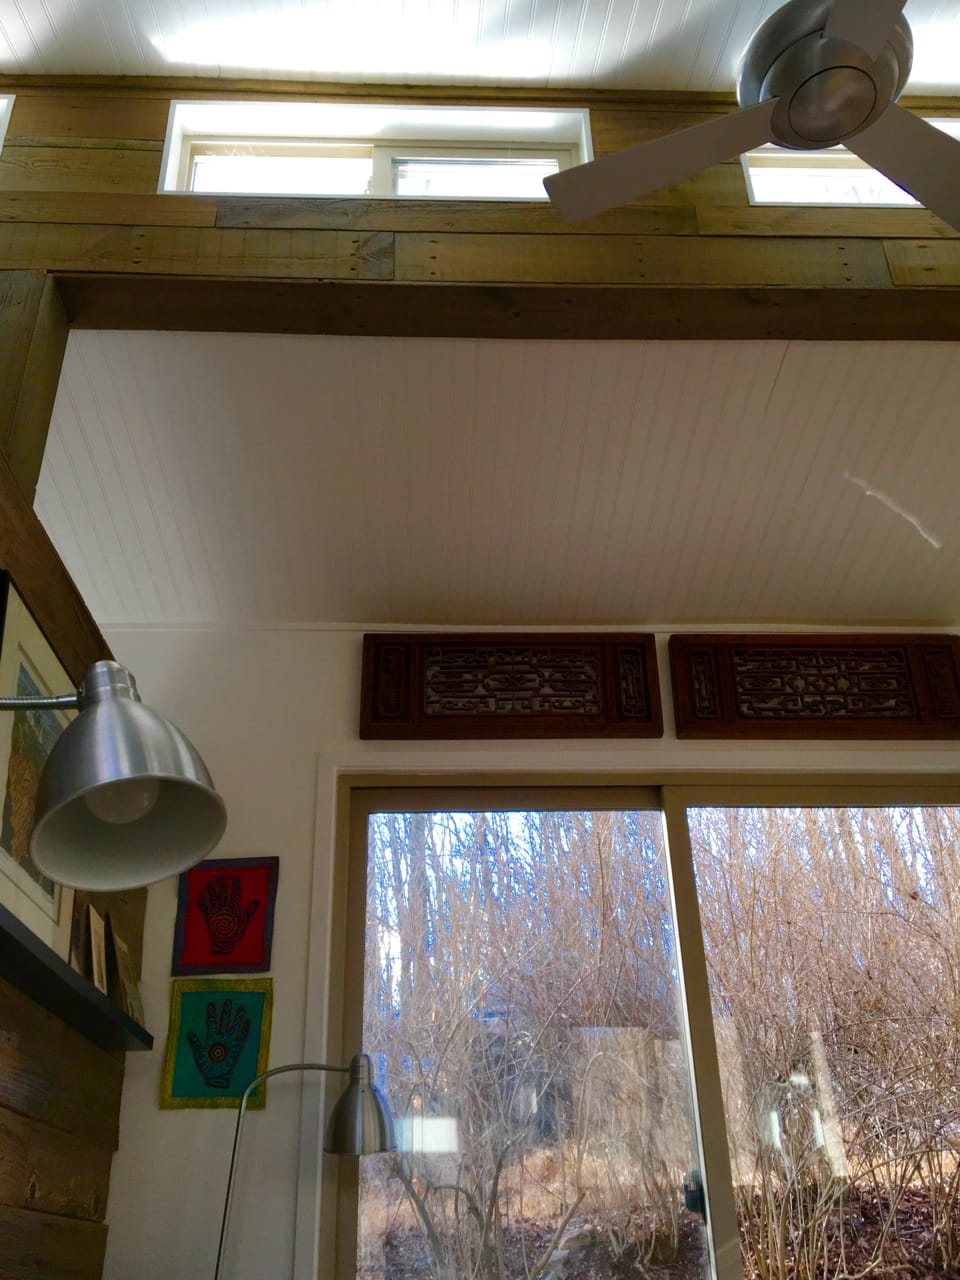
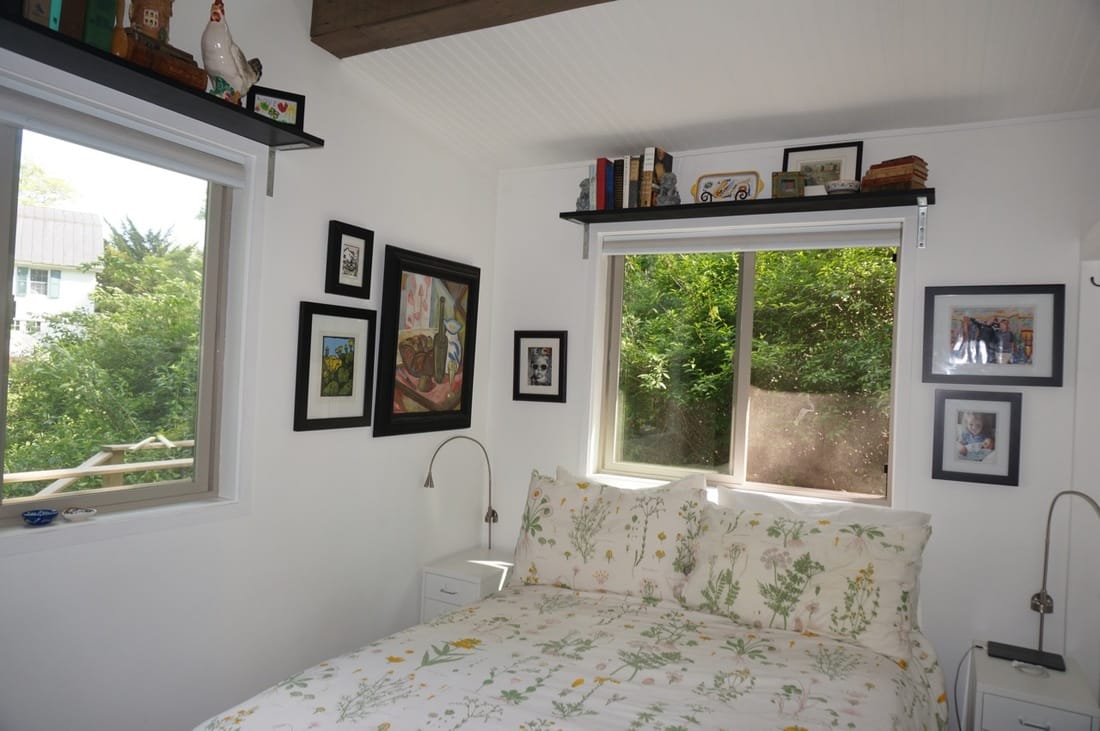
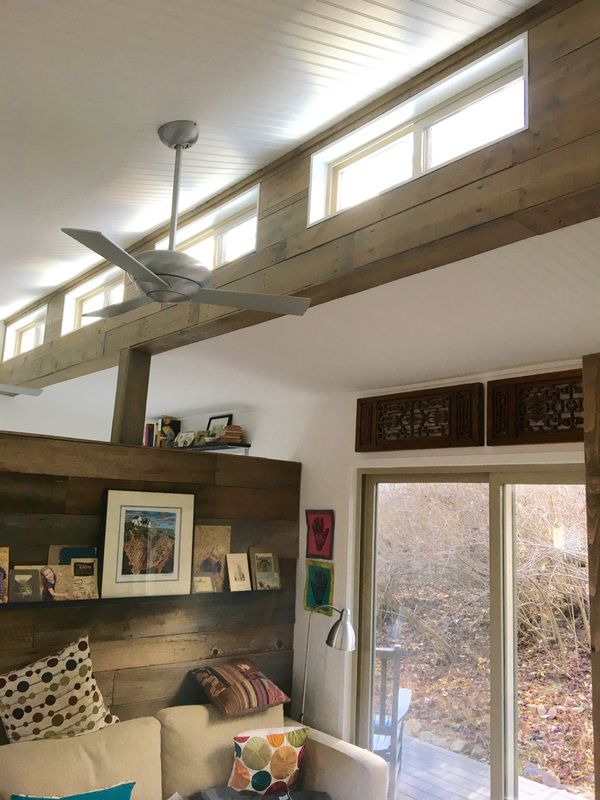
5. Ceiling panels. We decided to use light-weight panels for the ceiling, thinking it would make things fast and easy for the two of us lifting and attaching them. We went too light-weight. We have gentle waves in our ceiling. I really don't notice them any more, but I wouldn't do the same thing. Bill would use light-weight drywall if he were picking out a ceiling now. I've seen so many beautiful ceilings of reclaimed wood, that's the way I'd go on a do-over. It would require more time upfront cutting and attaching each board, but when you add in all the time we've spent trying to get the panels to lay flat and caulking and repainting cracks between them, they weren't the "easy" fix we thought they were.
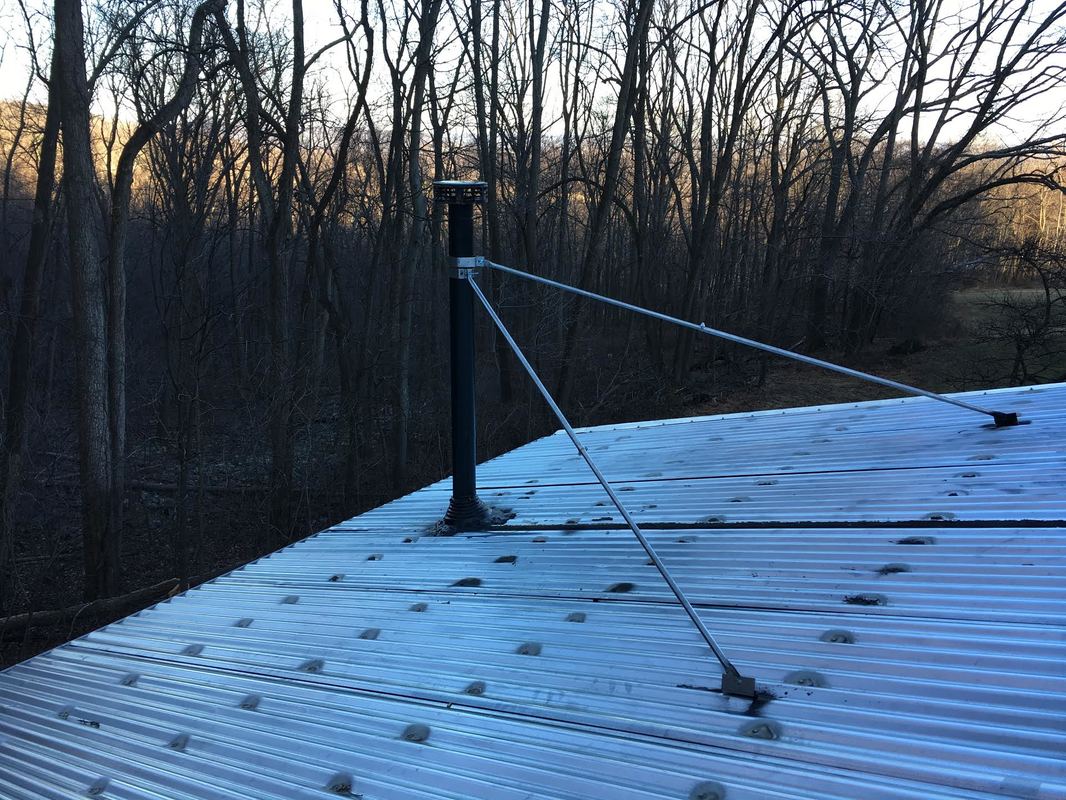
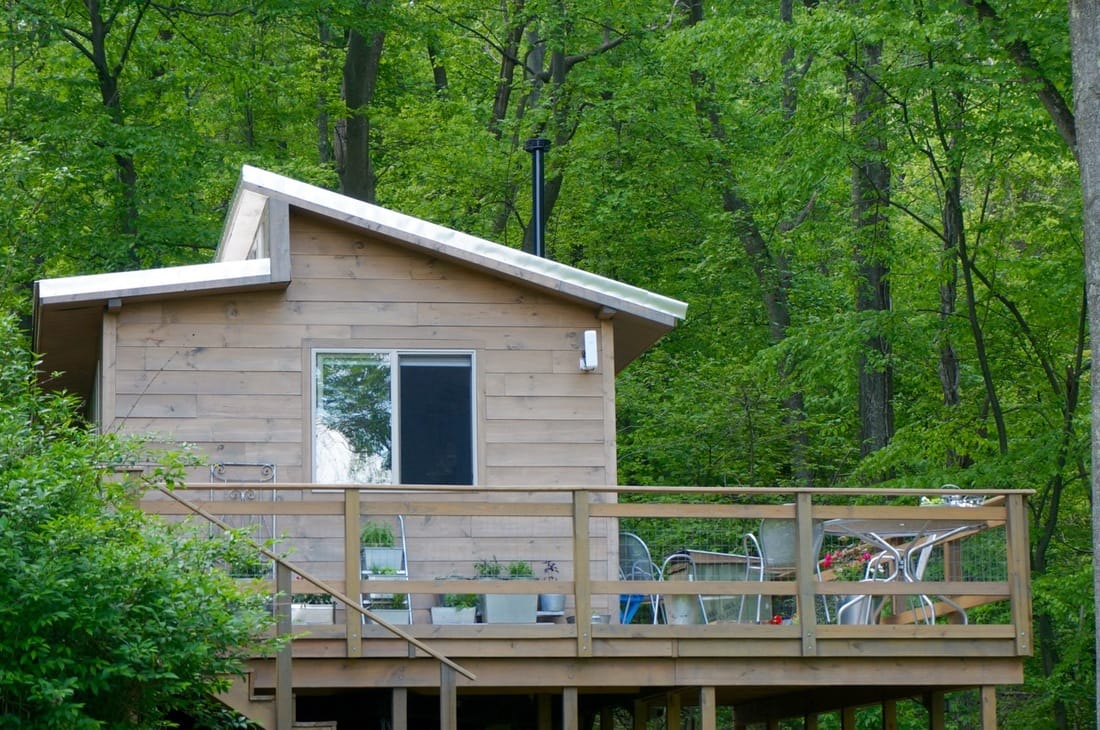
6. Bracing the stove pipe. Maybe we won't get three feet of snow again, but we did last year. The snow was heavy enough to push the stove pipe, unseal the hole around it and pull it out of its connection to the stove inside the house. In addition to fixing the damage, we now have a stainless steel brace that securely anchors the pipe to the roof of the house.
Those are the big ones. As I think of more odds and ends, I'll add them. The big lesson for us was keeping ahead of the stage we were at. The good news: there are a lot of resources out there to help you do just that, and that will be the topic of an upcoming blog...
1. Venting. Air exchange keeps moisture and carbon monoxide levels down, especially important in a well-insulated tiny house with draft-free windows. We didn't start looking at ventilation systems until we started building; then, we looked at a few units that were too pricey, too big or too something else. We just kept building, and stopped trying to figure out how air was going to move in and out of our house in winter. We have no exhaust fan in the bathroom for shower moisture, no hood to vent when cooking and, most critically, no air exchange unit for the winter when all the windows are shut. Don't do what we did! When our CO detector goes off (and it does periodically), we have to open windows and doors, no matter how cold it is, to vent the house. We're finally getting around to a retrofit, and just had an EVR air exchanger (a Vents TwinFresh Comfo "single-room reversible energy regeneration ventilator") shipped to us. We'll let you know how that goes in another blog.
2. Winter-proofing our water supply. Last winter, we blogged about our "water woes." We never got around to undergrounding the water hose running from our neighbor's house, and we hadn't insulated the faucet where the water comes into our house or the pipe that runs water under the floor to the kitchen. The result? No running water once the freeze set in. One winter of hauling in water was enough to get our attention. Don't do what we did! (I'm repeating myself). First off, we know now that the pipe running to the kitchen could have easily been a heated potable water hose in place of the pipe. End of story. And we'll do that eventually, but for now we better insulated the pipe and put a light bulb in the channel where it runs to add a little heat. As for the rest of our water setup, we installed three 78-gallon barrels inside an insulated, heated box, which get filled from our friends spring fed water supply through a hose, as needed. That water runs to our house through an insulated, underground hose. Where the hose comes out of the ground, we wrapped heat tape to keep it from freezing. The faucet now has an insulated box, too. The result? Running water, even on the 8 degree day last month.
3. Heating. We were so excited about buying our beautiful Kimberly wood stove that we neglected to give much thought to heating. Were we really going to keep the stove burning 24/7 through the winter? Nope. So, we plugged in a space heater and set it at a base temperature, using the wood stove when we were here to bring up the temperature. But one heater didn't do the trick. So we plugged in another at the other end of the house. They suck electricity and they take up floor space--not exactly an elegant solution for heating a tiny house. With a little research, we realized we could save both energy and floor space with a wall-mounted convection heater. So far, we've installed one Envi heater in our bathroom, and we love it. Time to order a second one and get rid of the last space heater. Finding wall space and retrofitting the wiring is a lot harder than it would have been to plan for them from the start.
4. Undercoating/flashing. Because we didn't plan on moving our house, we decided not to pay for underside metal flashing. Instead we brushed Thompson's water seal on plywood to have a waterproof base to the house. On top of that went the floor joists. Though we haven't had moisture issues in the house (knock on wood), I've heard enough sad stories about mold that on a do-over we would do a lot more to create a moisture barrier under the house. (For example, Ryan Mitchell of The Tiny Life, put a lot more thought into moisture issues from the start of his build.) At this point, with the house seated inside a wrap-around deck, our options are limited. Current plan for the spring: 1. Put some gravel down and cover it with tarps/plastic. The idea here is to prevent moisture from coming up out of the ground and to give any ground water a place to run under the tarp. 2. Re-seal the plywood (and the trailer metal) with either Flex Seal, more Thomson's or....(We're still researching this.)
5. Ceiling panels. We decided to use light-weight panels for the ceiling, thinking it would make things fast and easy for the two of us lifting and attaching them. We went too light-weight. We have gentle waves in our ceiling. I really don't notice them any more, but I wouldn't do the same thing. Bill would use light-weight drywall if he were picking out a ceiling now. I've seen so many beautiful ceilings of reclaimed wood, that's the way I'd go on a do-over. It would require more time upfront cutting and attaching each board, but when you add in all the time we've spent trying to get the panels to lay flat and caulking and repainting cracks between them, they weren't the "easy" fix we thought they were.
6. Bracing the stove pipe. Maybe we won't get three feet of snow again, but we did last year. The snow was heavy enough to push the stove pipe, unseal the hole around it and pull it out of its connection to the stove inside the house. In addition to fixing the damage, we now have a stainless steel brace that securely anchors the pipe to the roof of the house.
Those are the big ones. As I think of more odds and ends, I'll add them. The big lesson for us was keeping ahead of the stage we were at. The good news: there are a lot of resources out there to help you do just that, and that will be the topic of an upcoming blog...


 RSS Feed
