We've been living full time in this sweet, little house for four years now. Life here just keeps getting better as we fine-tune anything that hasn't worked quite as planned (like the stove pipe, a rock wall or two, the solar panel location, frozen pipes...and all the rest).
To honor the occasion of our four-year anniversary, we thought we'd answer some of the questions we often get asked:
Do you miss all the things you got rid of when downsizing?
No.
Has the novelty of living in a tiny house worn off?
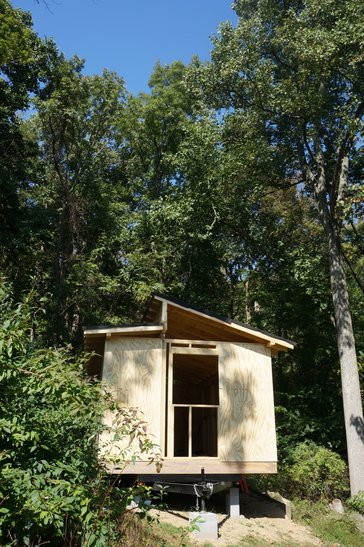
Sure. But that's a good thing. Now, it seems so natural to live in a house this size, that we don't give it a thought most of the time. There are couple exceptions. When we have more than six people over, we have to give logistics some thought. Is it nice enough to eat on the porch? Could we set up more chairs on the deck? And when we want someone to spend the night, we do wish we had a guest room. (Hopefully, coming soon in the form of a "shed.")
To honor the occasion of our four-year anniversary, we thought we'd answer some of the questions we often get asked:
Do you miss all the things you got rid of when downsizing?
No.
Has the novelty of living in a tiny house worn off?
Sure. But that's a good thing. Now, it seems so natural to live in a house this size, that we don't give it a thought most of the time. There are couple exceptions. When we have more than six people over, we have to give logistics some thought. Is it nice enough to eat on the porch? Could we set up more chairs on the deck? And when we want someone to spend the night, we do wish we had a guest room. (Hopefully, coming soon in the form of a "shed.")
Don't you get on one another's nerves living in such a small space?
Short answer: No
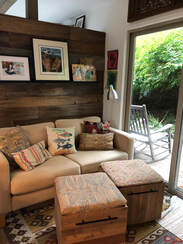
Longer answer: Though our house is only 250-square feet, it's divided up just enough that one of us can be sleeping in the "bedroom," while the other is working online in the "living room" or starting the coffee in the "kitchen."
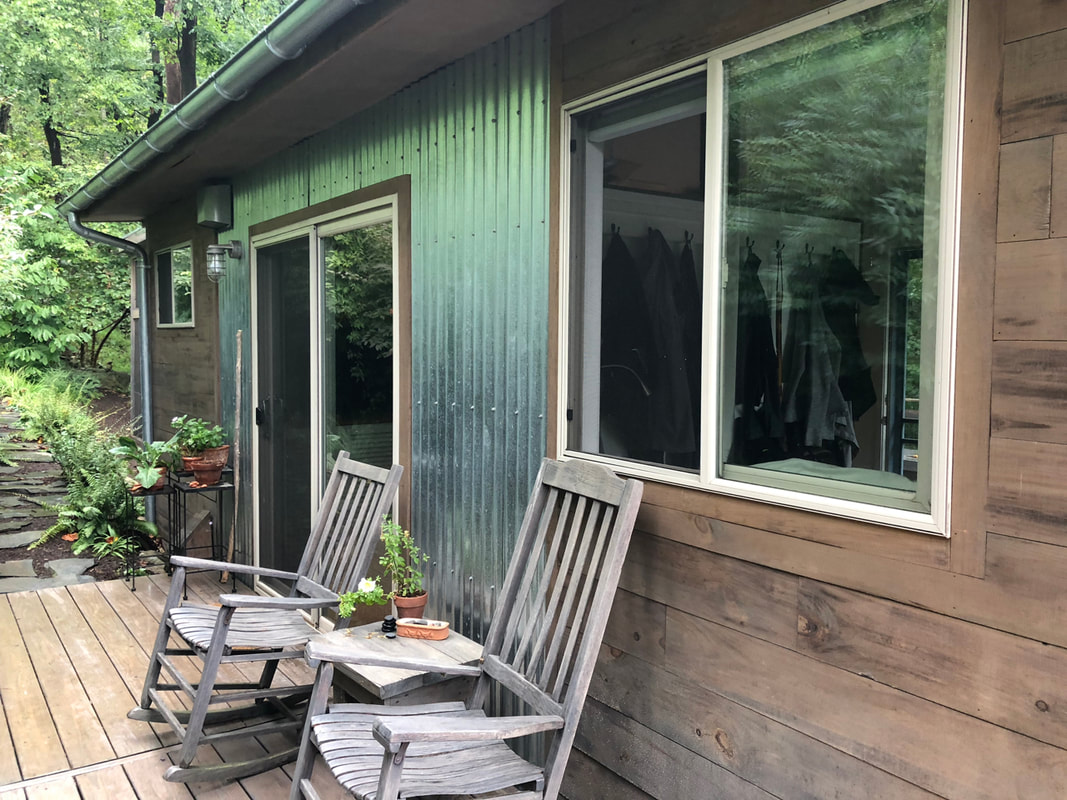
In addition, we have a 400-square-foot deck that wraps around the house, with rocking chairs great for reading on one side of the house and a table and chairs on another side—perfect as a work space or for alfresco dining on a nice day. In addition to that, we have a 160-square-foot "screen house" (a free-standing screen porch), with room for dining, cooking, reading, and/or socializing. At this moment, I am in the main house working on this blog, while Bill is in the screen house enjoying a beer and a movie. We have plexiglass panels that we put up on the screen house so that we can use it most of the year.
On top of all that, we spend a good deal of our time in the Great Outdoors: gardening, working on projects (shed to come), walking, biking, volunteering and more.
Short answer: No
Longer answer: Though our house is only 250-square feet, it's divided up just enough that one of us can be sleeping in the "bedroom," while the other is working online in the "living room" or starting the coffee in the "kitchen."
In addition, we have a 400-square-foot deck that wraps around the house, with rocking chairs great for reading on one side of the house and a table and chairs on another side—perfect as a work space or for alfresco dining on a nice day. In addition to that, we have a 160-square-foot "screen house" (a free-standing screen porch), with room for dining, cooking, reading, and/or socializing. At this moment, I am in the main house working on this blog, while Bill is in the screen house enjoying a beer and a movie. We have plexiglass panels that we put up on the screen house so that we can use it most of the year.
On top of all that, we spend a good deal of our time in the Great Outdoors: gardening, working on projects (shed to come), walking, biking, volunteering and more.
Do you think everyone should live in a tiny house?
No, but we do believe everyone, including us, should be investigating how to live more sustainably. How many resources are we consuming? How can we reduce our carbon footprint? How can we be reasonable stewards on this planet?
Do you want to build tiny houses for other people?
Nope. Though we don't want to go into business building houses, we do love to talk to people about their plans and help them, in any way we can, achieve their tiny house dreams.
Knowing what you know now, would you still design and build your house yourselves?
Yes. (But we would want to be our younger selves doing that!)
What's something you love best about your house?
The eleven windows and three glass doors!
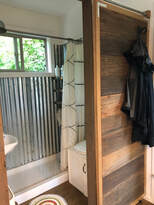
What's something you would change about your house?
The bathroom door. It drives people crazy. Our "great" design for our sliding door has caused panic in more than one guest who believes they are trapped in the bathroom. We talk about changing it, but here we are four years later with the same squeaky, awkward door—alas.
The bathroom door. It drives people crazy. Our "great" design for our sliding door has caused panic in more than one guest who believes they are trapped in the bathroom. We talk about changing it, but here we are four years later with the same squeaky, awkward door—alas.


 RSS Feed
