Simply Enough
  • Building
  • Projects
  • Simply Enough
  • Community
  • Contact
  • Products
  • About Us
  • Media

CONSUME LESS,
WASTE LESS = ENOUGH+

Going Native

3/10/2018

0 Comments

 
Picture
                                 
"We can no longer hope to coexist with other animals if we continue to wage war on their homes and food supplies."

 ~Doug Tallemy, Bringing Nature Home


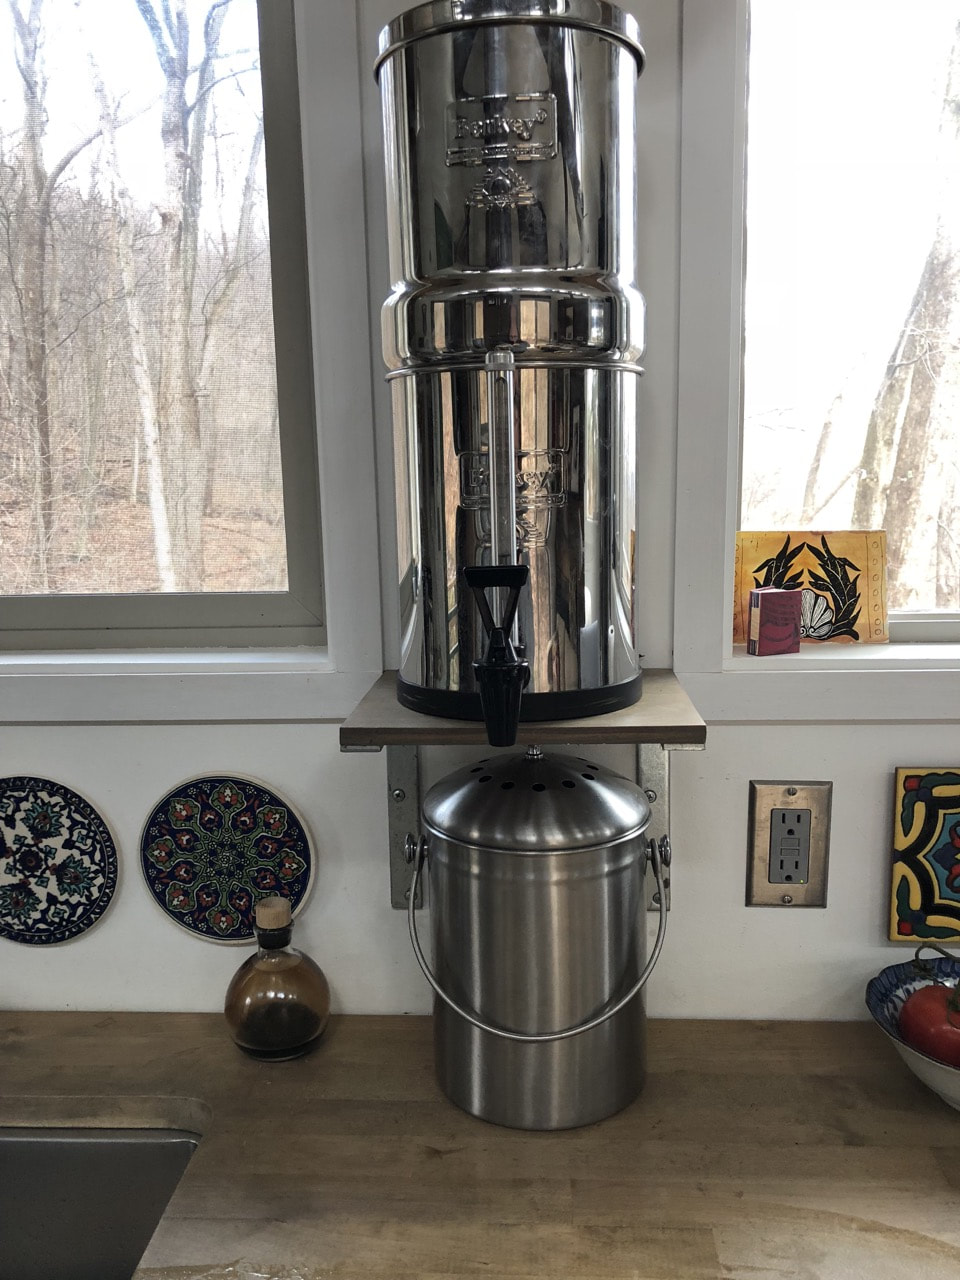
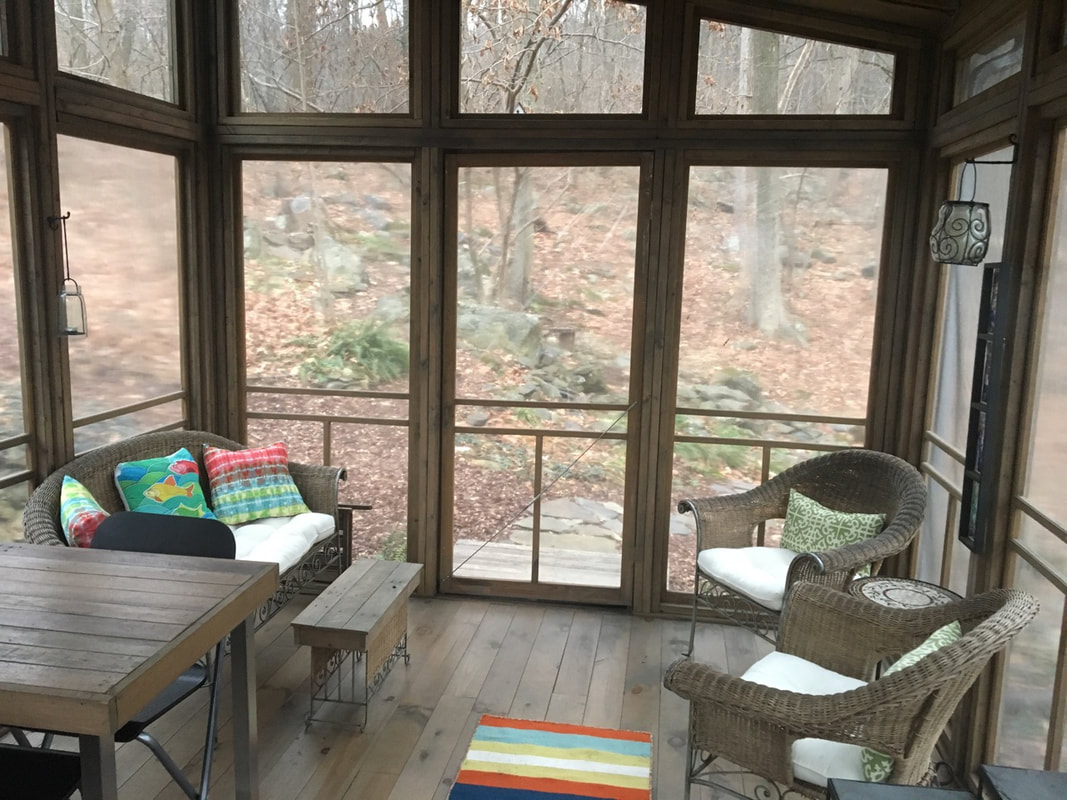
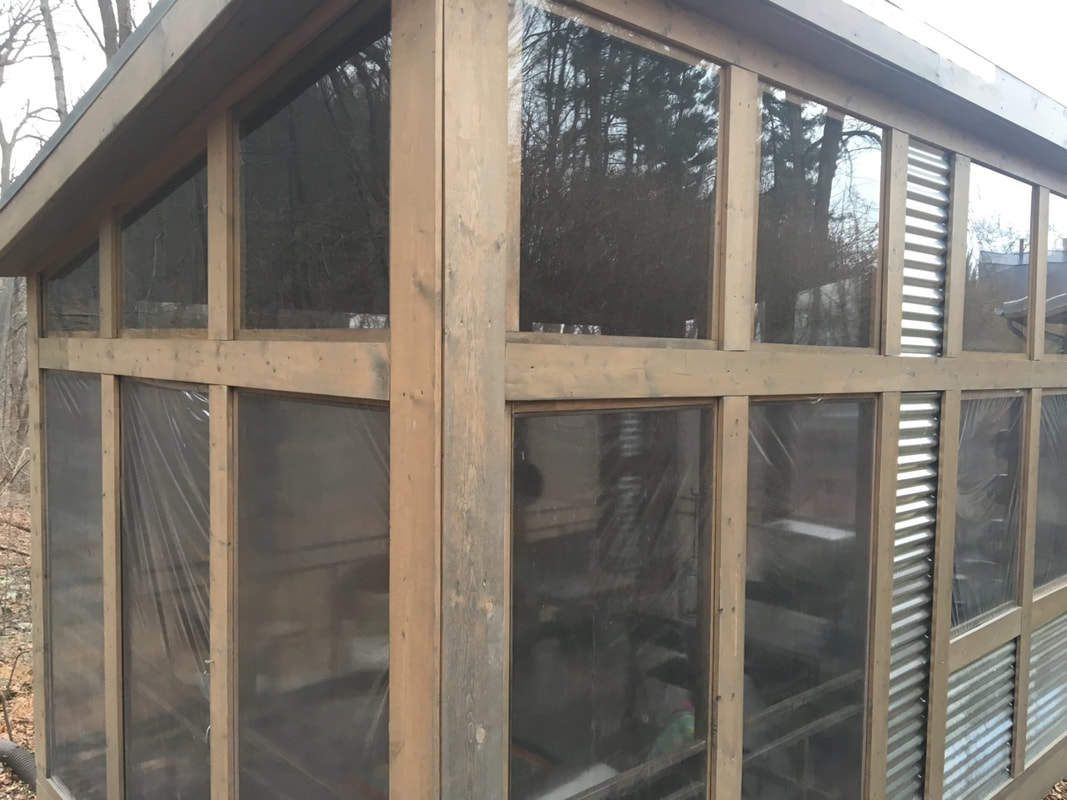
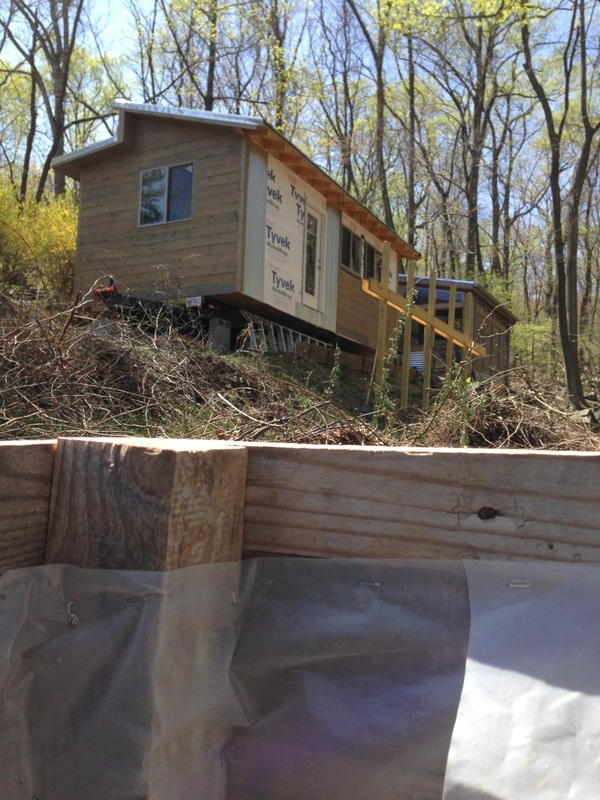
Back when we were maintaining an oversized (for us) house, we had an epiphany: we wanted to tread a little lighter on the planet. The tiny house we built was part of our movement in that direction, and so were the solar panels we installed, the clean-burning wood stove and the vegetable garden. What came a few years later was the call to stewardship.

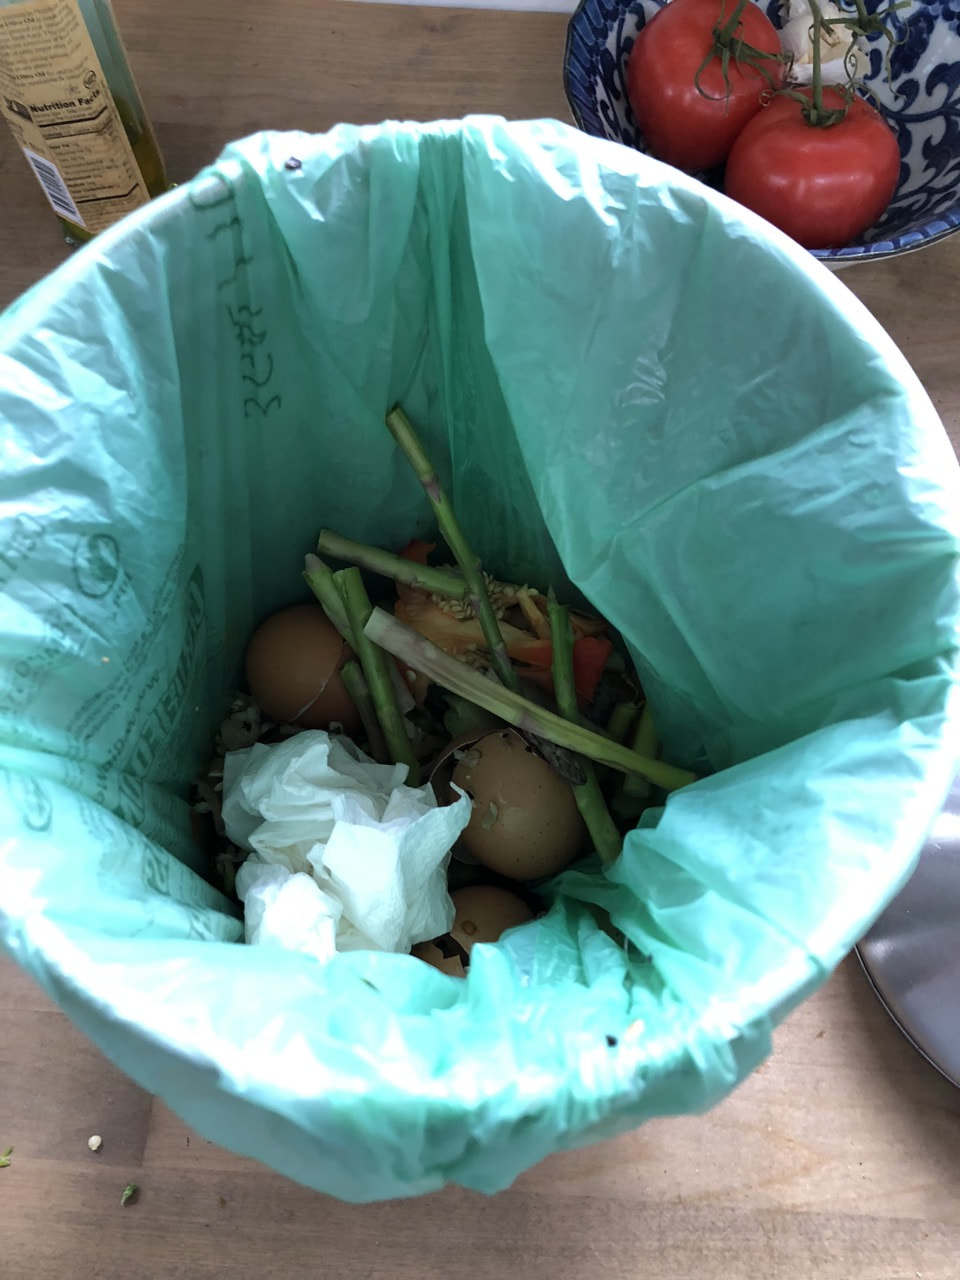
Respect for the land and its biotic communities can be measured in the quantity of trash we cart off to the landfill, in the products we wash down the drain and, as I've only recently come to understand, in the plants we choose to put in the ground.

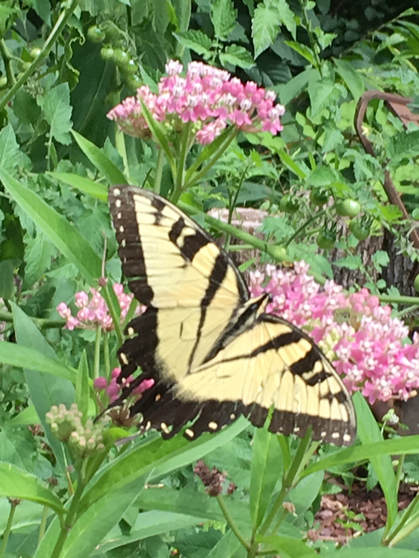
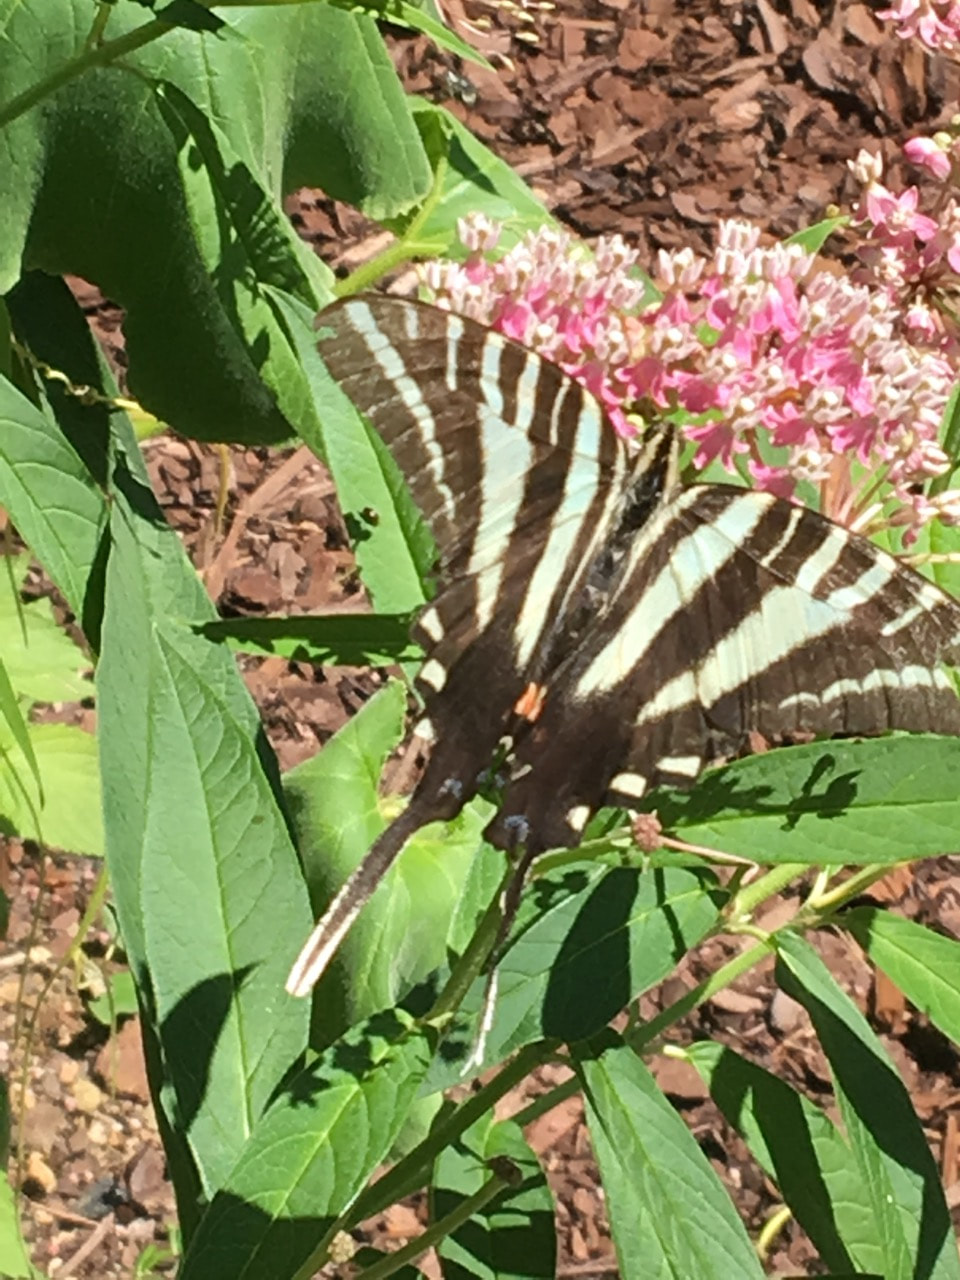
Years ago, I bought a butterfly bush and planted it in the front yard of the big house we owned. I thought I was doing the butterflies a favor. Instead, I'd planted an exotic, invasive shrub that basically starves our native butterflies because it attracts them but doesn't provide the nutrition offered by native plants. And it's not a "host" plant; butterflies don't recognize it as a place to breed. So, when butterfly bushes replace native species like milkweed, Monarchs have a harder time surviving, reproducing and pollinating plants. And then songbirds can't find sufficient quantities of caterpillars to feed their young. And, to top it off, we need to use more pesticides and water to keep our non-native plants alive in their "alien" environment. 

I'm in the process of reeducating myself. I have to learn what plants belong here and what plants don't. It's easy to see that stiltgrass, multiflora rose and wineberry plants are smothering native vegetation. I've learned to recognize and remove Japanese barberry, garlic mustard and beefsteak plants. Harder to accept is that the daylilies and periwinkle I used to plant everywhere are invasives, as well.

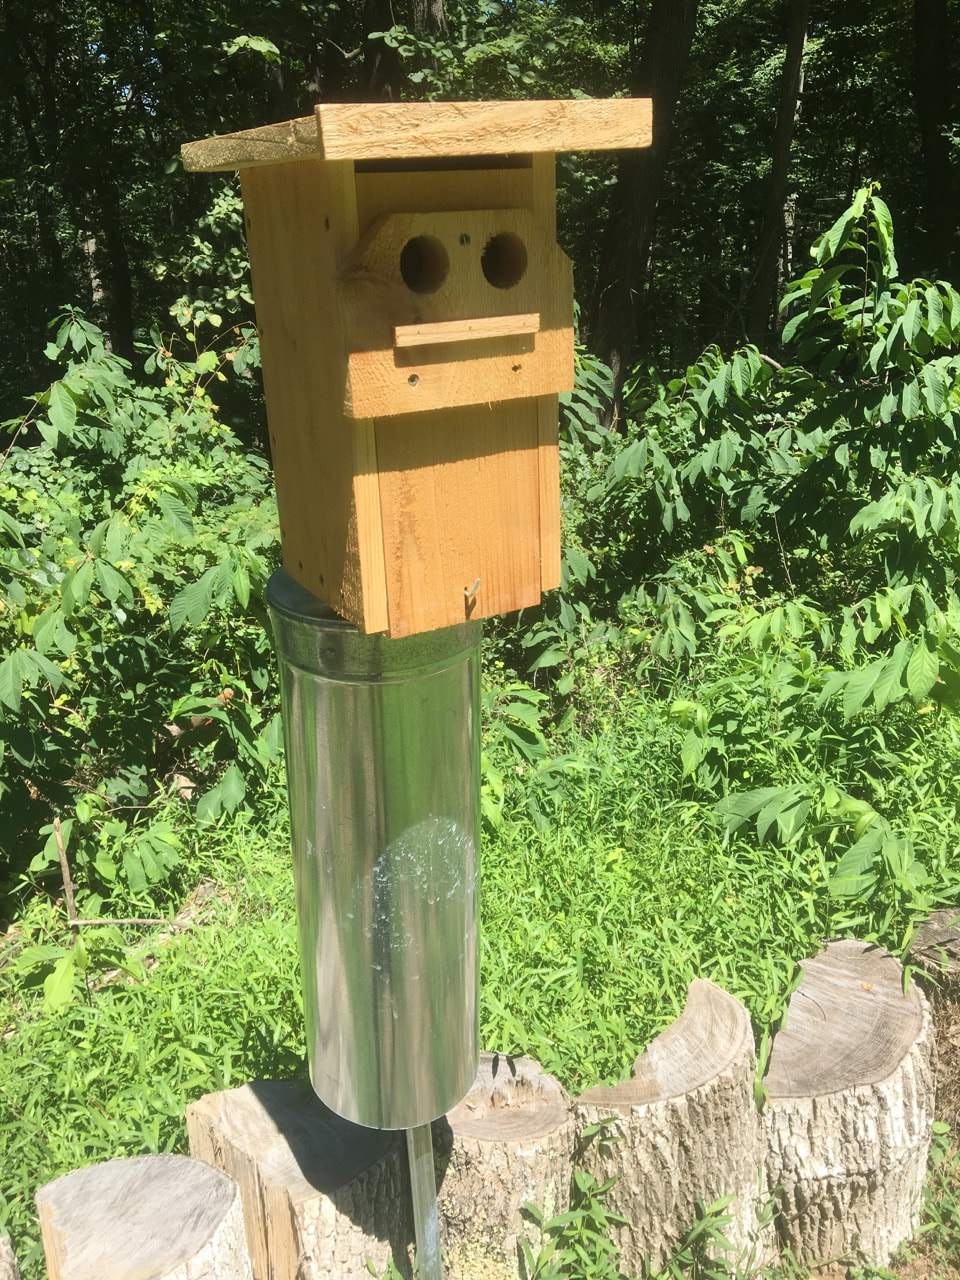
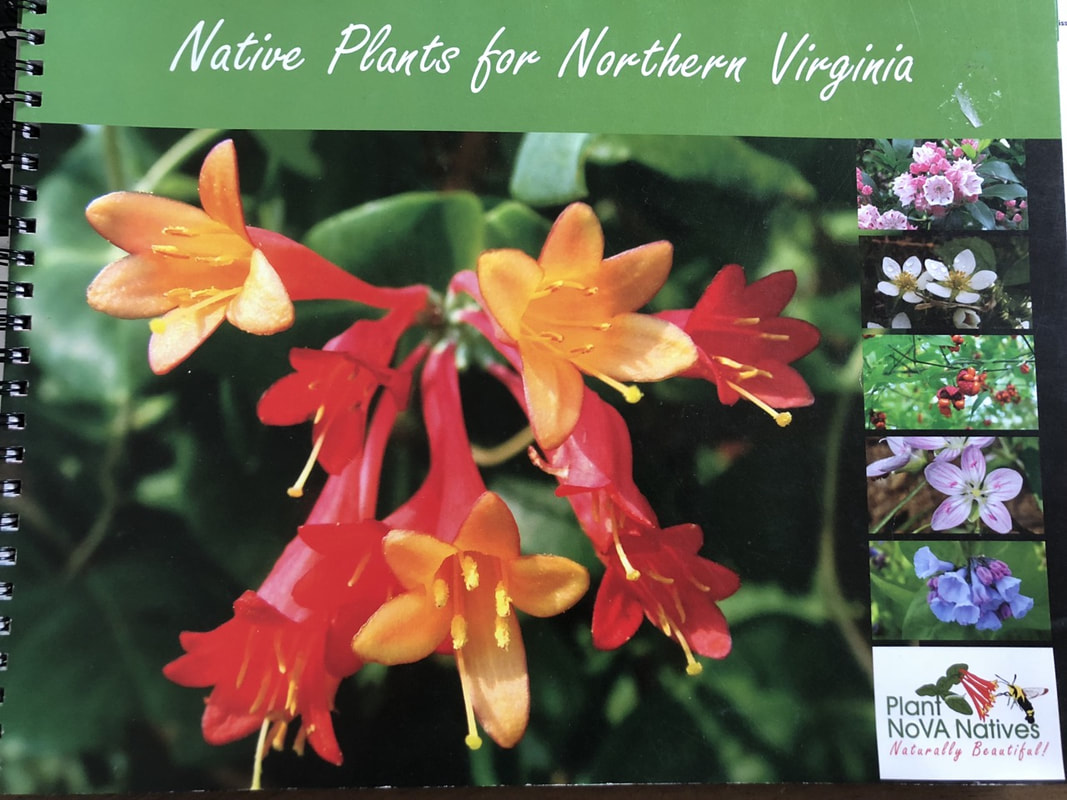
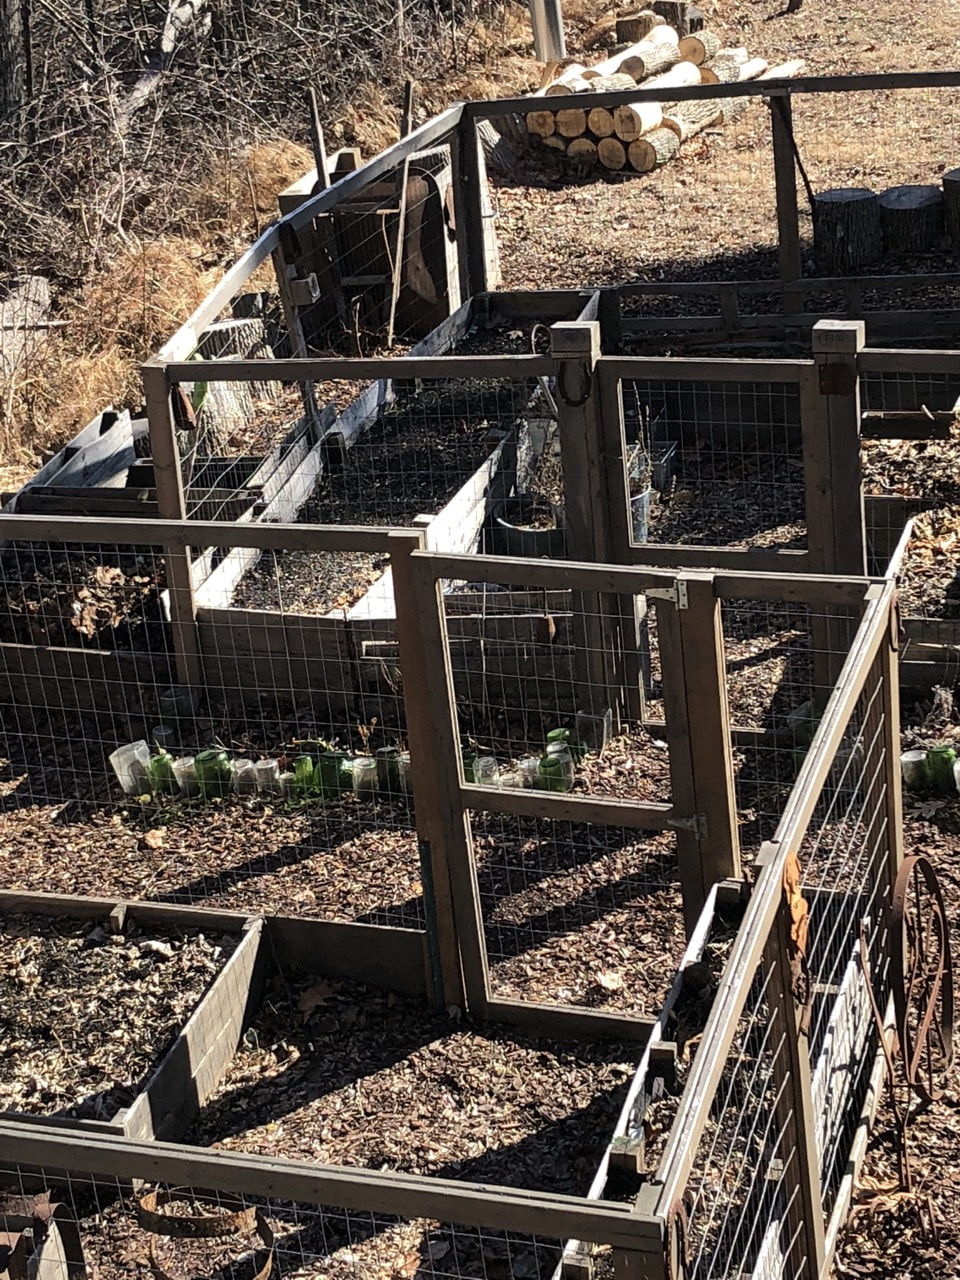
The good news is that there are so many beautiful, beneficial plants I can add back to our landscape. We'll be replacing one patch of turf with trees and shrubs that feed birds throughout the year. Under consideration: American holly, Sweetbay Magnolia, Spicebush and Lowbush Blueberry. And we'll be planting perennials favored by bees and butterflies like Wild Indigo, Turk's-cap Lily and Narrow-leaved Sunflower.

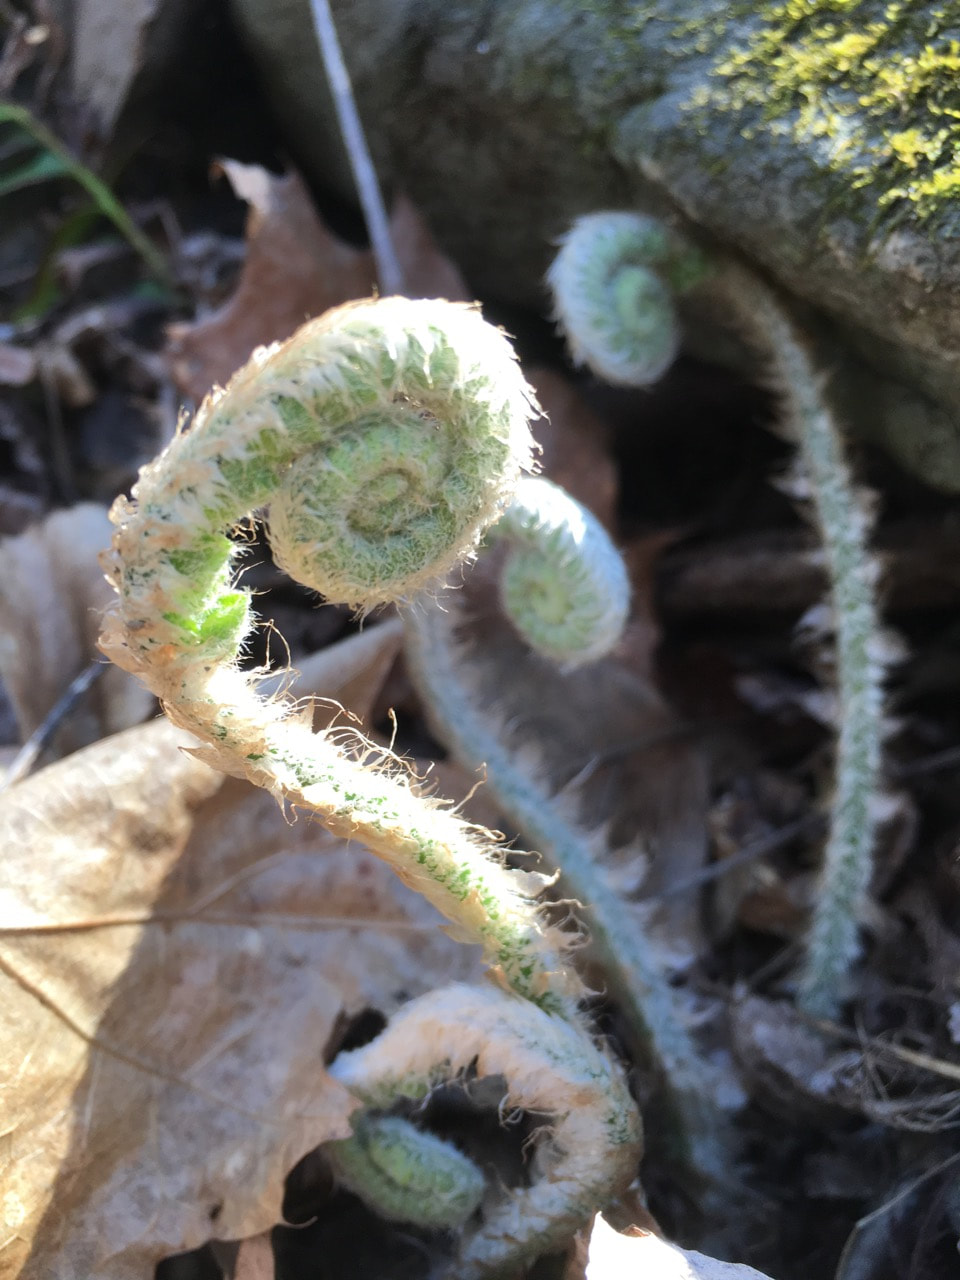
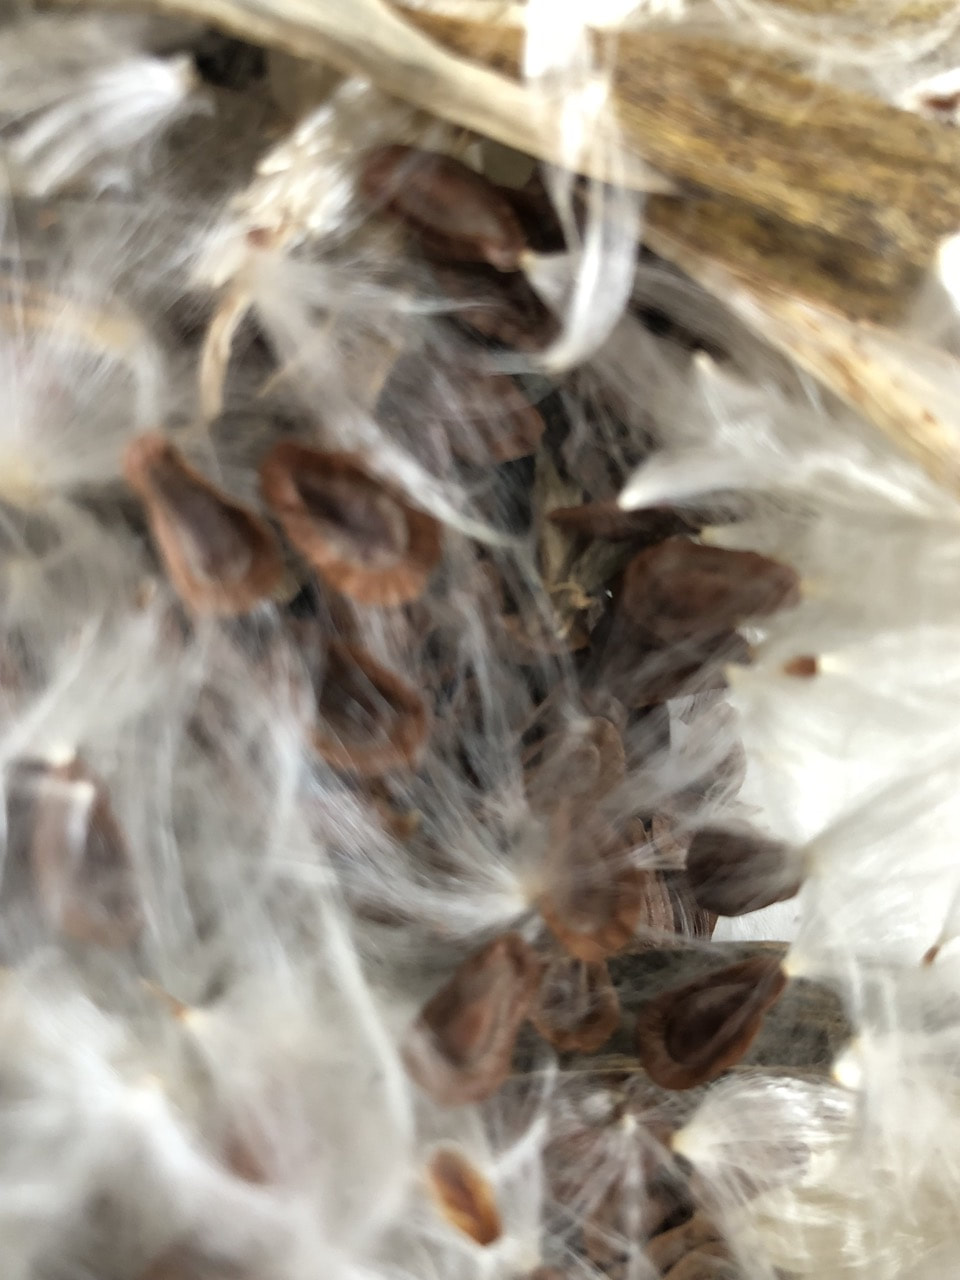
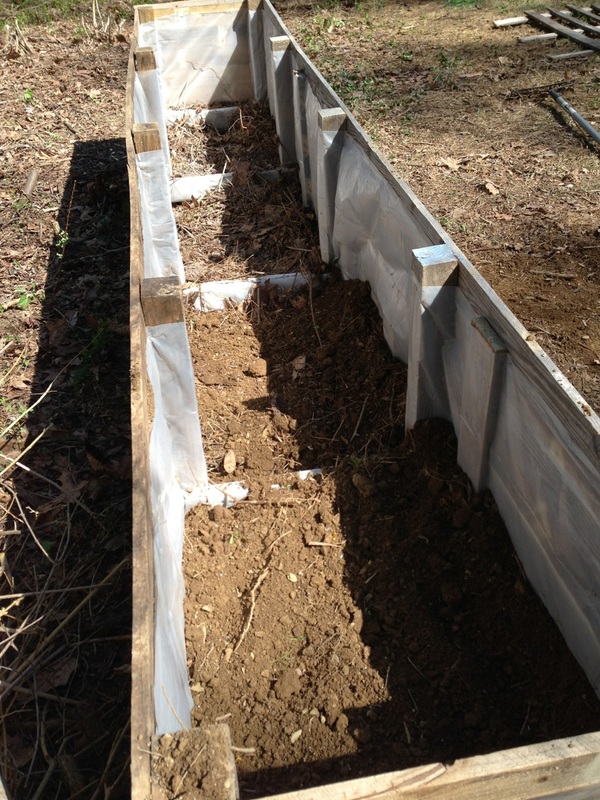
Last year we started the process by establishing a pollinator garden beside our vegetable beds. The Beebalm lives up to its name there. The Cardinal Flower has drawn in hummingbirds, and butterflies found our milkweed, which hosted its share of fat, striped caterpillars last fall. I saved seeds from last year's planting, and I hope to convert more yard each year to landscaping that feeds and shelters critters. We sit on the edge of a forest that does a pretty good job of this already. There in the woods, we focus on removing invasive vines and shrubs, and we let Mother Nature take care of the planting.

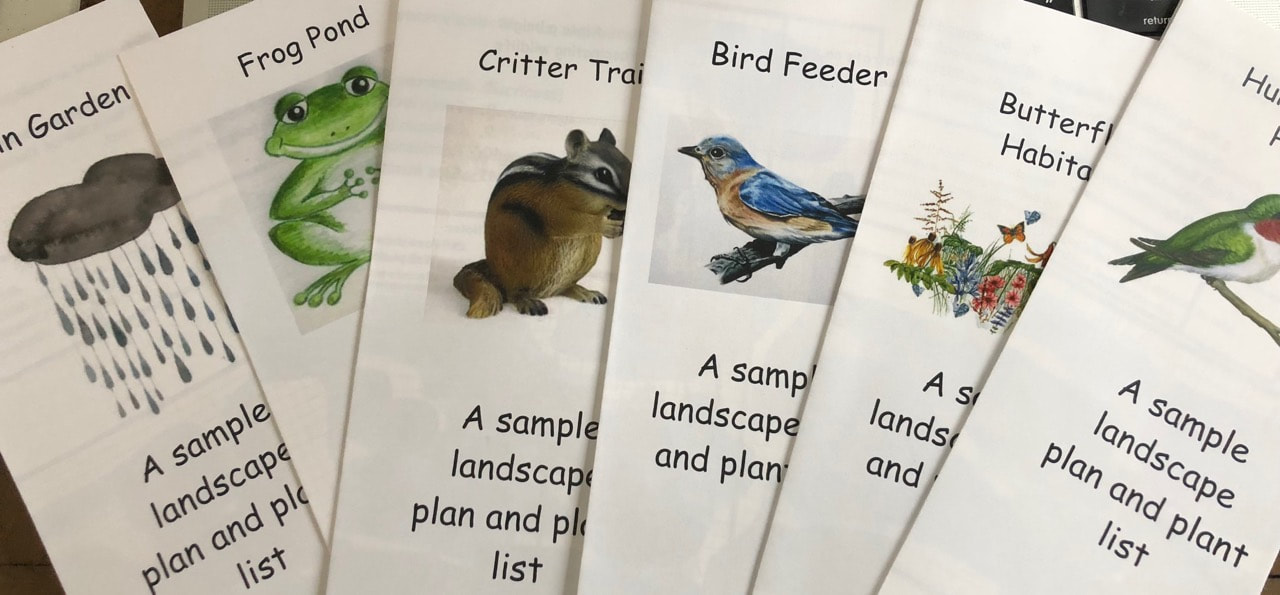
Now, I'm trying to spread the message. Recently, I spent a day learning the basics of becoming a native plant "ambassador" with the Audubon at Home program. Anyone can request a free site visit by an ambassador, who will make recommendations for restoring wildlife habitats to a property of any size—from a balcony to a multi-acre swath of land. I'm going to request a visit by an experienced ambassador to our tiny homestead, both to get ideas for improving our landscape and to learn more about the program.

I'm no expert, but I'm trying to learn a little more each day. And I'll reduce our lawn area each year, taking care to plant what will thrive here without the need for my intervention and what will support the community of critters that share this patch of the planet with me.

I'll close with another quote from Doug Tallemy: "Gardening with natives is no longer just a peripheral option favored by vegetarians and erstwhile hippies. It is an important part of a paradigm shift in our shaky relationship with the planet that sustains us—one that mainstream gardeners can no longer afford to ignore."

0 Comments

Waste Not

2/12/2018

0 Comments

 
Picture
Americans lead the world when it comes to food waste. Some estimate the waste at half of all food produced or purchased for consumption, with a typical household tossing almost 500 pounds of food a year. Then, to make matters worse, most of this food ends up in the landfill where it decomposes anaerobically (without oxygen, so microbes can't feed on it) and generates methane, a formidable greenhouse gas with more than 20 times the global warming capacity of carbon dioxide.

That's the bad news. The good news is that there's a simple fix. First, we can stop buying more food than we're going to eat. Second, we can turn what scraps we can't eat into nutrient-rich compost. This compost has the ability to improve soil structure for growing plants; plus, it eliminates the need for chemical fertilizers at the same time it enhances moisture retention, reducing the amount of watering needed. It's a win, win, win situation.

Composting done poorly can be a smelly nuisance. Done correctly, you'll produce nutrient-rich humus with little effort. Here's our not-perfect-by-any-means-but-good-enough system for turning food and yard "waste" into "black gold":

Picture
​1. Kitchen compost bin. Ours is a sleek stainless model that looks good enough   I'm willing to leave it by the sink where we do our food prep. Cutting scraps into small pieces fits more in the bin AND, eventually, decomposes faster. Our can comes with a vented lid complete with a thick filter that keeps bugs out and smells in. We keep it lined with a 3-gallon compostable bag to make dumping it an easy, no-mess operation.

Picture
​2. Outdoor pile. Our pile is in a box made from shipping pallets (clean ones!). The front is lower than the other three sides to make turning easy. Each time the kitchen bin needs to be emptied, we dig a little hole in the pile and dump in the food waste. To this same pile, we regularly add dried leaves, weeds and other yard waste. We also add shredded newspaper, paper grocery bags and paper scraps. This makes for a good mix of "brown" (carbon) and "green" (nitrogen). We shoot for about 90% brown and 10% green.

Picture
​3. Creating compost. The pile needs a few things to get the composting process cooking: heat, water and oxygen. Heat: The composting material needs mass to build up internal heat, so we keep things piled up in a sunny location. Water: If it's sunny and dry, we lightly spray our pile with a garden hose from time to time. (We want moist, not wet.) Oxygen: We aerate our pile by turning it. The more often, the better. We keep a pitch fork by the compost pile, and any time I'm walking by I'll mix things up, bringing the more finished compost to the top as I do. I add a shovelful of native soil every week or so, to introduce more microbes to our pile.

Picture
​4. Multiple piles. We usually have a few bins going at any given time. When a bin is getting full, it's time to start a new one and let the first finish. We keep it moist and keep turning it until it looks like soil; then it's ready to add to our garden. Another note here: we also compost our "black waste" from the toilet. This has a completely separate composting process--and we never use the resulting "humane" in our vegetable garden.


​What else? Don't put meat, cheese or oil in your pile. They don't decompose fast enough and they can smell, attracting animals. We occasionally have a raccoon, opossum, deer or bunny forage for food we've left uncovered, but we can prevent that by burying fresh food scraps more thoroughly. 

Time is the other requirement to create compost. The smaller the pieces you put in your pile and the hotter it gets, the faster the process. We usually throw in whole leaves; if we shredded the leaves before tossing them in our pile, we'd generate compost faster. 
0 Comments

A Partial, Seasonal Upgrade

12/20/2017

0 Comments

 
Picture
When we built our "screen house" almost four years ago, it was a wonderful resting spot during our main house build. We ate our meals, drank our rejuvenating beer and escaped the bugs and sun there. In the two years since we moved into our tiny house, we still do all those things in the screen house for about seven months of the year.

One year we had a lot of snow pile up and blow through screens, so Bill got the idea to stretch plastic over all the screens to keep precipitation out of the house for the months of the year we weren't using it. We quickly realized, however, that the plastic cut the wind and allowed us to enjoy the screen house's forest view on warmer, sunny days during the colder months. 

At the end of the cold season, we try to save all the plastic we can for reuse, but the sad truth is that most of it can't be used on the screens a second time. This year, we looked into putting up something that could be reused. Polycarbonate sheets, or Lexan, are recommended for greenhouse use—which is close to what we're doing. Though the material can be a nightmare when tossed into a landfill where it won't biodegrade, Lexan can be recycled, and there are more and more places accepting it for recycling these days. Better yet, it comes with a 10-year guarantee for clarity. Using the Lexan for 10+ years seems like a more sustainable plan than putting up new plastic every year.

The downside? (Besides it being made from fossil fuels and not being biodegradable...) The sheets are expensive! Almost $200 for a full sheet—and we have a lot of screening to sheath. Glass would be another (and more ecological) option, but it's heavier and more likely to break in our forest setting, where falling branches are a regular occurrence.

So, we decided to buy a few Lexan sheets and see how cutting them and installing them worked. (The rest of the windows are covered with plastic this year.) Bill was pleased with how easy polycarbonate cuts, but we discovered that it left behind a coating of tiny plastic particles on the ground. We vacuumed up everything we saw; then, unfortunately, those particles made their way to the landfill. (But not directly into our little stream!)

This spring, we'll build a rack under the deck to store the Lexan until it's time to reinstall it in the windows come November. And, if we're happy with the windows we've cut sheets for this year, we spring for more Lexan next fall and finish the job. Fingers crossed, we'll be using the screen house even more of the year when this project is finished...and we might even be able to winter over a few more herbs.

Click on the images below for more details. Questions/suggestions? Please leave a comment below.

0 Comments

After We Fill the Bucket: The Scoop on Poop

9/16/2015

0 Comments

 
Picture
We've had our composting toilet set up in our house for weeks. While not flushing things away felt a little strange in the beginning, it doesn't anymore. We've got the system down. 

But we only had part of the larger system in place, because once a bucket was full we were (reluctantly!) emptying our BioBag into a plastic bag and sending our "business" off to the landfill with the rest of our trash. Instead, we want to divert this so-called "waste" away from the landfill and let it evolve into earth-enriching humus. Anyone who's ever bought a bag of composted cow manure at a garden center knows it adds organic matter and nutrients to a garden bed while improving the soil's moisture-holding capacity. (Less watering!)

The "Bible" of all-things-composting-toilet, The Humanure Handbook, puts it this way:

Feces and urine are examples of natural, beneficial, organic materials excreted by the bodies of animals after completing their digestive processes. They are only “waste” when we discard them. When recycled, they are resources, and are often referred to as manures, but never as waste, by the people who do the recycling. --The Humanure Handbook

Not only does our society's accepted practice of flushing away nutrient-rich urine and feces waste a potential garden resource and unnecesarily add volume to landfills, it squanders clean, pure drinking water. Every year, the average person in the average house uses thousands of gallons of fresh drinking water to flush their poop down the toilet: 4757 gallons with an older toilet, 1850 gallons with a low-flush toilet, according to the Bill and Melinda Gates Foundation.

More from the Handbook on this:

The world is divided into two categories: those who shit in drinking water and those who don’t. We in the Western world are in the former class. We defecate in water, usually purified drinking water. After polluting the water with our body’s excrement, we flush the once pure but now polluted water “away”, meaning we probably don’t know where it goes, nor do we care. – The Humanure Handbook

Enough about why we want to create "humanure"—and on to how. After getting ideas from a number of wonderful sites, we drew primarily on Living Outside the Box to create our own bucket-to-barrel system. All the directions are clearly laid out on the website. (You can also find more details with the pictures below.)

While many humanure composters use a shipping-pallet approach like the bin we set up for our general compost pile, we were squeamish enough to opt for barrel containment of our poop processing.  We have two 55-gallon composting barrels set up and we've made our first "deposit" in one of them. It will be a long, long time before any of our humanure sees its way into a garden, though, because we'll let the composting process work its magic for a full year after we've filled our first barrel.

Shaun's Backyard is one of many composting info sites advocating a play-it-safe approach by waiting that year:

Human pathogens are destroyed in minutes in a hot compost pile (50degC [122degF] or above), and while a compost thermometer can measure the general temperature of the pile, it’s hard to be sure that all materials have been exposed to these temperatures, which is why a human waste composting operation must involve a retention period, during which the pile is left to age and cure for a year before it is used. --Shaun's Backyard

But no need to avoid our tomatoes down the road, because you're worried about what's feeding them. We plan to spread our fully-composted humanure on gardens we don't eat from. We'll use our kitchen and yard waste compost on the vegetables!

Postscript: When I posted this, I forgot to mention that we'll need to aerate the barrel every week. We ordered a compost crank from Lotech Products.

Please click on the photos below for more details.

0 Comments

From Pallet to Planter

4/25/2015

0 Comments

 
Picture
We've had a stack of rough, well-weathered shipping pallets sitting where we get a lot of sun at the edge of the woods for months. We thought we might use them to build a fence for our garden-to-be, but we didn't like the look when we started assembling them. The other day when we were talking about ground that needs to get dug out before we can put up decking on one side of the house, it hit us: we should use the pallets to build raised beds and put the soil we dig up in them, mixed with the big pile of leaves we raked off the ground.

Because we don't know what the pallets have been used for and we know we want to plant edibles in them, we decided to line them completely with thick plastic that we had left over from another project. (Hopefully, they'll last longer this way, too.) So, far we've built and lined one monster-sized bed: two feet high, two wide and twelve long. We've layered earth and partially composted leaves up about eight inches now. We plan on filling the planters at least halfway, then use our best compost mixed with top soil and other amendments for the top planting area. 

After that, we'll build at least one more raised bed, and we still have to figure out the fencing--unless we're doing all this just to feed the deer. (At this rate, we won't be offering you too many tomatoes, cucumbers and peppers this year.) 

0 Comments

    Categories

    All
    Bathroom
    Bedroom
    Beer Making
    Composting
    Composting Toilet
    Cooking
    Floor Plan
    Gardening
    Heating
    Kitchen
    Landscaping
    Making Furniture
    Outdoor Living
    Reclaimed Materials
    Screen House
    Shipping Pallets
    Site
    Space Savers
    Storage
    Sustainability
    Using Every Inch
    Winterizing
    Wood Stove

    RSS Feed

Powered by
✕